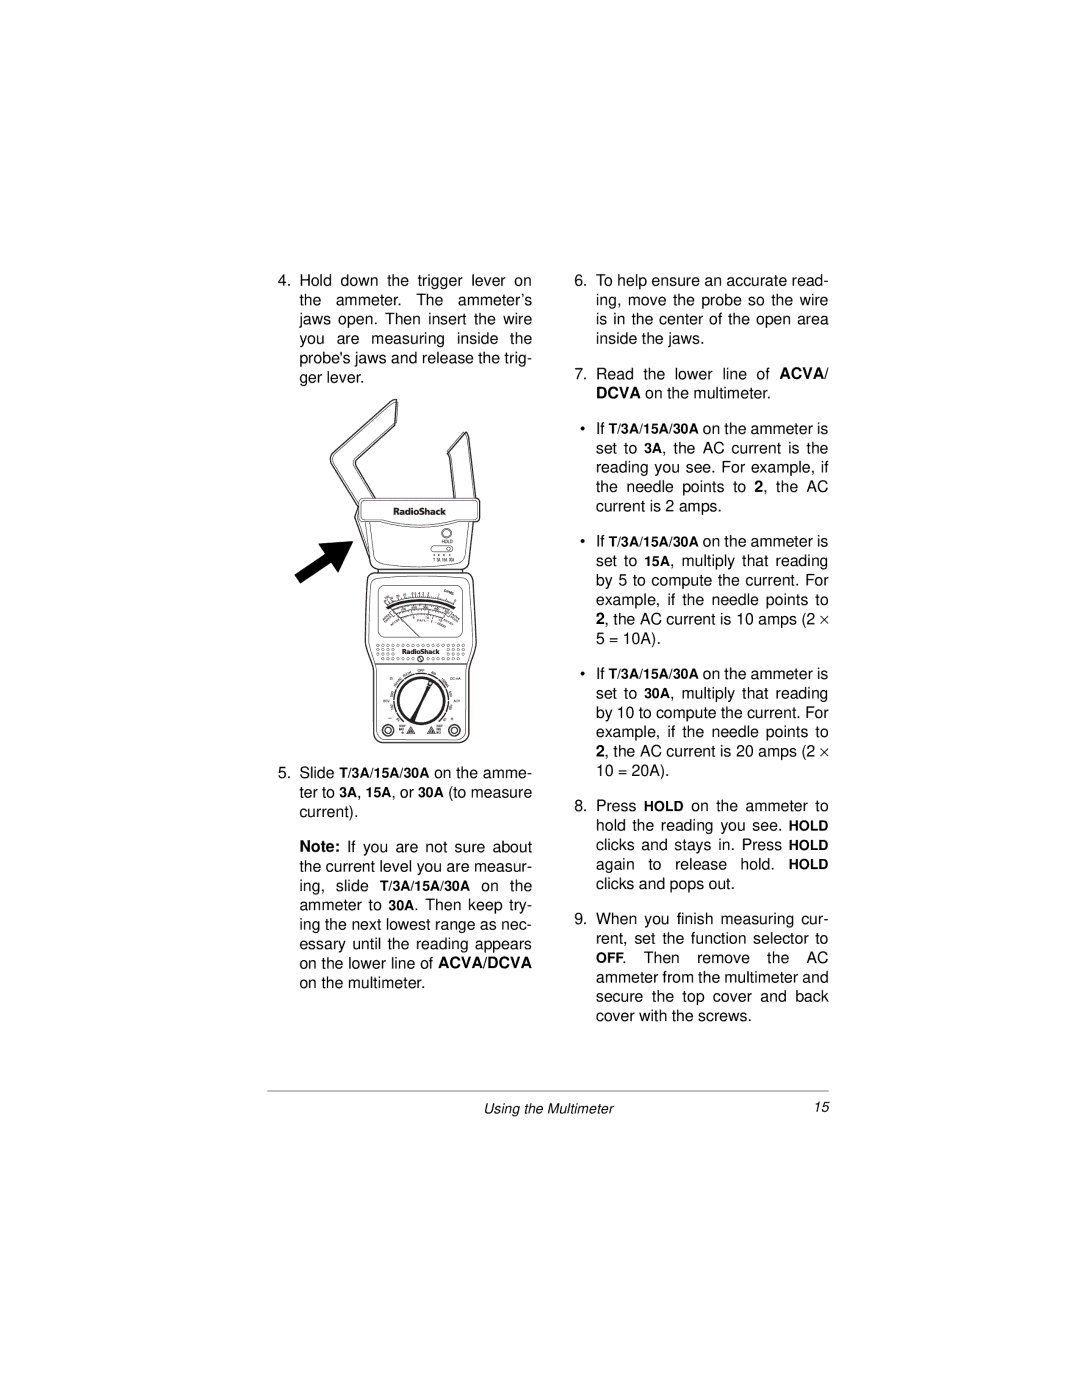
4.Hold down the trigger lever on the ammeter. The ammeter’s jaws open. Then insert the wire you are measuring inside the probe's jaws and release the trig- ger lever.
OHMS 
5.Slide T/3A/15A/30A on the amme- ter to 3A, 15A, or 30A (to measure current).
Note: If you are not sure about the current level you are measur- ing, slide T/3A/15A/30A on the ammeter to 30A. Then keep try- ing the next lowest range as nec- essary until the reading appears on the lower line of ACVA/DCVA on the multimeter.
6.To help ensure an accurate read- ing, move the probe so the wire is in the center of the open area inside the jaws.
7.Read the lower line of ACVA/ DCVA on the multimeter.
•If T/3A/15A/30A on the ammeter is set to 3A, the AC current is the reading you see. For example, if the needle points to 2, the AC current is 2 amps.
•If T/3A/15A/30A on the ammeter is set to 15A, multiply that reading by 5 to compute the current. For
example, if the needle points to 2, the AC current is 10 amps (2 ⋅ 5 = 10A).
•If T/3A/15A/30A on the ammeter is set to 30A, multiply that reading by 10 to compute the current. For
example, if the needle points to 2, the AC current is 20 amps (2 ⋅ 10 = 20A).
8.Press HOLD on the ammeter to hold the reading you see. HOLD clicks and stays in. Press HOLD again to release hold. HOLD clicks and pops out.
9.When you finish measuring cur- rent, set the function selector to OFF. Then remove the AC ammeter from the multimeter and secure the top cover and back cover with the screws.
Using the Multimeter | 15 |