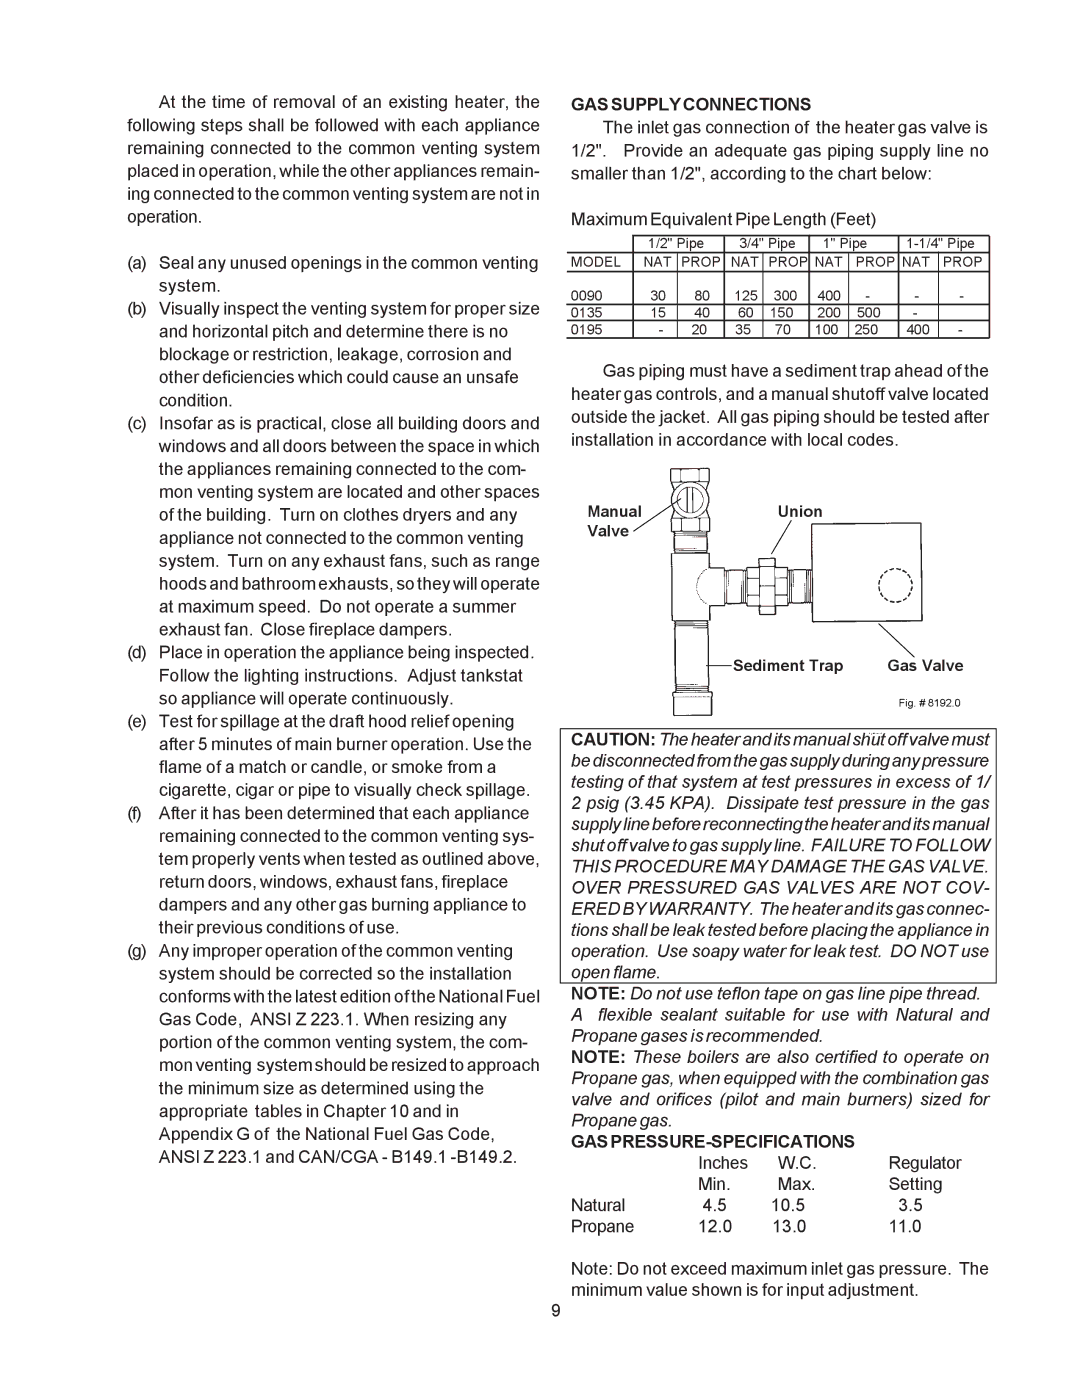
090A, 135A, 195A specifications
Raypak, a leading manufacturer in the pool and spa heating industry, presents its advanced line of heaters, specifically the Raypak 195A, 090A, and 135A models. These heaters are renowned for their high performance, durability, and energy efficiency, making them ideal for a variety of applications, including residential and commercial pools and spas.The Raypak 195A heater stands out with its powerful heating capacity, which is designed to quickly raise water temperatures, ensuring comfortable swimming conditions even in cooler climates. Its compact design allows for easy installation in tight spaces, and it operates quietly, enhancing the user experience. The 090A, meanwhile, is exceptional for smaller pools or spas, delivering reliable heating performance with energy-saving features. This model is particularly popular among homeowners looking to maintain a comfortable temperature without inflating their energy bills.
In contrast, the 135A model offers an impressive balance of power and efficiency, making it suitable for medium-sized pools. It incorporates advanced technologies to minimize energy consumption while maximizing output, allowing users to enjoy their pools while being environmentally conscious.
All three models boast Raypak's innovative digital control system, which provides precise temperature management and easy programming. Users can easily set desired temperatures and schedules, minimizing manual adjustments and enhancing convenience. The built-in diagnostic capabilities alert users to any potential maintenance needs, assuring long-term reliability and performance.
Furthermore, the heaters utilize a copper heat exchanger, known for its exceptional thermal conductivity, which ensures rapid heating and corrosion resistance. The specially designed rust-resistant cabinet protects the internal components from the elements, prolonging the lifespan of the heaters.
In addition to their robust features, these Raypak models are designed for easy maintenance. The streamlined layouts make it simple for service technicians to access vital components, reducing downtime and ensuring efficiency when repairs are necessary.
With their combination of advanced technology, energy efficiency, and user-friendly features, the Raypak 195A, 090A, and 135A models stand as top choices for pool and spa heating solutions. Their reliability and performance make them a valuable addition to any backyard oasis, allowing users to enjoy warm water year-round, regardless of the climate.

