PICTURE CONTROL ADJUSTMENTS
Picture controls are factory preset but you can adjust them individually as follows:
COLOR
Press the ENTER button until
1 To display the picture adjust- |
ment screen, press the MENU |
button. Press the SET + or – |
button to select the TV |
option, then press the ENTER |
button. |
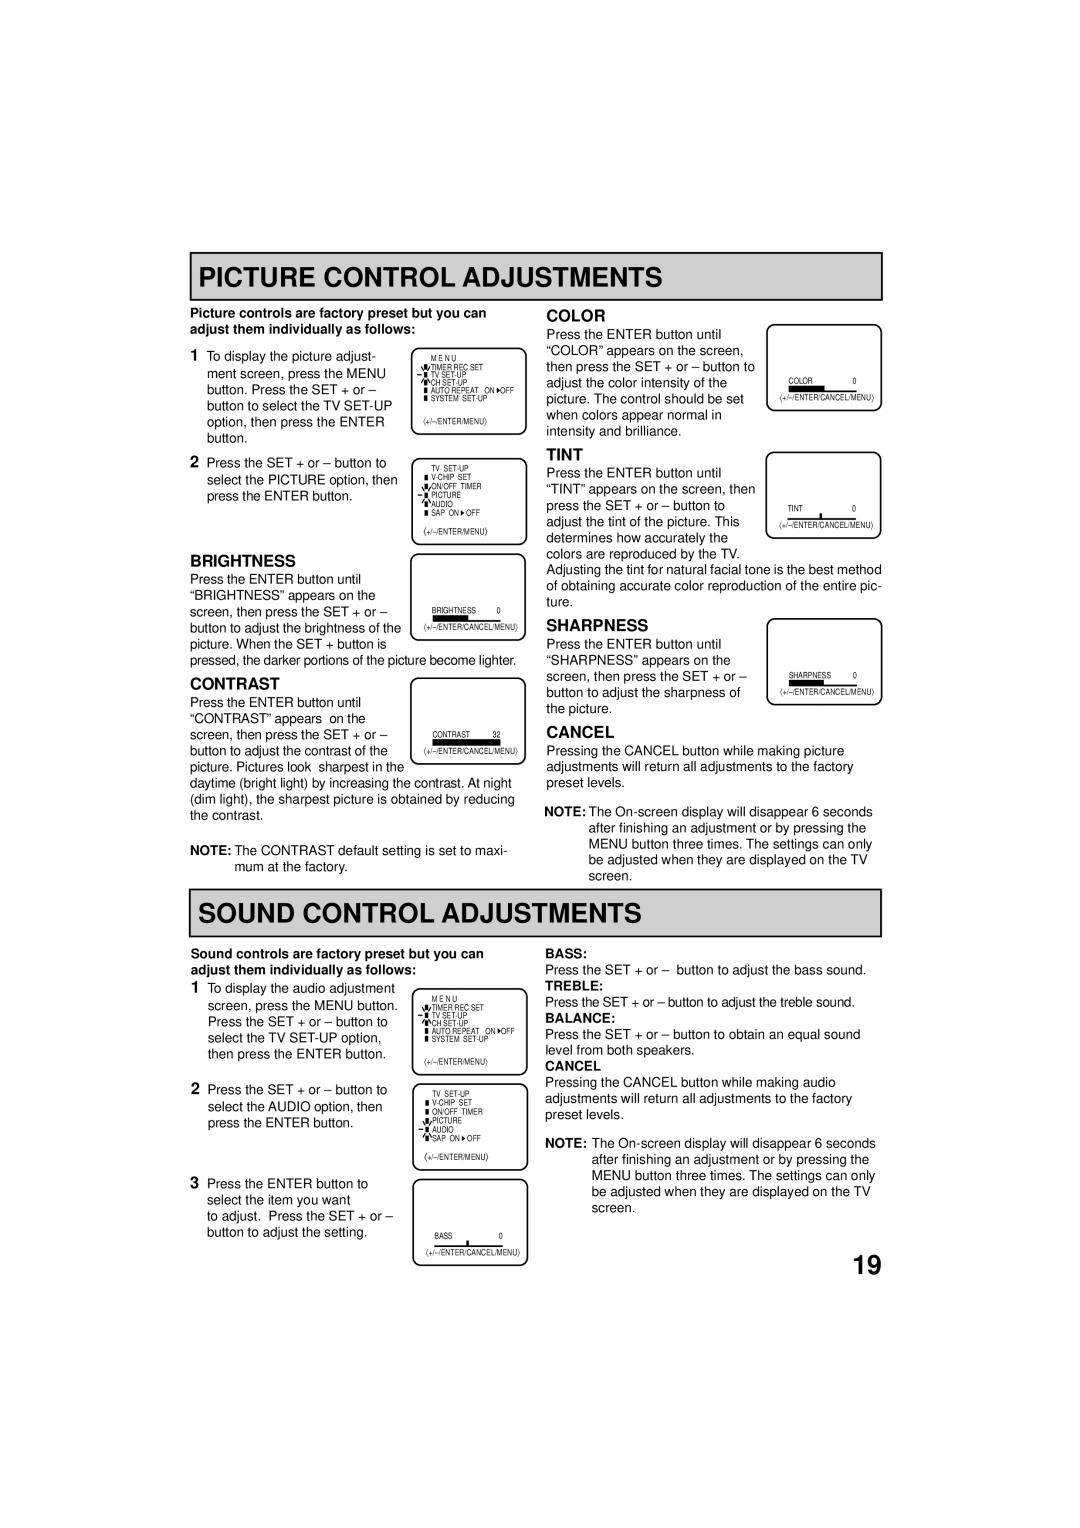
M E N U
![]() TIMER REC SET
TIMER REC SET
![]() TV
TV
![]() CH
CH
![]() AUTO REPEAT ON OFF
AUTO REPEAT ON OFF ![]() SYSTEM
SYSTEM
“COLOR” appears on the screen, then press the SET + or – button to adjust the color intensity of the picture. The control should be set when colors appear normal in intensity and brilliance.
COLOR0
2 Press the SET + or – button to |
select the PICTURE option, then |
press the ENTER button. |
TV
![]()
![]() ON/OFF TIMER
ON/OFF TIMER ![]() PICTURE
PICTURE
![]() AUDIO
AUDIO
![]() SAP ON
SAP ON ![]() OFF
OFF
TINT
Press the ENTER button until |
|
|
“TINT” appears on the screen, then |
|
|
press the SET + or – button to | TINT | 0 |
adjust the tint of the picture. This | ||
determines how accurately the |
|
|
BRIGHTNESS
Press the ENTER button until “BRIGHTNESS” appears on the
screen, then press the SET + or – BRIGHTNESS 0 button to adjust the brightness of the
picture. When the SET + button is
pressed, the darker portions of the picture become lighter.
CONTRAST
Press the ENTER button until “CONTRAST” appears on the screen, then press the SET + or – button to adjust the contrast of the picture. Pictures look sharpest in the
daytime (bright light) by increasing the contrast. At night (dim light), the sharpest picture is obtained by reducing the contrast.
NOTE: The CONTRAST default setting is set to maxi- mum at the factory.
colors are reproduced by the TV.
Adjusting the tint for natural facial tone is the best method of obtaining accurate color reproduction of the entire pic- ture.
SHARPNESS
Press the ENTER button until |
|
“SHARPNESS” appears on the |
|
screen, then press the SET + or – | SHARPNESS 0 |
button to adjust the sharpness of | |
the picture. |
|
CANCEL
Pressing the CANCEL button while making picture adjustments will return all adjustments to the factory preset levels.
NOTE: The
SOUND CONTROL ADJUSTMENTS
Sound controls are factory preset but you can adjust them individually as follows:
BASS:
Press the SET + or – button to adjust the bass sound.
1To display the audio adjustment screen, press the MENU button. Press the SET + or – button to select the TV
2Press the SET + or – button to select the AUDIO option, then press the ENTER button.
M E N U
![]() TIMER REC SET
TIMER REC SET
![]() TV
TV
![]() CH
CH
![]() AUTO REPEAT ON OFF
AUTO REPEAT ON OFF ![]() SYSTEM
SYSTEM
TV
![]()
![]() ON/OFF TIMER
ON/OFF TIMER
![]() PICTURE
PICTURE
![]() AUDIO
AUDIO
![]() SAP ON
SAP ON ![]() OFF
OFF
TREBLE:
Press the SET + or – button to adjust the treble sound.
BALANCE:
Press the SET + or – button to obtain an equal sound level from both speakers.
CANCEL
Pressing the CANCEL button while making audio adjustments will return all adjustments to the factory preset levels.
NOTE: The
3 Press the ENTER button to |
|
|
select the item you want |
|
|
to adjust. Press the SET + or – |
|
|
button to adjust the setting. | BASS | 0 |
be adjusted when they are displayed on the TV screen.
19