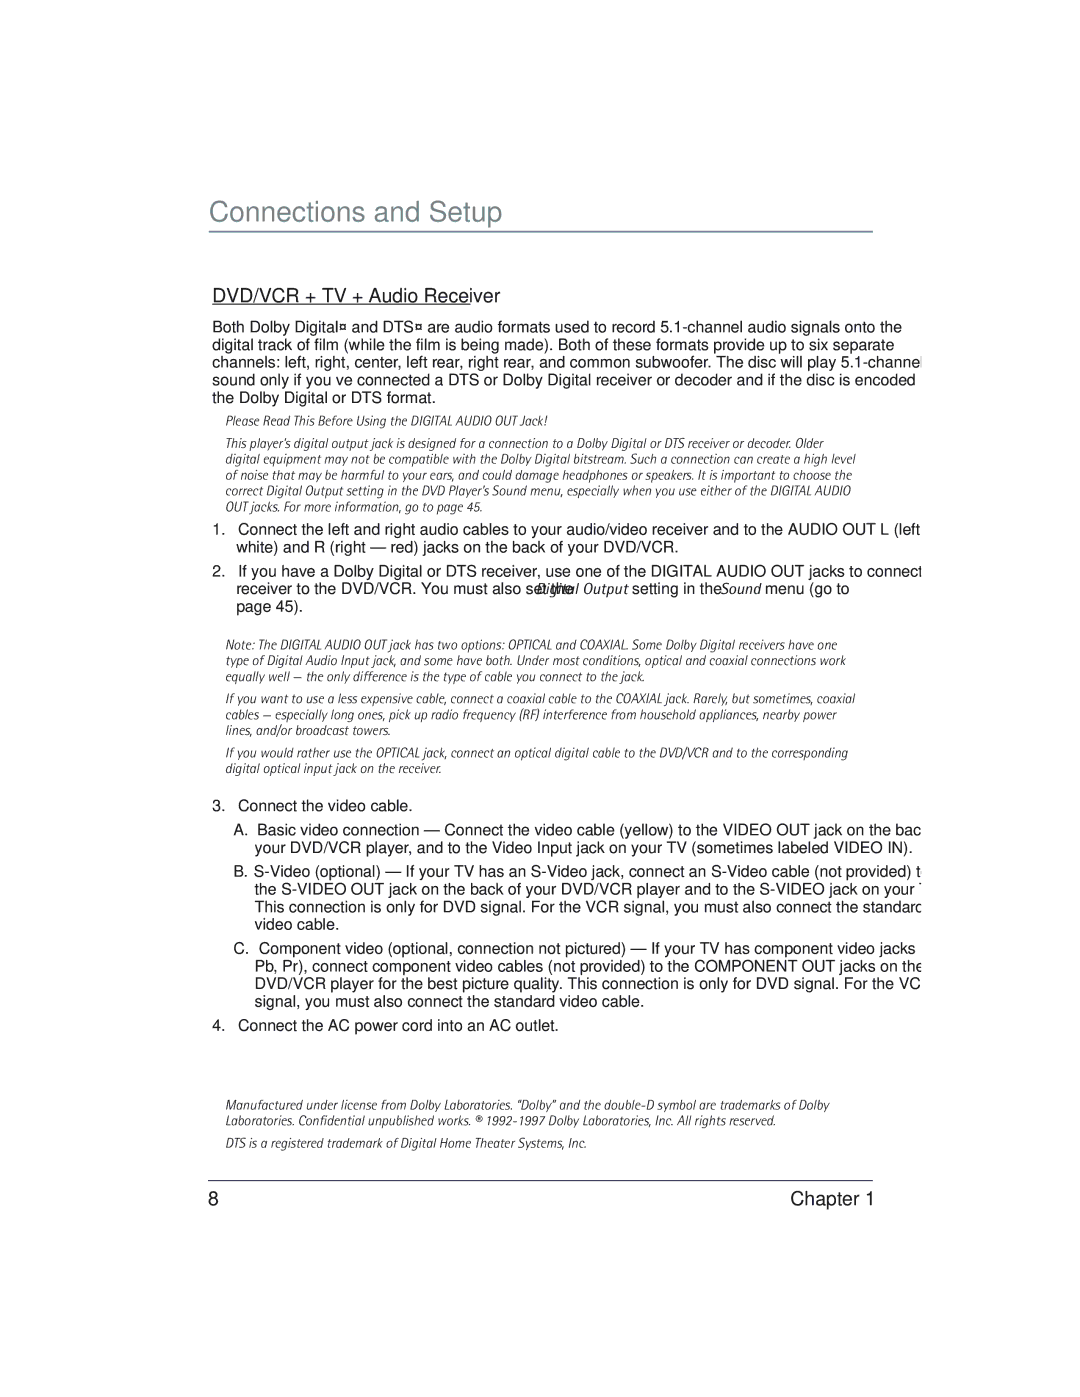
DVD/VCR specifications
The RCA DVD/VCR combo is a classic piece of technology that offers a blend of traditional and modern media playback. Designed to cater to both nostalgic consumers and those who enjoy the versatility of multiple formats, this device embodies a seamless integration of a DVD player and a VCR, allowing users to enjoy their favorite movies and shows from various eras.One of the main features of RCA DVD/VCR combos is their dual functionality. Users can easily play DVDs while still having the capability to view VHS tapes, making it an essential device for anyone with a collection of both formats. This combination appeals particularly to those who have cherished home movies recorded on VHS or classic films not available on DVD or Blu-ray.
In terms of technology, the RCA DVD/VCR incorporates advanced video processing for enhanced picture quality. The DVD player typically supports various formats including DVD-R/RW, DVD+R/RW, and even CDs. This versatility allows for playback of a broad range of media, ensuring users can enjoy their media library without restrictions. Moreover, many models support both PAL and NTSC formats, making them ideal for international users or traveling individuals.
The ease of use is another significant characteristic of the RCA DVD/VCR. Most models come equipped with a straightforward remote control that simplifies navigation, along with on-screen menus that facilitate user interaction. Common features such as fast forward, rewind, and programmable recording make it convenient for consumers to manage their viewing experience.
RCA’s attention to design is also notable. The unit is generally compact and blends well with modern home entertainment systems, ensuring it complements LCD televisions and other devices without taking up excessive space. Additionally, the RCA DVD/VCR combo typically includes multiple inputs and outputs, allowing for connections to various devices like game consoles and streaming boxes.
In conclusion, the RCA DVD/VCR combo stands as a testament to the evolution of home entertainment. By harnessing the best of both worlds—DVD and VCR technologies—it not only meets the needs of diverse media consumption but also ensures that classic content remains accessible. Whether you're revisiting old favorites or exploring new releases, the RCA DVD/VCR is a reliable choice for any media enthusiast.

