Basic operation (to be continued)
Adjusting the Picture
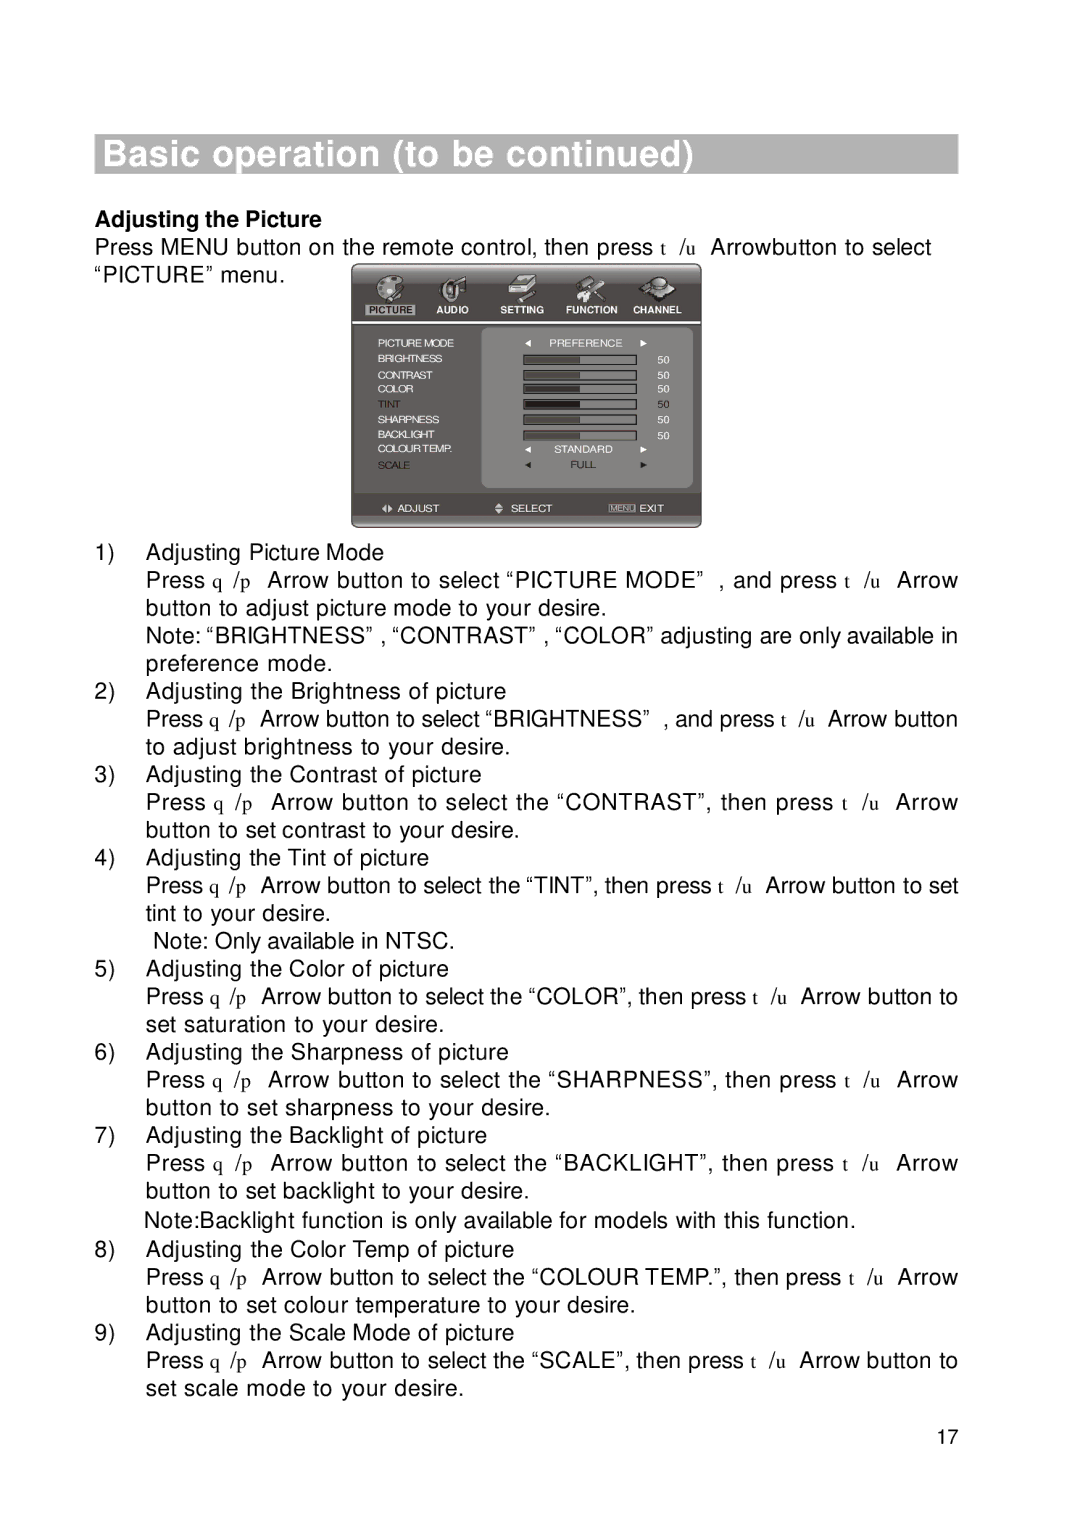
Press MENU button on the remote control, then press t/u Arrowbutton to select “PICTURE” menu. ![]()
PICTURE | AUDIO | SETTING | FUNCTION CHANNEL | ||
PICTURE MODE | PREFERENCE | ||||
BRIGHTNESS |
| 50 | |||
CONTRAST |
|
| 50 | ||
COLOR |
|
| 50 | ||
TINT |
|
| 50 | ||
SHARPNESS |
| 50 | |||
BACKLIGHT |
|
| 50 | ||
COLOURTEMP. |
| STANDARD | |||
SCALE |
|
| FULL | ||
ADJUST | SELECT |
|
| EXIT | |
| MENU | ||||
1)Adjusting Picture Mode
Press q/p Arrow button to select “PICTURE MODE” , and press t/u Arrow button to adjust picture mode to your desire.
Note: “BRIGHTNESS” , “CONTRAST” , “COLOR” adjusting are only available in preference mode.
2)Adjusting the Brightness of picture
Press q/p Arrow button to select “BRIGHTNESS” , and press t/u Arrow button to adjust brightness to your desire.
3)Adjusting the Contrast of picture
Press q/p Arrow button to select the “CONTRAST”, then press t/u Arrow button to set contrast to your desire.
4)Adjusting the Tint of picture
Press q/p Arrow button to select the “TINT”, then press t/u Arrow button to set tint to your desire.
Note: Only available in NTSC.
5)Adjusting the Color of picture
Press q/p Arrow button to select the “COLOR”, then press t/u Arrow button to set saturation to your desire.
6)Adjusting the Sharpness of picture
Press q/p Arrow button to select the “SHARPNESS”, then press t/u Arrow button to set sharpness to your desire.
7)Adjusting the Backlight of picture
Press q/p Arrow button to select the “BACKLIGHT”, then press t/u Arrow button to set backlight to your desire.
Note:Backlight function is only available for models with this function.
8)Adjusting the Color Temp of picture
Press q/p Arrow button to select the “COLOUR TEMP.”, then press t/u Arrow button to set colour temperature to your desire.
9)Adjusting the Scale Mode of picture
Press q/p Arrow button to select the “SCALE”, then press t/u Arrow button to set scale mode to your desire.
17
