HOW TO TURN ON THE POWER
1 Attach the clip to the waistband of your clothes.
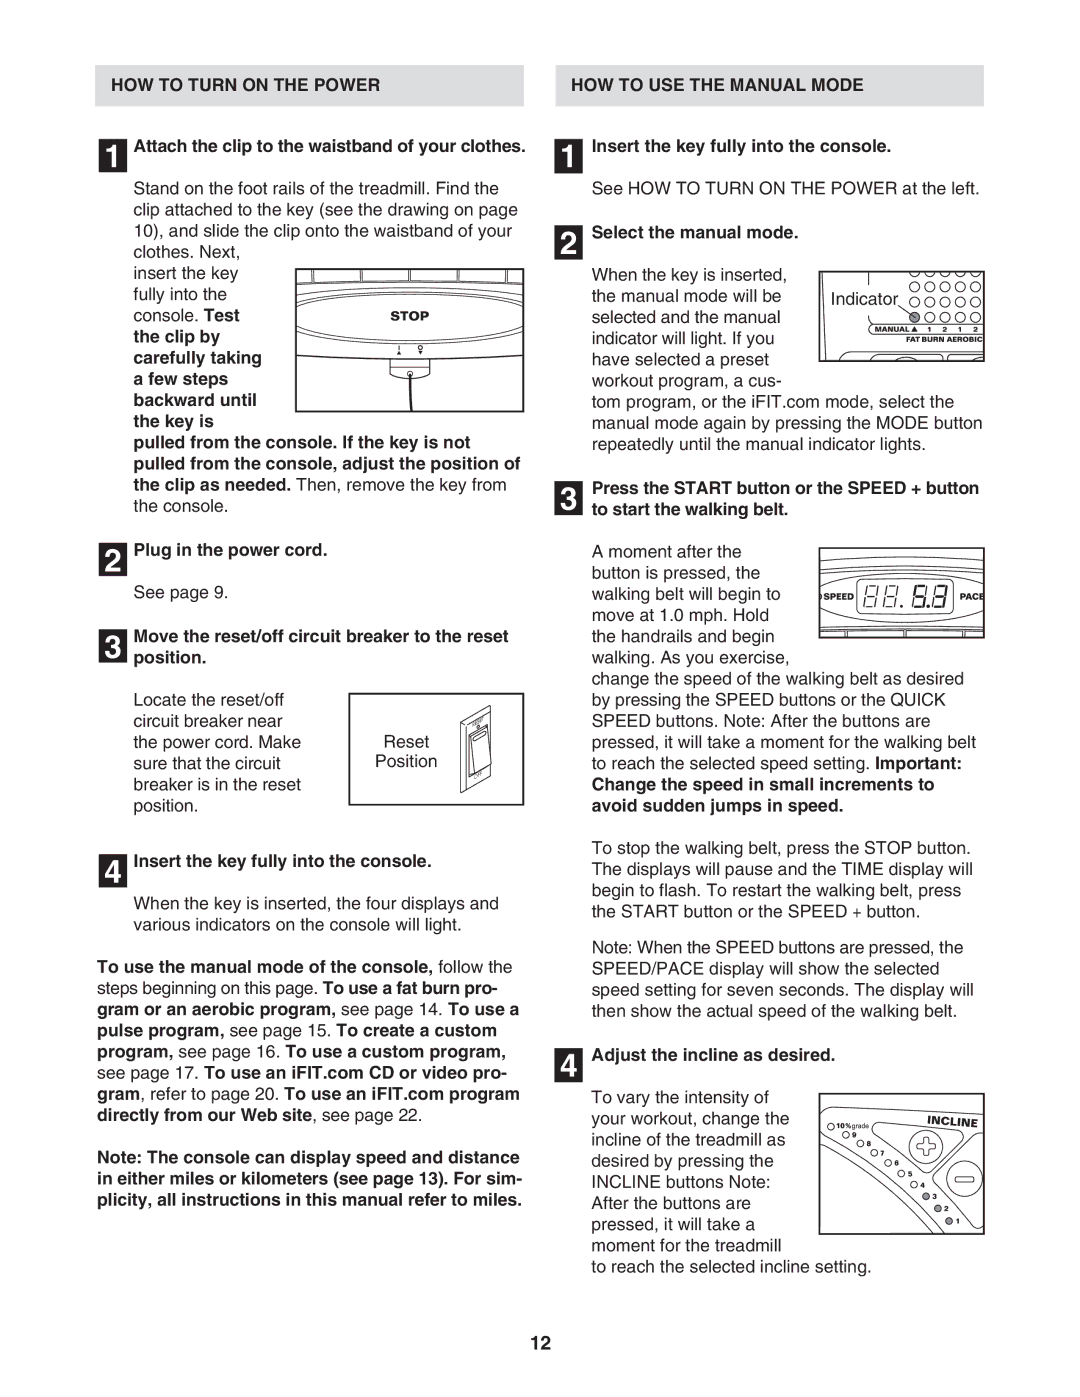
Stand on the foot rails of the treadmill. Find the clip attached to the key (see the drawing on page 10), and slide the clip onto the waistband of your clothes. Next,
insert the key fully into the
console. Test the clip by
carefully taking a few steps backward until
the key is
pulled from the console. If the key is not pulled from the console, adjust the position of the clip as needed. Then, remove the key from the console.
2 Plug in the power cord.
See page 9.
Move the reset/off circuit breaker to the reset
3 position.
Locate the reset/off |
|
|
|
|
|
circuit breaker near |
|
|
|
|
|
the power cord. Make |
|
|
|
|
|
| Reset | ||||
|
|
|
| ||
sure that the circuit |
| Position |
|
|
|
breaker is in the reset |
|
|
|
|
|
|
|
|
|
| |
position. |
|
|
|
|
|
|
|
|
|
|
4 Insert the key fully into the console.
When the key is inserted, the four displays and various indicators on the console will light.
To use the manual mode of the console, follow the steps beginning on this page. To use a fat burn pro- gram or an aerobic program, see page 14. To use a pulse program, see page 15. To create a custom program, see page 16. To use a custom program, see page 17. To use an iFIT.com CD or video pro- gram, refer to page 20. To use an iFIT.com program directly from our Web site, see page 22.
Note: The console can display speed and distance in either miles or kilometers (see page 13). For sim- plicity, all instructions in this manual refer to miles.
HOW TO USE THE MANUAL MODE
1 Insert the key fully into the console.
See HOW TO TURN ON THE POWER at the left.
2 Select the manual mode. |
|
When the key is inserted, |
|
the manual mode will be | Indicator |
selected and the manual |
|
indicator will light. If you |
|
have selected a preset |
|
workout program, a cus-
tom program, or the iFIT.com mode, select the manual mode again by pressing the MODE button repeatedly until the manual indicator lights.
Press the START button or the SPEED + button
3 to start the walking belt.
A moment after the button is pressed, the
walking belt will begin to move at 1.0 mph. Hold
the handrails and begin walking. As you exercise,
change the speed of the walking belt as desired by pressing the SPEED buttons or the QUICK SPEED buttons. Note: After the buttons are pressed, it will take a moment for the walking belt to reach the selected speed setting. Important:
Change the speed in small increments to avoid sudden jumps in speed.
To stop the walking belt, press the STOP button. The displays will pause and the TIME display will begin to flash. To restart the walking belt, press the START button or the SPEED + button.
Note: When the SPEED buttons are pressed, the SPEED/PACE display will show the selected speed setting for seven seconds. The display will then show the actual speed of the walking belt.
4 Adjust the incline as desired.
To vary the intensity of
your workout, change the incline of the treadmill as
desired by pressing the INCLINE buttons Note: After the buttons are pressed, it will take a moment for the treadmill
to reach the selected incline setting.
12
