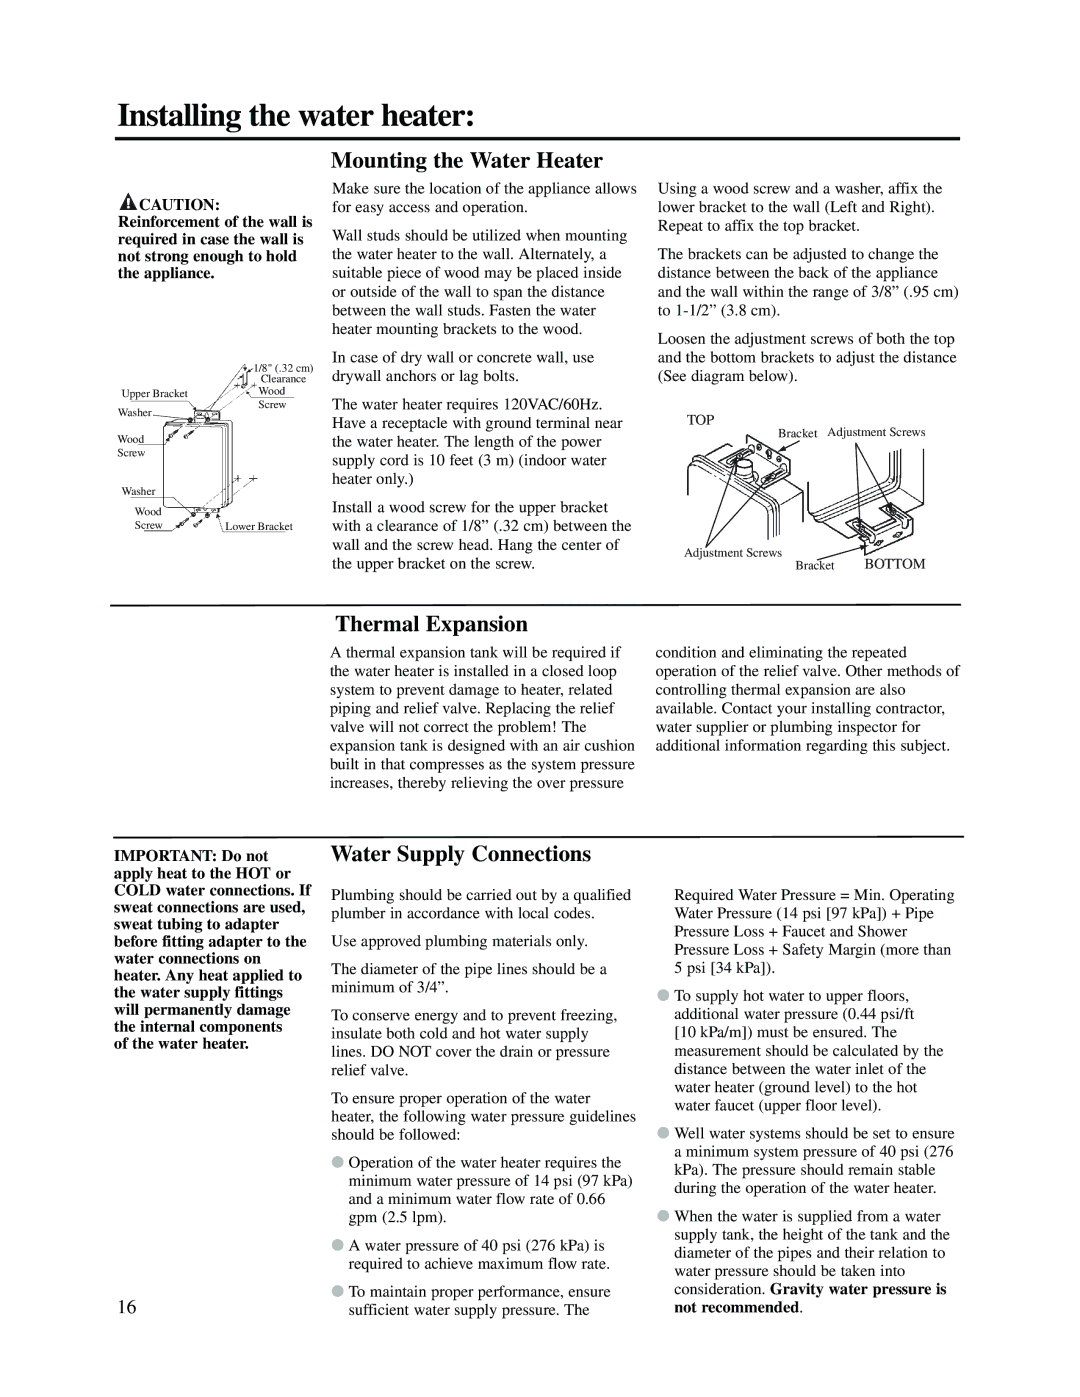
RMTG2-53(PVN)(PVP)(XN)(XP), RTG2-53(PVN)(PVP)(XN)(XP), RUTG2-53(PVN)(PVP)(XN)(XP), PTG53-(PVN)(PVP)(XN)(XP) specifications
Rheem PTG53-(PVN)(PVP)(XN)(XP), RUTG2-53(PVN)(PVP)(XN)(XP), RTG2-53(PVN)(PVP)(XN)(XP), and RMTG2-53(PVN)(PVP)(XN)(XP) are an impressive lineup of tankless water heaters that exemplify efficiency, technology, and convenience. These models represent Rheem's commitment to innovation in water heating solutions, appealing to both residential and commercial users.At the core of these models is their ability to deliver continuous hot water on demand, which eliminates the need for large storage tanks. The compact design allows for flexible installation options, saving valuable space and making them suitable for varied settings, including tight spaces. The units are designed to provide an endless supply of hot water, making them ideal for families with high hot water needs.
Advanced heating technology is another hallmark of the Rheem PTG53 and its counterparts. These models typically feature high-efficiency condensing design, which captures and reuses exhaust heat to enhance overall efficiency. This means users can enjoy lower energy bills while also contributing to a reduced environmental footprint.
The Rheem Tankless Water Heaters come equipped with smart functionalities, including digital displays for easy temperature settings and monitoring. Some models are compatible with Wi-Fi connectivity, enabling users to control and monitor their water heating systems remotely through a smartphone app. This feature adds an extra layer of convenience, particularly for tech-savvy homeowners seeking seamless integration into their smart home ecosystems.
Safety features are also well-considered in these models, with automatic shut-off mechanisms and overheating protection ensuring safe operation. Additionally, they boast impressive flow rates, providing sufficient hot water for multiple fixtures simultaneously, thus meeting the demands of larger households or commercial establishments.
Finally, Rheem stands behind its products with robust warranties, showcasing confidence in their durability. The PTG53, RUTG2, RTG2, and RMTG2 models are constructed to offer longevity and reliability, ensuring peace of mind for users.
In summary, Rheem's PTG53-(PVN)(PVP)(XN)(XP), RUTG2-53(PVN)(PVP)(XN)(XP), RTG2-53(PVN)(PVP)(XN)(XP), and RMTG2-53(PVN)(PVP)(XN)(XP) represent the pinnacle of tankless water heating technology. With their efficient, space-saving design, advanced features, and emphasis on safety, these units are well suited for modern living, providing endless hot water and comfort to users.