Section 11 Page 2 of 3
11.3 Inspection
Check Cross Braces for bending and evidence of cracks around pivot holes.
Check each tab on the sideframes for evidence of bending, elongation or worn holes, and cracks in brazing or tubing.
11.4 Cross Brace Assembly Removal
Remove the two 1/4 UNF set screws securing the Cross Brace Assembly to each sideframe.
11.5 Cross Brace and Locking Link Assembly Fitting
Fit two 1/4 UNF set screws to secure the Cross Brace Assembly to each sideframe. Tighten until the Cross Brace is just securely held, then loosen the nut half a turn.
The Cross Brace Assembly must be free to move without binding, but show no signs of excessive free play. Lubricate with light oil, eg 3 in 1. Overtightening of Cross Brace Assembly screws will prevent pivotting action and will lead to fracture of tab to side frame.
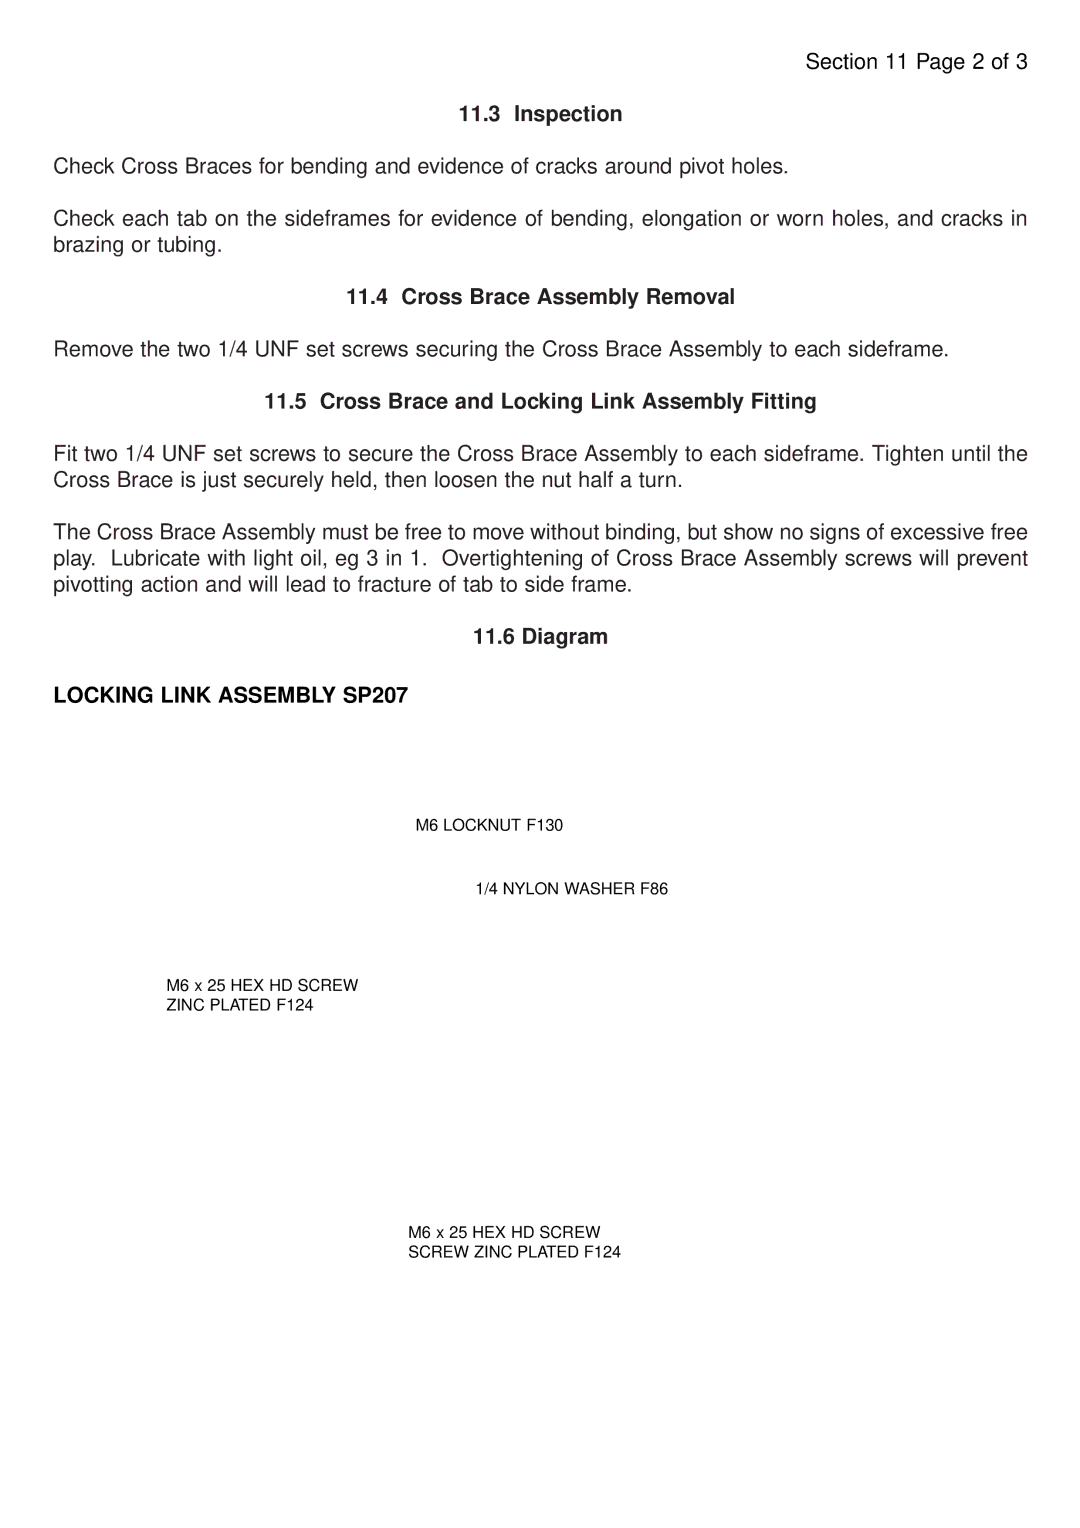
11.6 Diagram
LOCKING LINK ASSEMBLY SP207
M6 LOCKNUT F130
1/4 NYLON WASHER F86
M6 x 25 HEX HD SCREW
ZINC PLATED F124
M6 x 25 HEX HD SCREW SCREW ZINC PLATED F124