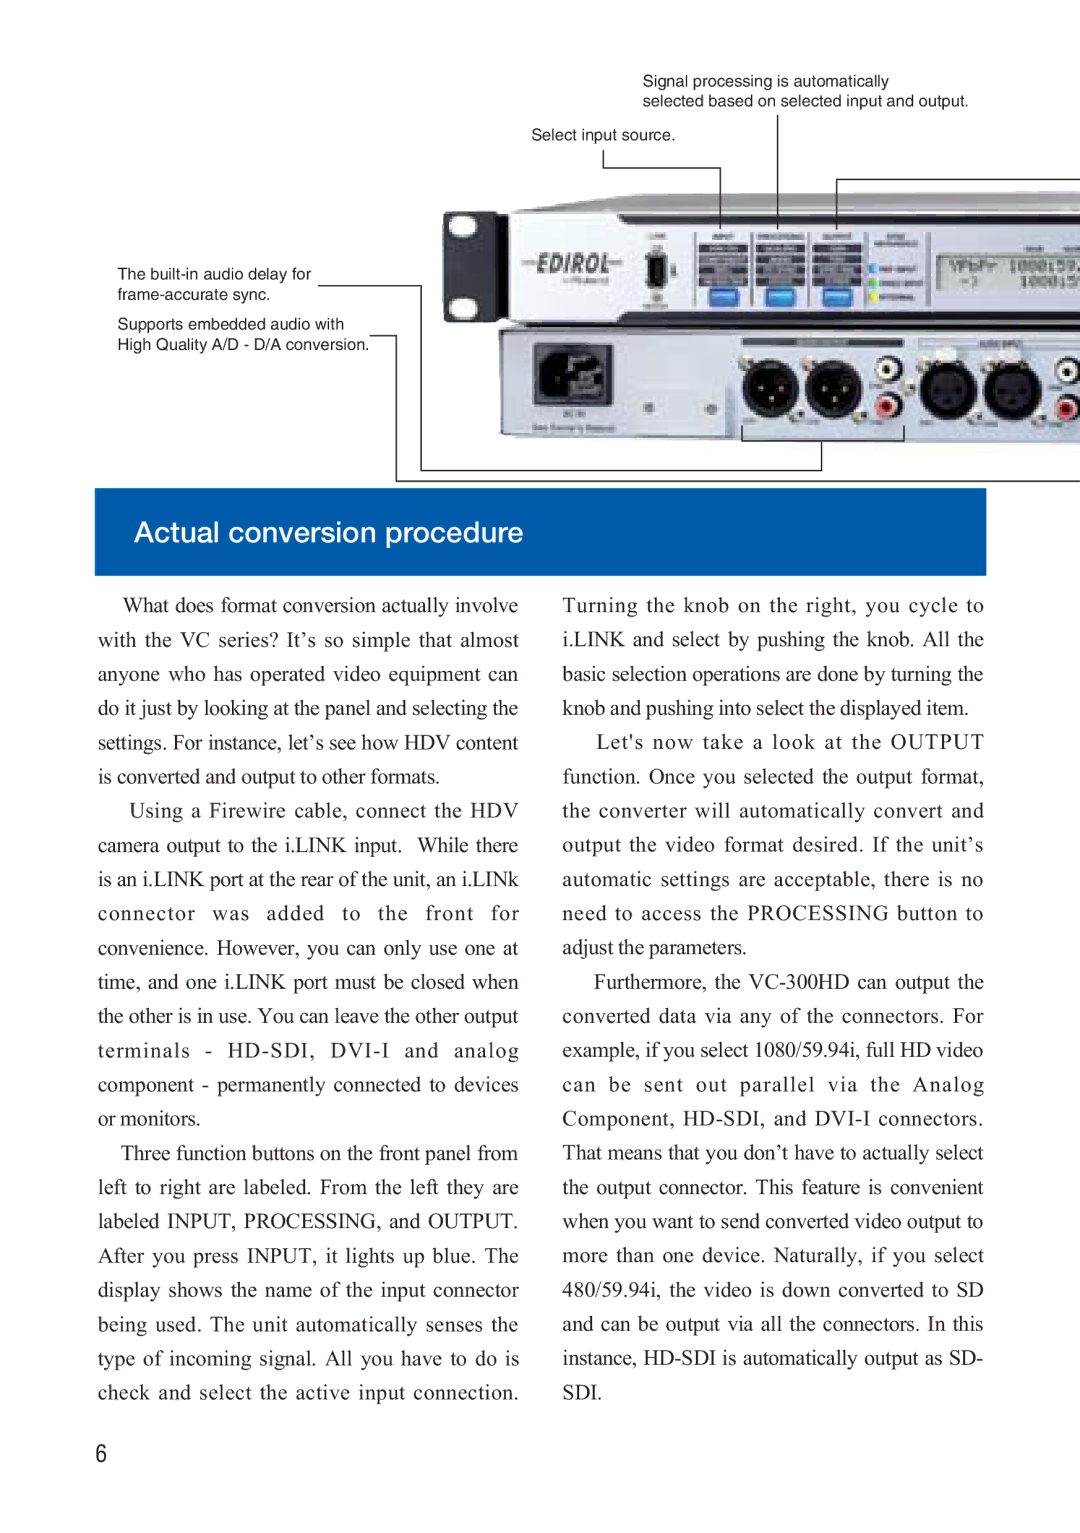
Signal processing is automatically
selected based on selected input and output.
Select input source.
The
Supports embedded audio with
High Quality A/D - D/A conversion.
Actual conversion procedure
What does format conversion actually involve with the VC series? It’s so simple that almost anyone who has operated video equipment can do it just by looking at the panel and selecting the settings. For instance, let’s see how HDV content is converted and output to other formats.
Using a Firewire cable, connect the HDV camera output to the i.LINK input. While there is an i.LINK port at the rear of the unit, an i.LINk connector was added to the front for convenience. However, you can only use one at time, and one i.LINK port must be closed when the other is in use. You can leave the other output terminals -
Three function buttons on the front panel from left to right are labeled. From the left they are labeled INPUT, PROCESSING, and OUTPUT. After you press INPUT, it lights up blue. The display shows the name of the input connector being used. The unit automatically senses the type of incoming signal. All you have to do is check and select the active input connection.
Turning the knob on the right, you cycle to i.LINK and select by pushing the knob. All the basic selection operations are done by turning the knob and pushing into select the displayed item.
Let's now take a look at the OUTPUT function. Once you selected the output format, the converter will automatically convert and output the video format desired. If the unit’s automatic settings are acceptable, there is no need to access the PROCESSING button to adjust the parameters.
Furthermore, the
6
