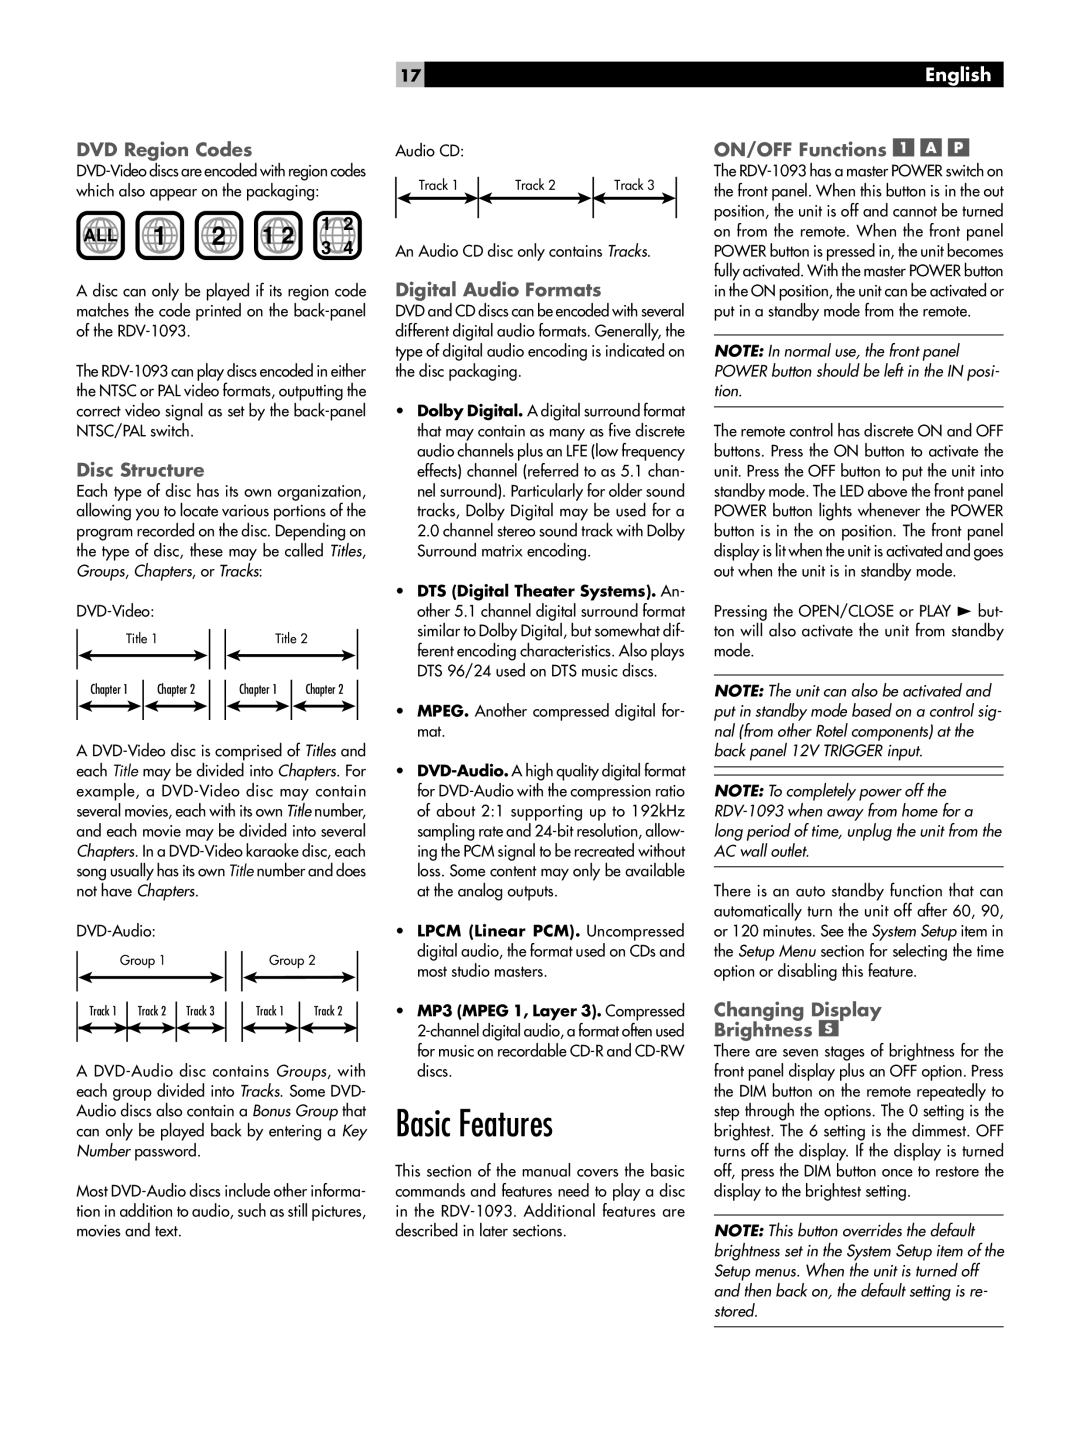
DVD Region Codes
17
Audio CD:
Track 1
Track 2
Track 3
English
ON/OFF Functions 


The
ALL | 1 | 2 | 1 2 | 1 | 2 |
3 | 4 | ||||
|
|
|
|
|
A disc can only be played if its region code matches the code printed on the
The
Disc Structure
Each type of disc has its own organization, allowing you to locate various portions of the program recorded on the disc. Depending on the type of disc, these may be called Titles, Groups, Chapters, or Tracks:
Title 1 |
|
| Title 2 | ||||||||
|
|
|
|
|
|
|
|
|
|
|
|
Chapter 1 |
| Chapter 2 |
|
| Chapter 1 |
| Chapter 2 | ||||
|
|
|
| ||||||||
|
|
|
| ||||||||
|
|
|
|
|
|
|
|
|
|
|
|
|
|
|
|
|
|
|
|
|
|
|
|
A
| Group 1 |
|
| Group 2 | |||||||||
|
|
|
|
|
|
|
|
|
|
|
|
|
|
|
|
|
|
|
|
|
|
|
|
|
|
|
|
|
|
|
|
|
|
|
|
|
|
|
|
|
|
| Track 1 | Track 2 |
| Track 3 |
|
| Track 1 |
| Track 2 | ||||
|
|
|
|
|
|
|
|
|
|
|
|
|
|
|
|
|
|
|
|
|
|
|
|
|
|
|
|
A
Most
An Audio CD disc only contains Tracks.
Digital Audio Formats
DVD and CD discs can be encoded with several different digital audio formats. Generally, the type of digital audio encoding is indicated on the disc packaging.
•Dolby Digital. A digital surround format that may contain as many as five discrete audio channels plus an LFE (low frequency effects) channel (referred to as 5.1 chan- nel surround). Particularly for older sound tracks, Dolby Digital may be used for a 2.0 channel stereo sound track with Dolby Surround matrix encoding.
•DTS (Digital Theater Systems). An- other 5.1 channel digital surround format similar to Dolby Digital, but somewhat dif- ferent encoding characteristics. Also plays DTS 96/24 used on DTS music discs.
•MPEG. Another compressed digital for- mat.
•
•LPCM (Linear PCM). Uncompressed digital audio, the format used on CDs and most studio masters.
•MP3 (MPEG 1, Layer 3). Compressed
Basic Features
This section of the manual covers the basic commands and features need to play a disc in the
on from the remote. When the front panel POWER button is pressed in, the unit becomes fully activated. With the master POWER button in the ON position, the unit can be activated or put in a standby mode from the remote.
NOTE: In normal use, the front panel POWER button should be left in the IN posi- tion.
The remote control has discrete ON and OFF buttons. Press the ON button to activate the unit. Press the OFF button to put the unit into standby mode. The LED above the front panel POWER button lights whenever the POWER button is in the on position. The front panel display is lit when the unit is activated and goes out when the unit is in standby mode.
Pressing the OPEN/CLOSE or PLAY / but- ton will also activate the unit from standby mode.
NOTE: The unit can also be activated and put in standby mode based on a control sig- nal (from other Rotel components) at the back panel 12V TRIGGER input.
NOTE: To completely power off the
There is an auto standby function that can automatically turn the unit off after 60, 90, or 120 minutes. See the System Setup item in the Setup Menu section for selecting the time option or disabling this feature.
Changing Display
Brightness 
There are seven stages of brightness for the front panel display plus an OFF option. Press the DIM button on the remote repeatedly to step through the options. The 0 setting is the brightest. The 6 setting is the dimmest. OFF turns off the display. If the display is turned off, press the DIM button once to restore the display to the brightest setting.
NOTE: This button overrides the default brightness set in the System Setup item of the Setup menus. When the unit is turned off and then back on, the default setting is re- stored.
