Backlighting 


As delivered from the factory, the keypads have automatic backlighting for the device buttons and
the ![]()
![]() button.
button.
When a device button is pressed, the backlighting for that button remains lit to indicate the currently selected device.
The backlighting for the ![]()
![]() button remains on when the sound is muted. The backlighting turns
button remains on when the sound is muted. The backlighting turns
off when the ![]()
![]() button is pressed again or when muting is cancelled by pressing the
button is pressed again or when muting is cancelled by pressing the ![]() or
or ![]() buttons.
buttons.
All backlighting is turned off when the ![]()
![]() but- ton is pressed and remains off until a device but- ton is pressed.
but- ton is pressed and remains off until a device but- ton is pressed.
NOTE: The backlighting feature can be permanently disabled during configuration of the keypads.
IR Sensor 
An infrared sensor is located behind the dark oval lens at the top of the keypad. This sensor receives IR commands from a handheld remote control aimed at the keypad.
IR commands received by the IR sensor do not change the backlighting on the keypad. For ex- ample, a MUTE command received from a hand- held remote will not light the MUTE button on the keypad.
MUTE: The IR sensor can be disabled during con- figuration of the keypads. Generally, the sensor of a second keypad in a zone should be disabled if there is a chance of IR signals reaching both keypads simultaneously.
11
Configuring the keypads
With the default factory configuration, the keypads are ready to use in a system with Rotel compo- nents as described in the Operating the Keypads section of the manual. However, the keypads can be customized in several ways during setup. Op- tions include:
•Learning commands from handheld remote controls in place of the existing commands.
•Combining the commands in a SMART sequence that is sent whenever a device is selected.
•Using two additional buttons as device keys, for a total of six available source components.
•Disabling the infrared sensor on the front of the keypad.
•Disabling the backlighting.
•Resetting the keypad to its default factory con- figuration.
•Replacing the standard button labels with op- tional labels.
This section of the manual provides instructions for each of these configuration steps.
NOTE: An additional customizing feature is Cloning, which allows quick transfer of learned commands and SMART sequences to additional keypads. Cloning is covered in a later section of the manual.
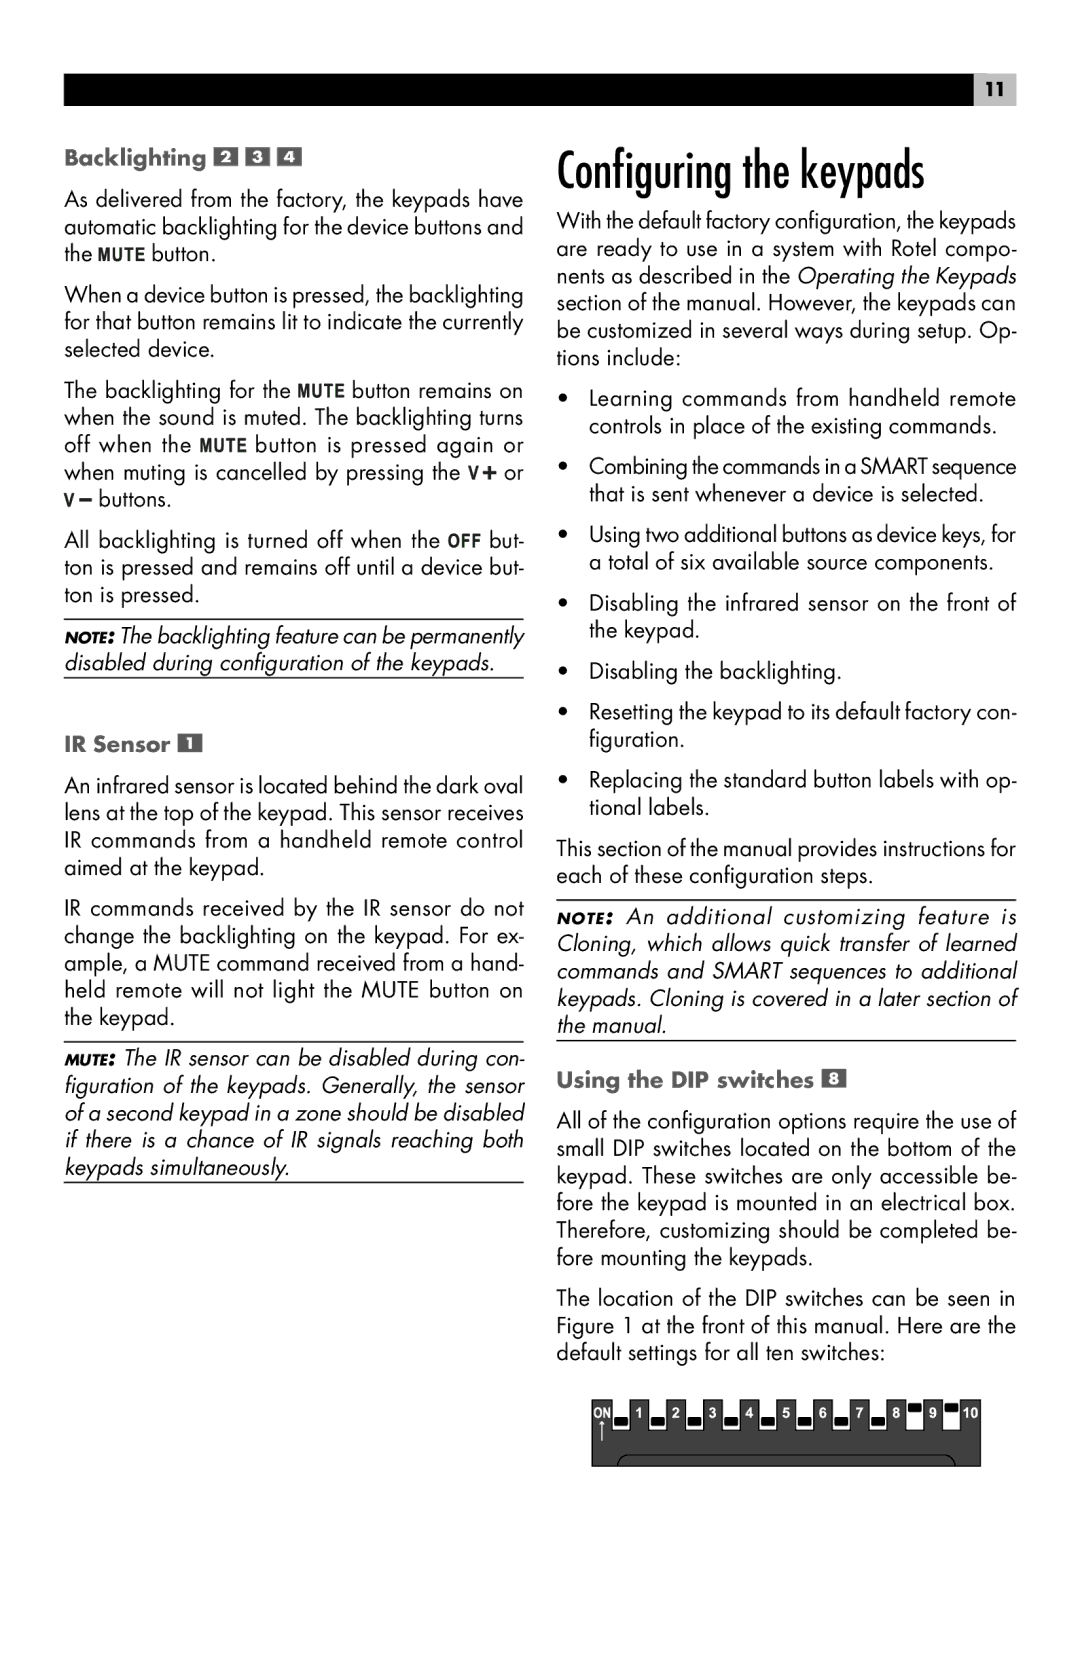
Using the DIP switches 
All of the configuration options require the use of small DIP switches located on the bottom of the keypad. These switches are only accessible be- fore the keypad is mounted in an electrical box. Therefore, customizing should be completed be- fore mounting the keypads.
The location of the DIP switches can be seen in Figure 1 at the front of this manual. Here are the default settings for all ten switches: