
RSX-1057 specifications
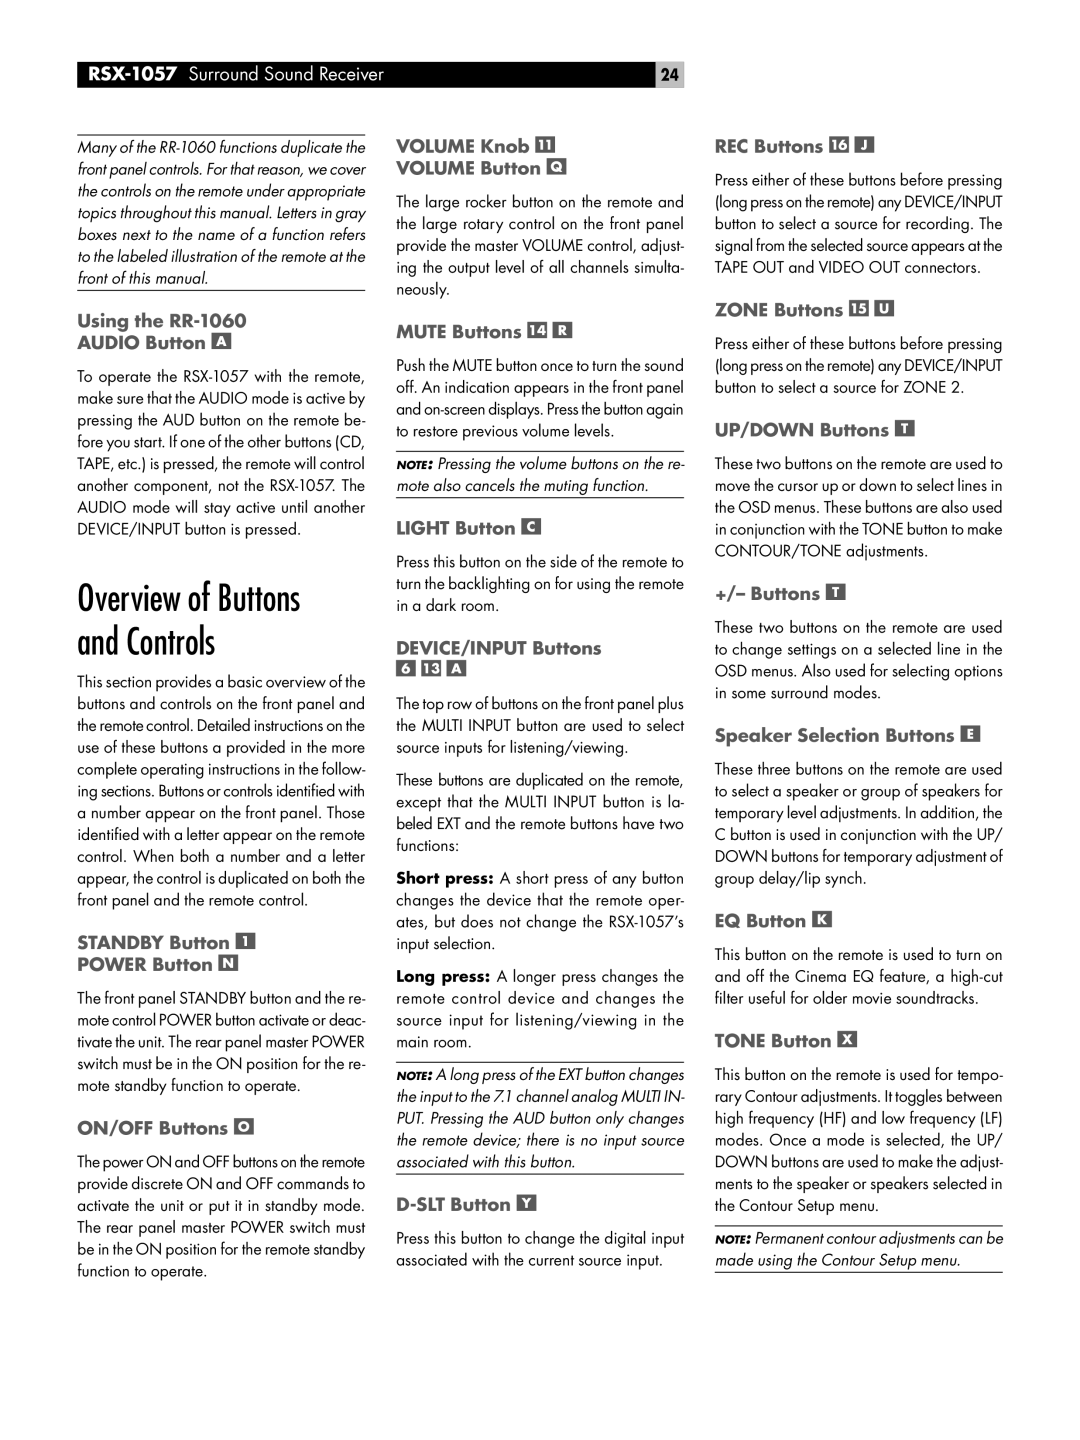
The Rotel RSX-1057 is a robust and versatile AV receiver that has garnered attention for its excellent performance and range of features. Designed to meet the demands of home theater enthusiasts, it stands out for its combination of advanced technology, superior audio quality, and user-friendliness.One of the key features of the RSX-1057 is its robust amplification capabilities. With a power output of 75 watts per channel, it can deliver rich sound across multiple audio channels, making it ideal for multi-channel audio setups. This is complemented by the receiver's high-current design, which ensures dynamic sound reproduction with minimal distortion, even at high volumes.
The receiver supports a wide range of audio formats, including Dolby Digital, Dolby Pro Logic II, DTS, and various music-enhancing technologies. This allows users to experience movies and music in immersive detail, making it a great choice for both film buffs and music lovers alike. The RSX-1057 also features an integrated AM/FM tuner, enabling users to enjoy their favorite radio stations without the need for additional equipment.
In terms of connectivity, the RSX-1057 boasts an impressive selection of input and output options. It includes several HDMI inputs, component video inputs, and composite video connections, making it highly compatible with a variety of devices, from Blu-ray players to gaming consoles. Furthermore, the receiver offers audio outputs that allow for easy integration with subwoofers, enhancing the overall audio experience.
One of the standout technologies in the RSX-1057 is its proprietary ‘Rotel Link’ feature, which enables multi-room audio setups. This function allows users to connect multiple components and create a unified audio system throughout their home. The intuitive remote control enhances the user experience, providing seamless access to browsing and selecting different inputs and settings.
The design of the Rotel RSX-1057 is both aesthetically pleasing and functional. Its sleek chassis features a brushed aluminum front panel, which not only looks great but also minimizes environmental interference. Furthermore, the unit is designed for efficient heat dissipation, ensuring longevity and reliable performance over time.
Overall, the Rotel RSX-1057 is a well-rounded AV receiver that excels in audio fidelity, versatility, and user-centric features. Its commitment to quality and innovation makes it a popular choice for anyone seeking to elevate their home entertainment experience.