Blanking
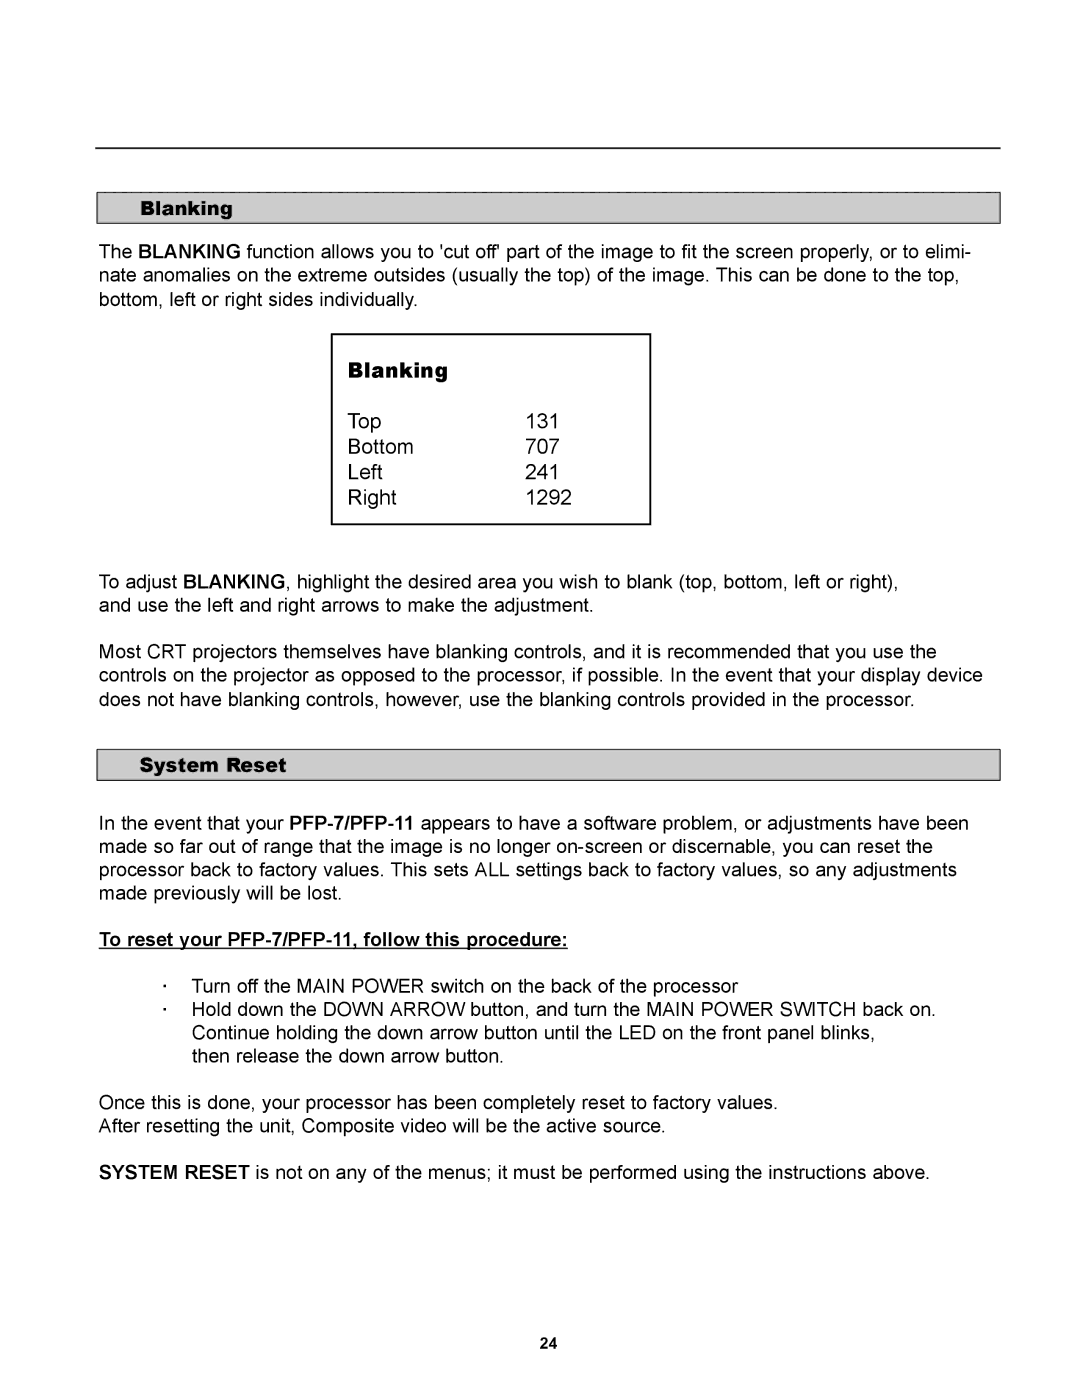
The BLANKING function allows you to 'cut off' part of the image to fit the screen properly, or to elimi- nate anomalies on the extreme outsides (usually the top) of the image. This can be done to the top, bottom, left or right sides individually.
Blanking |
|
Top | 131 |
Bottom | 707 |
Left | 241 |
Right | 1292 |
|
|
To adjust BLANKING, highlight the desired area you wish to blank (top, bottom, left or right), and use the left and right arrows to make the adjustment.
Most CRT projectors themselves have blanking controls, and it is recommended that you use the controls on the projector as opposed to the processor, if possible. In the event that your display device does not have blanking controls, however, use the blanking controls provided in the processor.
System Reset
In the event that your
To reset your PFP-7/PFP-11, follow this procedure:
·Turn off the MAIN POWER switch on the back of the processor
·Hold down the DOWN ARROW button, and turn the MAIN POWER SWITCH back on. Continue holding the down arrow button until the LED on the front panel blinks,
then release the down arrow button.
Once this is done, your processor has been completely reset to factory values. After resetting the unit, Composite video will be the active source.
SYSTEM RESET is not on any of the menus; it must be performed using the instructions above.
24