
P710 specifications
The Ryobi P710 is a versatile and powerful portable job site radio that caters to the needs of both professionals and DIY enthusiasts. This compact unit is packed with features designed to enhance productivity and provide entertainment while working on various tasks.One of the standout features of the Ryobi P710 is its impressive Bluetooth connectivity. With the ability to connect to compatible devices up to 30 feet away, users can easily stream their favorite music, podcasts, or other audio directly from smartphones and tablets. This feature makes it an ideal companion for work sites, where entertainment can help keep morale high during long hours.
The P710 radio also supports USB charging, providing users with the convenience of charging their devices directly from the radio. This is especially beneficial when working outdoors or in areas where power outlets are scarce. The built-in battery is designed for extended use, ensuring that your music or talk shows last throughout the day without interruption.
Another key characteristic of the Ryobi P710 is its durable design. Constructed with rugged materials, this radio is built to withstand tough job site conditions. Its reinforced corners and water-resistant casing protect it from the elements, making it suitable for outdoor use. Additionally, the integrated handle and lightweight design make it easy to transport from one location to another.
The sound quality of the P710 is another highlight, featuring high-performance speakers that deliver clear audio whether at low or high volumes. The radio also includes AM/FM tuners, allowing users to access a wide range of broadcasting options. With easy-to-use controls and a backlit display, adjusting settings is a straightforward process, even in low-light conditions.
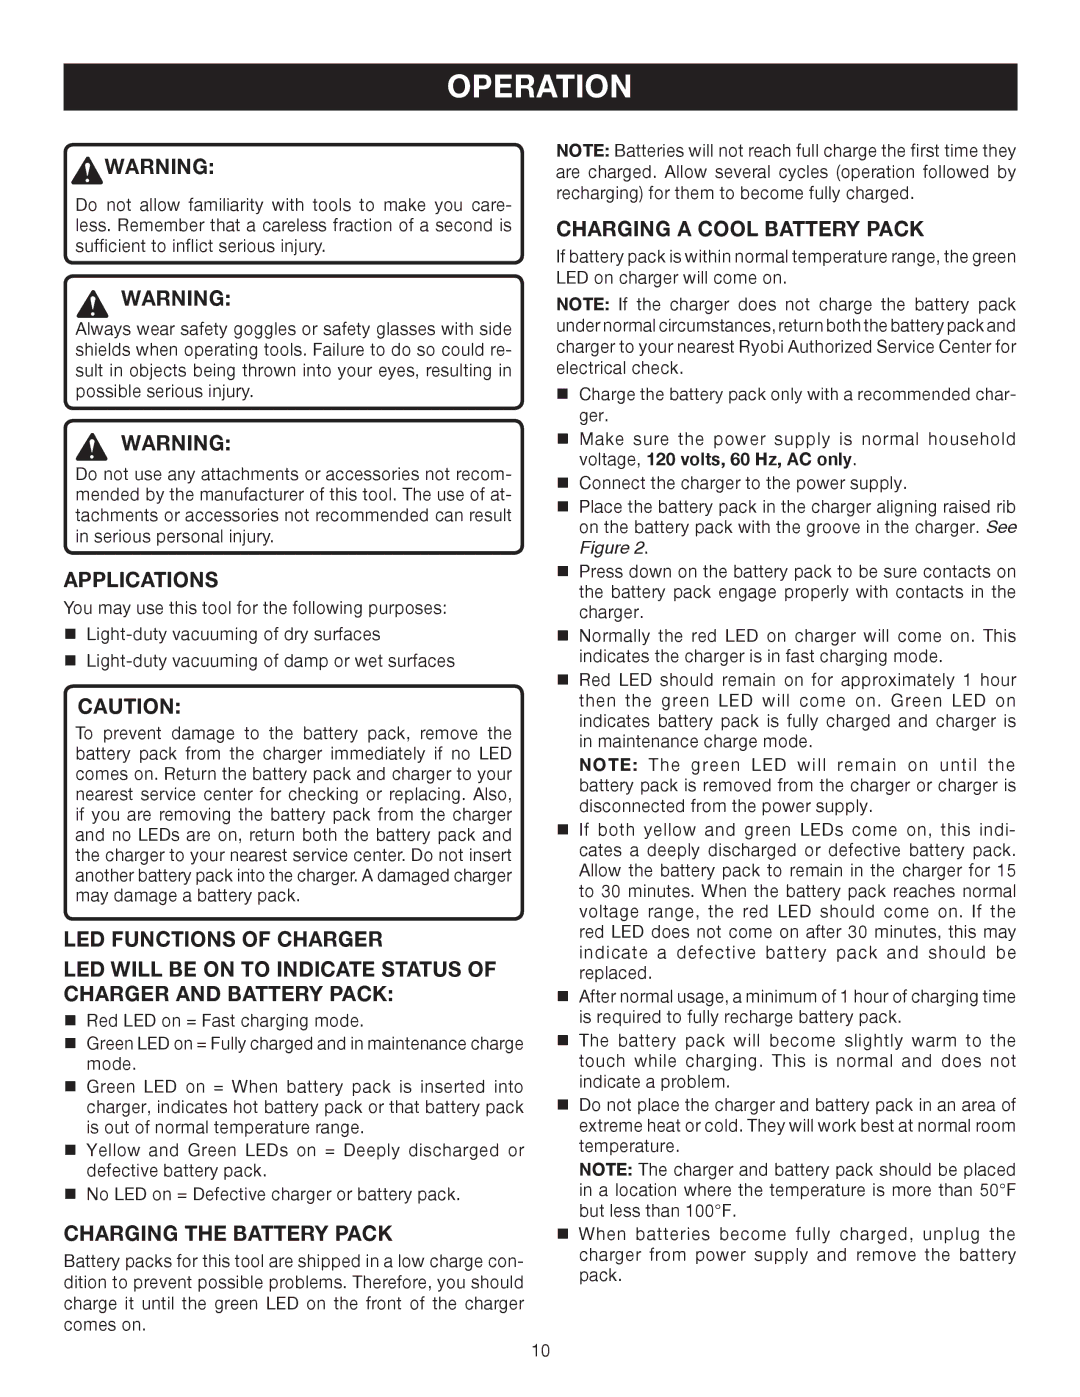
Furthermore, the Ryobi P710 is compatible with the Ryobi 18V ONE+ battery system, which means it can be powered by any Ryobi 18V battery for added convenience. This compatibility allows users to utilize batteries they may already have from other Ryobi tools, reducing the need for additional gear.
In summary, the Ryobi P710 is a robust job site radio that offers Bluetooth streaming, USB device charging, and exceptional durability. With high-quality sound and compatibility with the Ryobi 18V system, it stands out as a must-have tool for those needing entertainment and practicality while on the job. Its well-thought-out design, portability, and excellent functionality make it a worthwhile investment for workers in various industries.