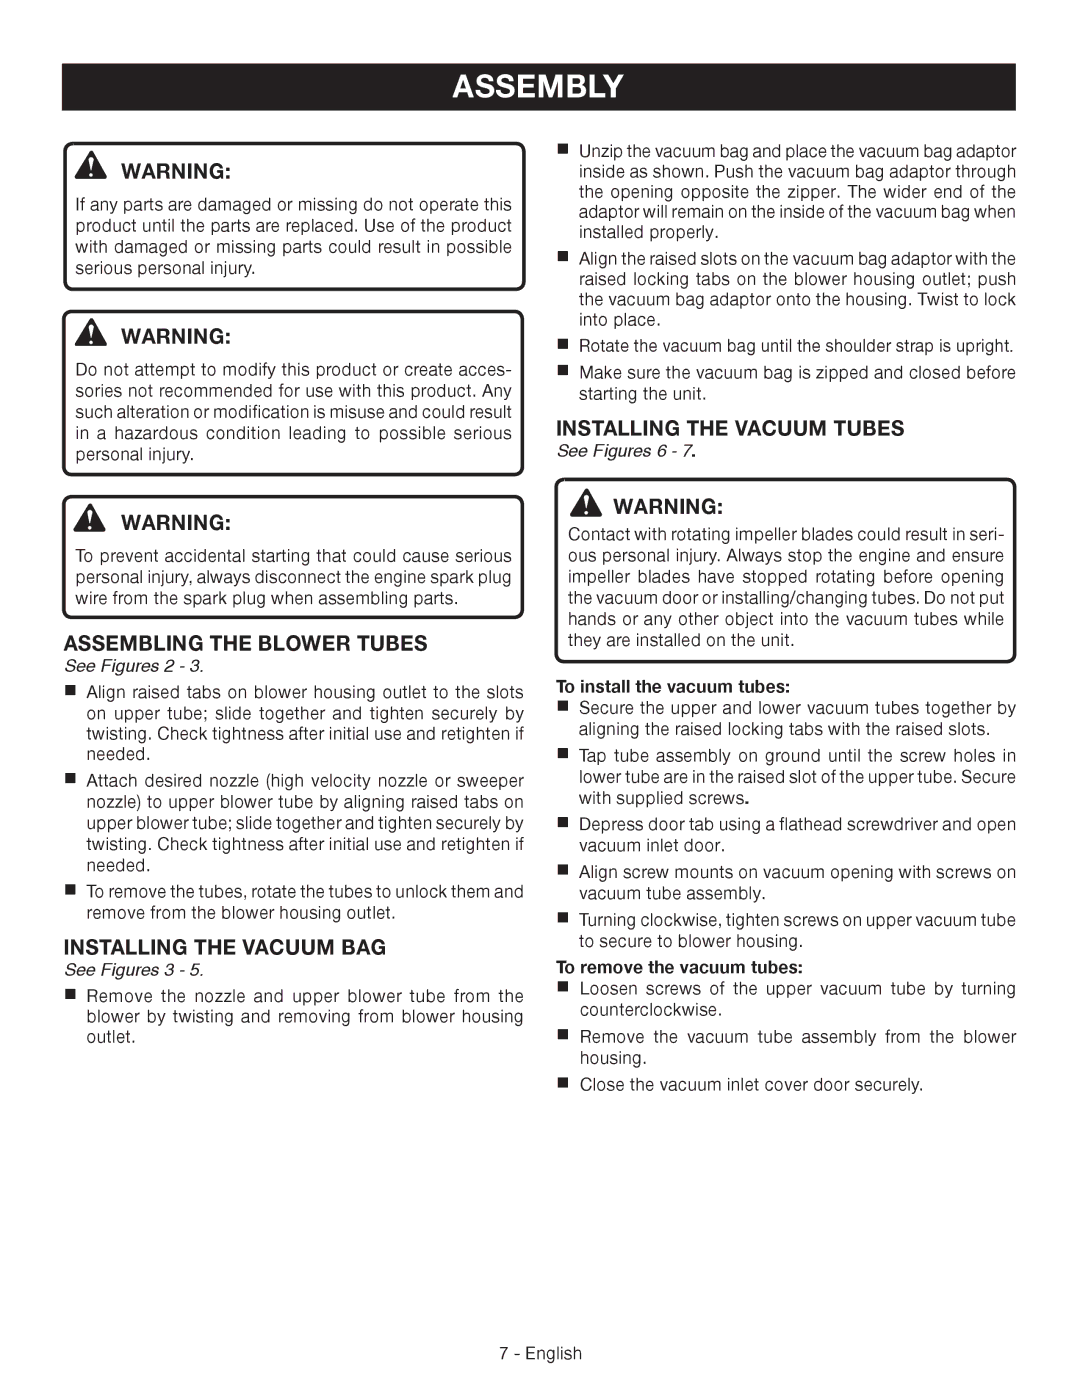
ASSEMBLY

WARNING:

If any parts are damaged or missing do not operate this product until the parts are replaced. Use of the product with damaged or missing parts could result in possible serious personal injury.

WARNING:

Do not attempt to modify this product or create acces- sories not recommended for use with this product. Any such alteration or modification is misuse and could result in a hazardous condition leading to possible serious personal injury.

WARNING:

To prevent accidental starting that could cause serious personal injury, always disconnect the engine spark plug wire from the spark plug when assembling parts.

ASSEMBLING THE BLOWER TUBES

See Figures 2 - 3.

Align raised tabs on blower housing outlet to the slots on upper tube; slide together and tighten securely by twisting. Check tightness after initial use and retighten if needed.

Attach desired nozzle (high velocity nozzle or sweeper nozzle) to upper blower tube by aligning raised tabs on upper blower tube; slide together and tighten securely by twisting. Check tightness after initial use and retighten if needed.

To remove the tubes, rotate the tubes to unlock them and remove from the blower housing outlet.

INSTALLING THE VACUUM BAG

See Figures 3 - 5.

Remove the nozzle and upper blower tube from the blower by twisting and removing from blower housing outlet.

Unzip the vacuum bag and place the vacuum bag adaptor inside as shown. Push the vacuum bag adaptor through the opening opposite the zipper. The wider end of the adaptor will remain on the inside of the vacuum bag when installed properly.

Align the raised slots on the vacuum bag adaptor with the raised locking tabs on the blower housing outlet; push the vacuum bag adaptor onto the housing. Twist to lock into place.

Rotate the vacuum bag until the shoulder strap is upright.

Make sure the vacuum bag is zipped and closed before starting the unit.

INSTALLING THE VACUUM TUBES

See Figures 6 - 7.

WARNING:

Contact with rotating impeller blades could result in seri- ous personal injury. Always stop the engine and ensure impeller blades have stopped rotating before opening the vacuum door or installing/changing tubes. Do not put hands or any other object into the vacuum tubes while they are installed on the unit.

To install the vacuum tubes:

Secure the upper and lower vacuum tubes together by aligning the raised locking tabs with the raised slots.

Tap tube assembly on ground until the screw holes in lower tube are in the raised slot of the upper tube. Secure with supplied screws.

Depress door tab using a flathead screwdriver and open vacuum inlet door.

Align screw mounts on vacuum opening with screws on vacuum tube assembly.

Turning clockwise, tighten screws on upper vacuum tube to secure to blower housing.

To remove the vacuum tubes:

Loosen screws of the upper vacuum tube by turning counterclockwise.

Remove the vacuum tube assembly from the blower housing.

Close the vacuum inlet cover door securely.

7 - English

Page 9
Image 9
Ryobi RY09051 manuel dutilisation Assembling the Blower Tubes, Installing the Vacuum BAG, Installing the Vacuum Tubes

RY09051 specifications

The Ryobi RY09051 is a versatile and innovative power tool designed to cater to the needs of homeowners and DIY enthusiasts alike. This outdoor tool is primarily known for its functionality as a gasoline-powered pressure washer, boasting a range of features that make it a reliable choice for those seeking efficiency and performance in cleaning tasks.

One of the standout features of the Ryobi RY09051 is its robust 9,000 PSI engine, which allows it to tackle a variety of cleaning applications, from washing vehicles to clearing driveways and patios. The engine's impressive power ensures that dirt, grime, and stubborn stains are easily eliminated, providing exceptional cleaning results.

This pressure washer is equipped with a high-performance axial cam pump that optimizes water flow and pressure. This pump not only powers through tough cleaning jobs but also enhances durability, allowing the unit to perform optimally over time. The unit’s removable detergent tank is another significant advantage, enabling users to apply soap effectively during the cleaning process for even better results.

Portability is a crucial factor for outdoor tools, and the Ryobi RY09051 doesn’t disappoint. The unit features sturdy wheels that make it easy to maneuver across various terrains, and a lightweight design that ensures ease of transport. Additionally, the foldable handle provides convenient storage options, making it ideal for those with limited space.

User-friendliness is a hallmark of the RY09051, highlighted by its quick-connect nozzle system. This system allows for easy swapping between different nozzle sizes, thus offering users the flexibility to adjust the spray pattern according to their task. Whether you need a broad spray for rinsing off a large surface or a concentrated stream for those tougher spots, the Ryobi has you covered.

Finally, safety features are paramount when it comes to power tools, and the Ryobi RY09051 includes a safety trigger lock and a thermal relief system to prevent overheating. These features ensure that users can operate the pressure washer with confidence and peace of mind.

In summary, the Ryobi RY09051 stands out in the realm of gasoline-powered pressure washers due to its powerful performance, user-friendly design, and advanced features, making it an essential addition for anyone looking to achieve outstanding cleaning results in their outdoor spaces.