VIII Front Sway Bar Installation
Part Number | Description | Qty. |
|
|
|
Swaybar Front Assembly | 1 | |
|
|
|
Obtain the following tools:
•3/8” impact gun
•15 mm deep socket, 3/8” drive
•18 mm deep socket, 3/8” drive
•
•15 mm deep socket, ½” drive
•18 mm deep socket, ½” drive
Order of Operations:
1.Put the new sway bar into the location where the stock sway bar went.
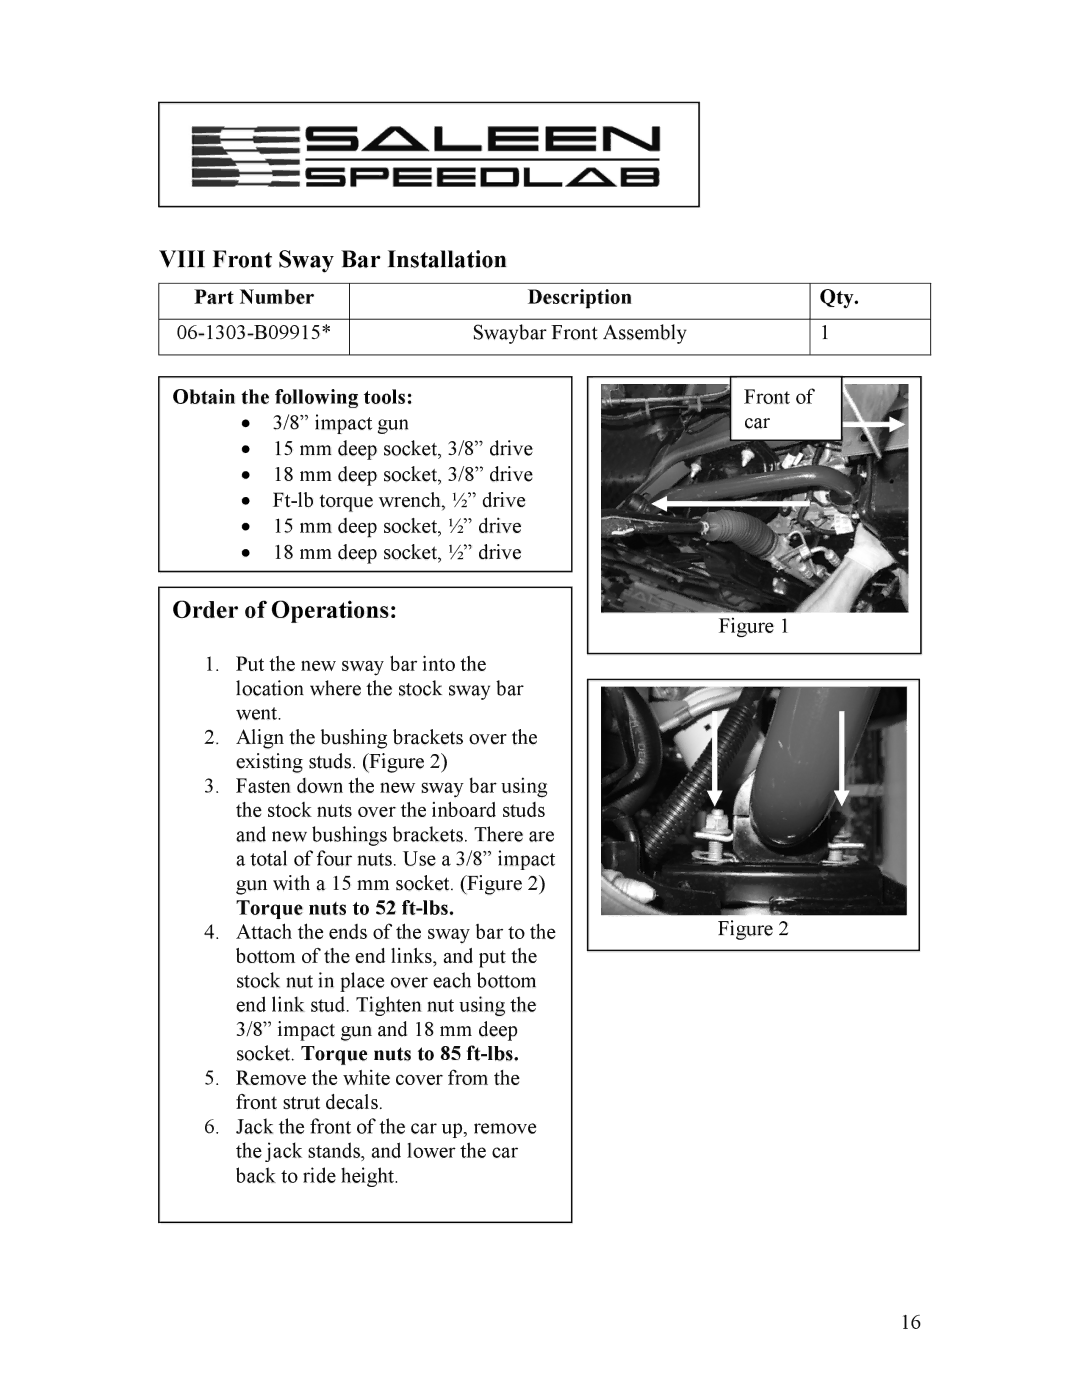
2.Align the bushing brackets over the existing studs. (Figure 2)
3.Fasten down the new sway bar using the stock nuts over the inboard studs and new bushings brackets. There are a total of four nuts. Use a 3/8” impact gun with a 15 mm socket. (Figure 2)
Torque nuts to 52 ft-lbs.
4.Attach the ends of the sway bar to the bottom of the end links, and put the stock nut in place over each bottom end link stud. Tighten nut using the 3/8” impact gun and 18 mm deep socket. Torque nuts to 85
5.Remove the white cover from the front strut decals.
6.Jack the front of the car up, remove the jack stands, and lower the car back to ride height.
Front of car
Figure 1
Figure 2
16