D R O I D T a B L E T
Headquarters
Intellectual Property
Page
Open Source Software
Disclaimer of Warranties Exclusion of Liability
Table of Contents
Messaging Connections
135
Getting Started
Setting Up Your Tablet
Installing the SIM Card
Installing the Memory Card
For more information on Memory Cards, see Memory Card on
Charging the Battery
Using the Travel Adapter
Carefully slide the Outlet Connector into the Charging Head
Low Battery Indicator
Switching the Tablet On or Off
Plug the charging head into a standard AC power outlet
Creating a New Google Account
Tap Power off
At the Power off prompt, tap OK to turn off your tablet
Locking and Unlocking the Touch Screen
Retrieving your Google Account Password
Understanding Your Tablet
Front View of Your Tablet Features of Your Tablet
Page
Microphone used for speech applications
Speakers allows you to hear tones, alarms, audio, and video
5mm Headset jack allows you to plug in headphones
Side Views of Your Tablet
Display Layout
Indicator Icons
Displays when there is a system error or alert
Rear View of Your Tablet
Displays when a new text message is received.
Application Icons
Alarm Clock The Alarm Clock application allows you to
Calendar
AT&T Hot Spots
Browser
Calculator
Google Search
Digital Frame
Gallery
Gmail
Messaging
Market
Media Hub
Memo
Talk
Quickoffice Settings
Nook
Places
Google Search Bar
From the Add to Home screen window tap Widgets
Feeds and Updates
Tap on the Tap here to add account field
Pass
AT&T Account Manager
Tap here to View data
Usage
Home Screen Overview
Menu Navigation
Locking and Unlocking the tablet
Home screen will display as shown above
Navigating Through the Application Menus
Navigating Using Sub-Menus
Accessing Recently-Used Applications
Customizing Your Home Screen
Touch and hold on an empty area of the Home screen
Press to activate the Home screen
Moving Icons in the Applications Menu
Adding and Removing Widgets
Creating and Managing Folders
Notification Bar
Changing the Wallpaper
SD Card Overview
Using the SD Card
Memory Card
Clearing Notifications
SD card Available Memory Status
Unmounting the SD card
Erasing Files from the SD card
Entering Text
Entering Text Using the Samsung Qwerty Keypad
Text Input Methods
Using Abc Mode
Changing the Text Input Mode Keypad
Screen initially opens in Abc mode. After typing
Tap the desired number, symbol, or emoticon characters
Using Symbol/Numeric Mode
Using XT9 Predictive Text
Tap ABC To return to Abc mode
Swype Text Entry Tips
Entering Text Using Swype
Enabling and Configuring Swype
Swype Settings
Page
AT&T Address Book Activation
Contacts and Your Address Book
Tap OK Tap OK again Your Address Book is displayed
Saving a Number from the Home screen
Adding a New Contact
Adding Pauses to Contact Numbers
Contacts beginning with that letter
Using Contacts
Editing an Existing Contact
Messaging from Address Book
Press More Join contact
Joining Contacts
Messages on
Joining Contact Information
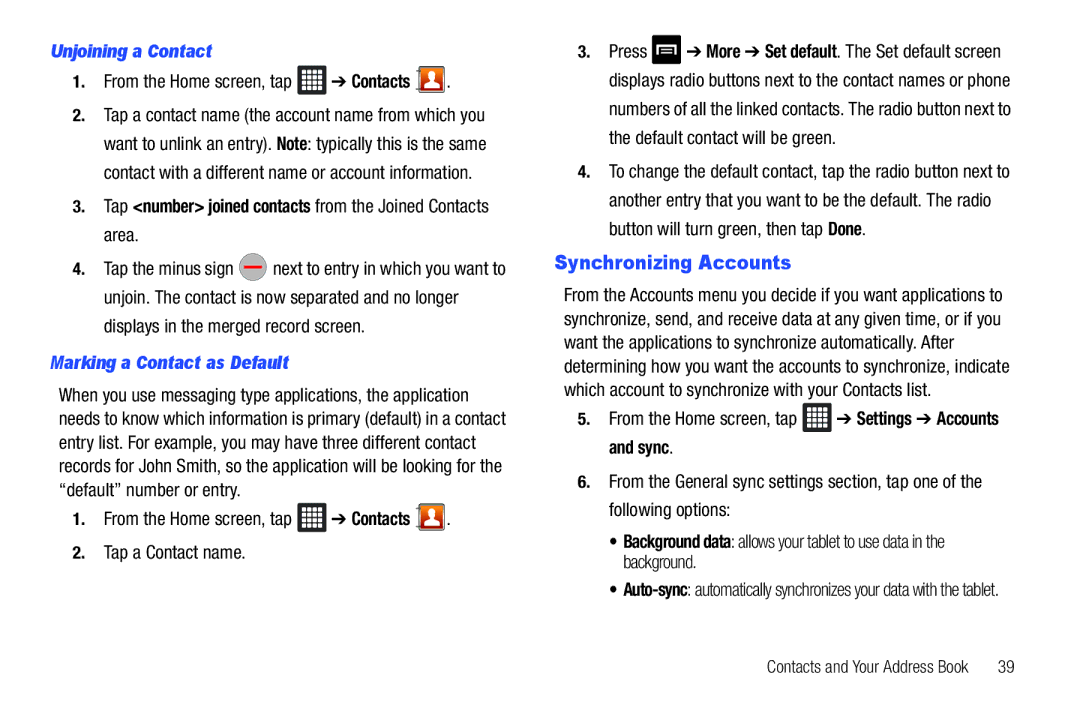
Unjoining a Contact
Marking a Contact as Default
From the Home screen, tap Settings Accounts and sync
Synchronizing Accounts
Options in Address Book
Address Book Options
Send message allows you to send a message
Removing an Entry From a Group
Groups
Creating New Group
Adding an Entry to a Group
Removing Favorites from your Address Book
Address Book Favorites
Managing Address Book Entries
Adding Favorites to your Address Book
Deleting Address Book Entries
Tap Media Hub
Using Media Hub
Multimedia
Media Hub
Tap Music
Repeat all replays the current list when the list ends
Music Player
Playing Music
Adding Music to a Playlist
Using Playlists
Music Player Options
Creating a Playlist
Tap Rename
Video Player
Editing a Playlist
Tap Playlists
More displays the following additional options
Gallery
Tap Gallery
Viewing Pictures
Taking Photos
Using the Camera
Camera
Viewing Videos
Flash Key Brightness
Shooting Mode Scene
Flash allows you to set the flash to Auto, On, or Off
Camera and Camcorder Options
Effects allows you to change the color tone or apply
Camera Settings Image Tab When in Camera mode
Reset allows you to reset all camera or camcorder settings
White balance allows you to set this option to one
Camcorder Settings Video Tab When in Camcorder mode
Available options are
Accessing Pictures
Pictures and Videos Image Viewer Options
Image or Video Share
Assigning an Image to an Address Book Entry
Using the Camcorder
Selecting and Using the Pictures
Editing a Photo
Camcorder Options after a Video is Taken
Accessing Videos
Shooting Video
Camcorder Options
Bookmark tap to create a bookmark on the progress bar
Rename allows you to rename one or more video files
Exit press to go back to the videos list
To pause the video, tap . To play the video, tap
To select from your contacts
Messaging
Types of Messages
Creating and Sending Messages
Adding Additional Text
Message Options
Viewing New Received Messages
Options before composing a message
Deleting multiple messages
Deleting Messages
Message Threads
Deleting a single message
Signing into Your Email
Messaging Settings
Using Email
Following Messaging settings are available
Refreshing Gmail
Using Gmail
Synchronizing a Corporate Email Account
Signing into Your Gmail
Enter the subject of this message in the Subject field
Google Talk
Creating a Gmail Message
Viewing a Gmail Message
Tap Sign
Begin using Google Talk
Activating Wi-Fi
Changing Your Settings
Wireless and Network
Flight mode
Device Name
Bluetooth settings
Activating Bluetooth
WPS Button Connection
Tap a device name to pair with the device
VPN settings
Tap Enable encryption to make a checkmark if desired
Scan Devices
Tap Set IPsec pre-shared key, enter a key and tap OK
Tap Data roaming
Tap Data enabled
Mobile networks
Following options display
Tap Network operators
Tap Default setup
USB Settings
Select one of the following USB settings
Volume
Sound Settings
From the Home screen, tap Settings Sound settings
Silent mode
Display Settings
Tap PAL or Ntsc
To use the TV out feature
Location and Security
TV out
Use GPS satellites
Use Wireless Networks
Set up/Change password
Set up SIM card lock
Tap Activate
Visible passwords
Select device administrators
Tap Change SIM PIN
Manage Applications
At the prompt, tap OK to uninstall the application
At the Uninstall finished prompt, tap OK
Applications
Accounts and Synchronization
Running services
Development
SD card and tablet storage
Mobile backup and restore
Factory data reset
Privacy
Select locale
Search Settings
Locale and Text Settings
From the Home screen, tap Settings Locale and text
Version lists the Swype version number
To configure Swype settings
From the Home screen, tap Settings Locale and text Swype
Samsung Keypad settings
Enter the words to add using the keypad and tap Done
Voice Input and Output
Accessibility Settings
Tap Text-to-speech settings to access the following options
From the Home screen, tap Settings
About Tablet
Accessibility
From the Home screen, tap Settings Date & time
Date and time
Page
Navigating with the Browser
Accessing the Mobile Web
Connections
Browser
From the att.my.yahoo homepage, tap the Web Search field
Browser Options
Enter a URL
Search the Internet
Tap next to the listing to delete the window
Using Bookmarks
Adding and Deleting Windows
Many windows you have open
Deleting Bookmarks
Using your History
Adding Bookmarks
Editing Bookmarks
Tap Clear to delete the History list
Using Most Visited
Browser Settings
Text encoding Adjusts the current text encoding
About Wi-Fi
Wi-Fi
Turning Wi-Fi On
Manually Scan for a Wi-Fi Network
Connect to a Wi-Fi Network
Tap Add Wi-Fi network
Turning Wi-Fi Off
AT&T Hot Spots
Wi-Fi Status Indicators
Wi-Fi Advanced Settings
Press Advanced
Bluetooth Status Indicators
Bluetooth
About Bluetooth
Turning Bluetooth On and Off
From the Bluetooth settings page, tap Device name
Verify your Bluetooth is active
Pairing Bluetooth Devices
Tap a device from the list to initiate pairing
To disconnect a paired device
PC Connections
What is Kies?
Connecting with Kies
Ensure that Windows Media Player is installed on your PC
Connecting as a Mass Storage Device
Setting an Alarm
Alarm Clock
Applications
Alarm Options
Turning Off an Alarm
Deleting Alarms
Disabling Alarms
Enter the second number To view the result, tap equals =
AT&T Hot Spots
Calculator
From the Home screen, tap Calculator
Calendar Options
Calendar
Tap the Tap to add city field
Contacts
Daily Briefing
Events List
Enter the desired event information in the various fields
Digital Frame
Tap Done
Modifying the Clock
Press Add to slideshow
Adding Pictures to the Slideshow
Adding Music
Latitude
Tap Wi-Fito turn Wi-Fi on
Gmail
Google Search
Latitude Options
Sharing your Location with Friends
106
My Location
Maps
Layers
Clear Map allows you to remove all layers from the map
From the Home screen, tap Maps
Using Maps
Follow on the on-screen instructions
Market
For more information, refer to Media Hub on
Music
Tap Send via then tap Bluetooth or Email
Memo
Messaging
Launching Navigation
Navigation
From the Home screen, tap myAT&T
Tap Get started
Tap either Speak Destination or Type Destination
Navigation Options
More includes the following options
Obtaining Driving Directions
Shop Books
Nook
Getting Started
Tap Create Account
While reading a document, press for the following options
All Settings allows you to set page and text settings
Press Library to return to your library
Nook Options
Tap on a business that you want to see the details for
Places
Quickoffice
From the Home screen, tap Places
Tap Register Now
Settings
Talk
Task Manager
Press Add city
Video
Voice Search
World Clock
Tap Remove
YouTube
YP.com
Remove
Applications
120
Health and Safety Information
Exposure to Radio Frequency RF Signals
Do cell phones pose a health hazard?
121
Interphone Study
Reduce the amount of time spent using your cell phone
Reducing Exposure Hands-Free Kits and Other Accessories
122
123
Children and Cell Phones
124
Specific Absorption Rate SAR Certification Information
GHz Wlan
Smart Practices While Driving
GSM
Wcdma
126
Battery Use & Safety
UL Certified Travel Adapter
Samsung Mobile Products and Recycling
127
Your Location
Display/Touch-Screen
128
Navigation
Care and Maintenance
Emergency Communication
130
Shock or vibration
Paint
Responsible Listening
131
132
Operating Environment
Persons who have such devices
Should not carry the mobile device in a breast pocket
FCC Notice
FCC Notice and Cautions
133
134
Other Important Safety Information
Standard Limited Warranty
Warranty Information
What is Covered and For How Long?
136
Warranties of Title or NON-INFRINGEMENT
137
Page
Index
Gmail Google Maps Google Search Google Search Bar Group
Events List Facebook Feeds and Updates Flight mode Gallery
Group Settings
Getting Started
Swype Settings Symbol/Numeric mode Tablet
Powering
SAR values SD Card Search Bar Settings
Sound Settings
Deleting an Entry
Video Player Volume Warranty Information Web Widgets
Windows Media Player
Synchronizing with

 ➔ Contacts
  .
. ➔ Settings ➔ Accounts and sync.