Playlist

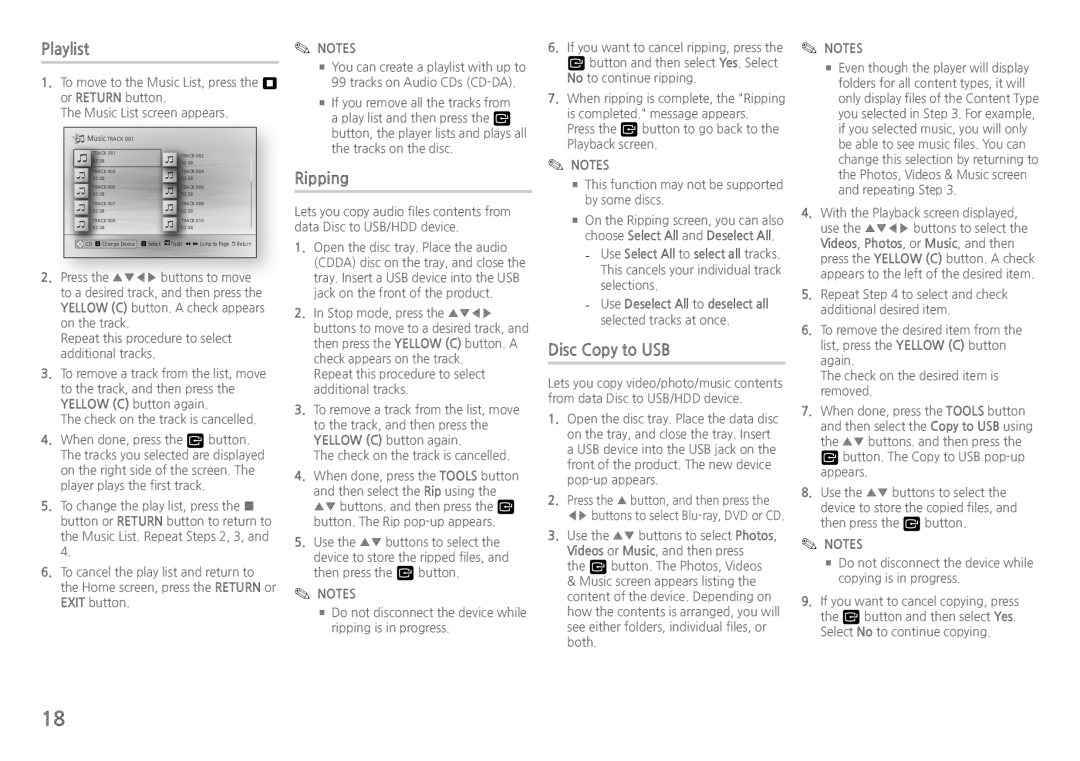
1.To move to the Music List, press the 5 or RETURN button.

The Music List screen appears.

Music TRACK 001


TRACK 001


TRACK 002


02:38


02:38

TRACK 003


TRACK 004

02:38


02:38

TRACK 005


TRACK 006

02:38


02:38

TRACK 007


TRACK 008

02:38


02:38

TRACK 009


TRACK 010

02:38


02:38

CD a Change Device

c Select

Tools ( ) Jump to Page ' Return

2.Press the ▲▼◀▶ buttons to move to a desired track, and then press the YELLOW (C) button. A check appears on the track.

Repeat this procedure to select additional tracks.

3.To remove a track from the list, move to the track, and then press the YELLOW (C) button again.

The check on the track is cancelled.

4.When done, press the v button. The tracks you selected are displayed on the right side of the screen. The player plays the first track.

5.To change the play list, press the button or RETURN button to return to the Music List. Repeat Steps 2, 3, and 4.

6.To cancel the play list and return to the Home screen, press the RETURN or EXIT button.

NOTES

■■ You can create a playlist with up to 99 tracks on Audio CDs (CD-DA).

■■ If you remove all the tracks from a play list and then press the v button, the player lists and plays all the tracks on the disc.

Ripping

Lets you copy audio files contents from data Disc to USB/HDD device.

1.Open the disc tray. Place the audio (CDDA) disc on the tray, and close the tray. Insert a USB device into the USB jack on the front of the product.

2.In Stop mode, press the ▲▼◀▶ buttons to move to a desired track, and then press the YELLOW (C) button. A check appears on the track.

Repeat this procedure to select additional tracks.

3.To remove a track from the list, move to the track, and then press the YELLOW (C) button again.

The check on the track is cancelled.

4.When done, press the TOOLS button and then select the Rip using the ▲▼ buttons. and then press the v button. The Rip pop-up appears.

5.Use the ▲▼ buttons to select the device to store the ripped files, and then press the v button.

NOTES

■■ Do not disconnect the device while ripping is in progress.

6.If you want to cancel ripping, press the

v button and then select Yes. Select No to continue ripping.

7.When ripping is complete, the "Ripping is completed." message appears.

Press the v button to go back to the Playback screen.

NOTES

■■ This function may not be supported by some discs.

■■ On the Ripping screen, you can also choose Select All and Deselect All.

--Use Select All to select all tracks. This cancels your individual track selections.

--Use Deselect All to deselect all selected tracks at once.

Disc Copy to USB

Lets you copy video/photo/music contents from data Disc to USB/HDD device.

1.Open the disc tray. Place the data disc on the tray, and close the tray. Insert a USB device into the USB jack on the front of the product. The new device pop-up appears.

2.Press the ▲ button, and then press the ◀▶ buttons to select Blu-ray, DVD or CD.

3.Use the ▲▼ buttons to select Photos, Videos or Music, and then press

the v button. The Photos, Videos & Music screen appears listing the content of the device. Depending on how the contents is arranged, you will see either folders, individual files, or both.

NOTES

■■ Even though the player will display folders for all content types, it will only display files of the Content Type you selected in Step 3. For example, if you selected music, you will only be able to see music files. You can change this selection by returning to the Photos, Videos & Music screen and repeating Step 3.

4.With the Playback screen displayed, use the ▲▼◀▶ buttons to select the Videos, Photos, or Music, and then press the YELLOW (C) button. A check appears to the left of the desired item.

5.Repeat Step 4 to select and check additional desired item.

6.To remove the desired item from the list, press the YELLOW (C) button again.

The check on the desired item is removed.

7.When done, press the TOOLS button and then select the Copy to USB using the ▲▼ buttons. and then press the

v button. The Copy to USB pop-up appears.

8.Use the ▲▼ buttons to select the device to store the copied files, and then press the v button.

NOTES

■■ Do not disconnect the device while copying is in progress.

9.If you want to cancel copying, press

the v button and then select Yes. Select No to continue copying.

18

Page 18
Image 18
Samsung BD-H5500/XN, BD-H5500/EN, BD-H5500/ZF, BD-H5500/XE, BD-H5500/XU manual Playlist, Ripping, Disc Copy to USB

BD-H5500/XU, BD-H5500/ZF, BD-H5500/EN, BD-H5500/XN, BD-H5500/XE specifications

The Samsung BD-H5500 is a versatile Blu-ray Disc player that combines a range of advanced features and technologies to enhance your home entertainment experience. Designed for movie enthusiasts and casual viewers alike, this player supports a wide array of disc formats, including Blu-ray, DVD, and CD, ensuring compatibility with various media.

One of the standout features of the BD-H5500 is its ability to deliver stunning Full HD 1080p video quality. This allows for crystal-clear imagery and vibrant colors, making every movie night a cinematic experience. Additionally, the player supports the latest audio formats, including Dolby TrueHD and DTS-HD Master Audio, which provide an immersive sound experience for the audience.

Samsung has incorporated Smart Hub technology into the BD-H5500, enabling users to access a wealth of online streaming content. With a simple connection to the internet, you can enjoy popular apps and services such as Netflix, YouTube, and Pandora. The user-friendly interface makes navigating through content seamless, making it a breeze to find your favorite shows and movies.

Another significant characteristic of the BD-H5500 is its Smart View feature, which allows users to enjoy their favorite content on mobile devices. By enabling screen mirroring, you can stream videos from your smartphone or tablet directly to your TV, creating a connected ecosystem for your entertainment.

The BD-H5500 is equipped with a USB port, which facilitates easy playback of multimedia files stored on USB drives. It supports various formats, including JPEG, MP3, and MKV, allowing users to view personal photos, listen to music, or watch home videos on a larger screen.

In terms of design, the BD-H5500 features a sleek and modern appearance that complements any home theater setup. Its compact size ensures it fits easily into any media cabinet while providing robust performance.

Overall, the Samsung BD-H5500 series, including models BD-H5500/XE, BD-H5500/XN, BD-H5500/EN, BD-H5500/ZF, and BD-H5500/XU, offers a comprehensive home entertainment solution that combines cutting-edge technology, high-quality audio and video playback, and access to streaming services, making it an excellent addition to any home theater system.