Adjusting Your LCD Monitor
Accessing the menu system
1 | With the OSD off, push the MENU button to open it and display the main function |
menu. | |
2 | Use the |
one icon to another, the function name changes to reflect the function or group of | |
| functions represented by that icon. See the Screen controls table to view a complete |
| list of all the functions available for the monitor. |
3 | Push the MENU button once to activate the highlighted function then use the |
“+” buttons to move to | |
| make your changes. |
4 | After selecting a function, use the |
setting slidebar moves and the numeric value indicator changes to reflect your | |
| adjustments. |
| NOTE: The numeric value indicator is provided as a point of reference only and does |
| not reflect any measureable value. |
5 | Push the EXIT button once or twice to return to the main menu to select another |
function or push the EXIT button 1 to 3 times to exit from the OSD. |
OSD functions and adjustments
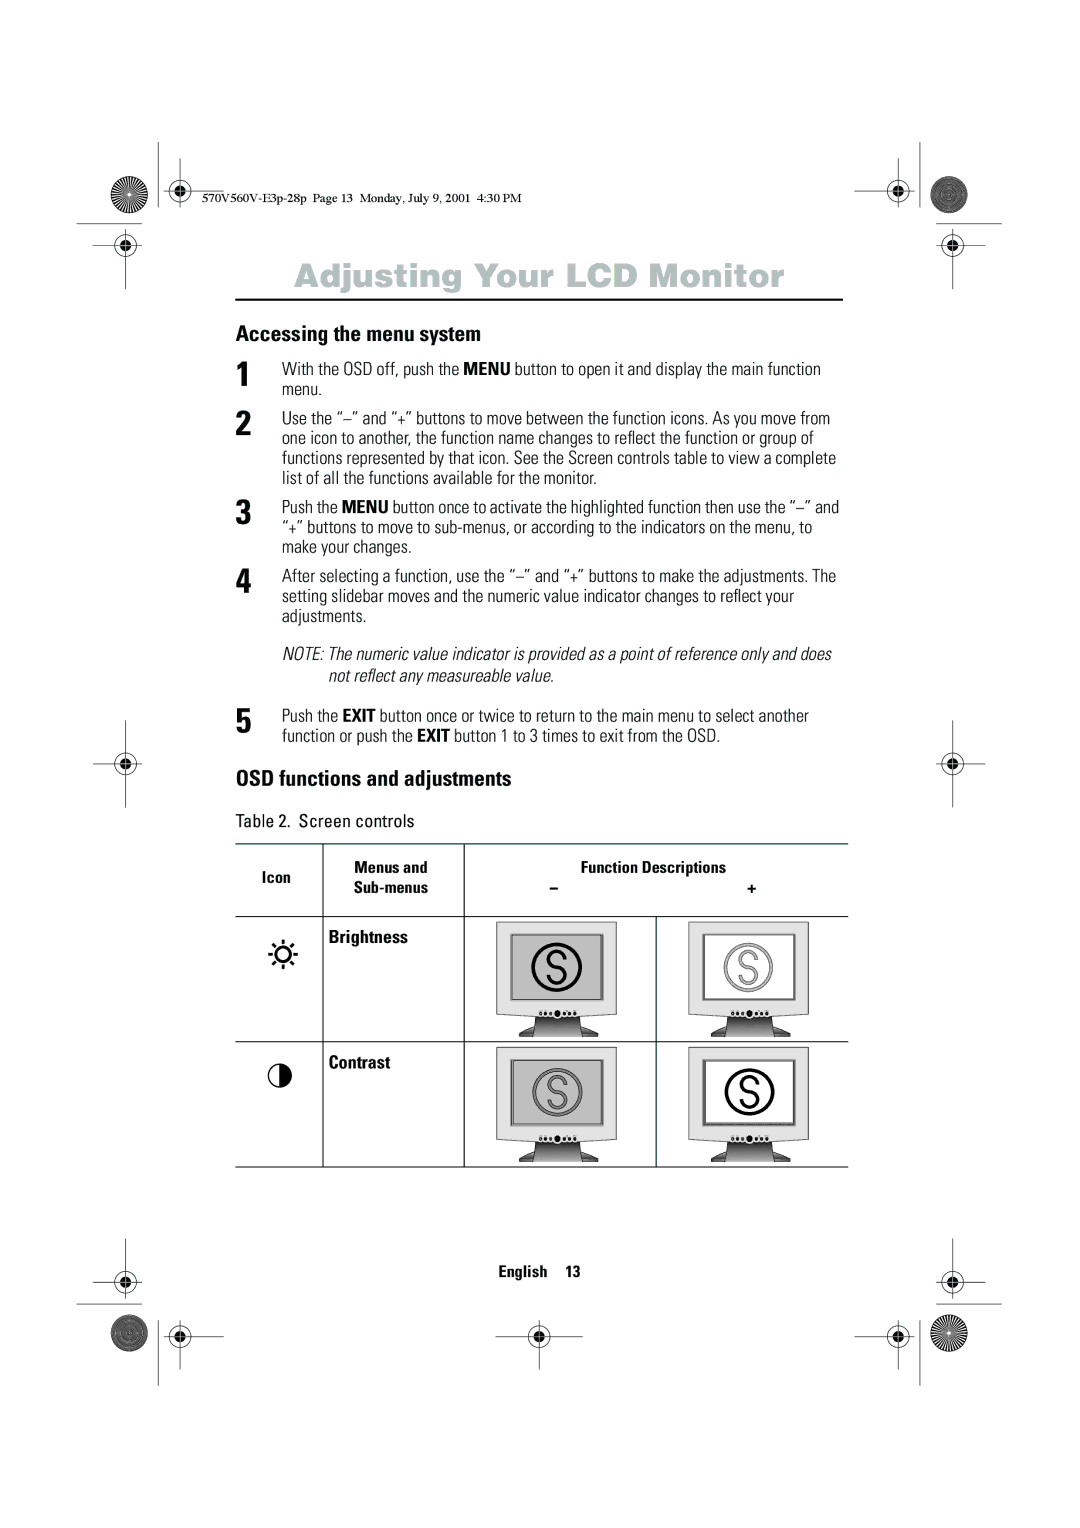
Table 2. Screen controls
Icon
Menus and
Function Descriptions
–+
Brightness
Contrast
English 13