Precautions

1. Setting up

*Refer to the identification label located on the back panel of your player for its proper operating voltage.

*Install your player in a cabinet with adequate ventilation holes. (7~10cm) Do not block ventilation holes on any of the components for circulation of air.

*Do not push the disc tray by the hand.

*Do not stack components.

*Be sure to turn all components off before moving the player.

*Before connecting other components to this player, be sure to turn them off.

*Be sure to remove the disc and turn off the player after use, especially if you don’t use it for a long time.

2. For your safety

*This product utilizes a laser. Use of controls or adjustments or performance of procedures other than those specified herein may result in hazardous radiation exposure.

*Do not open covers and do not repair yourself. Refer servicing to qualified personal.

3. Caution

*Your player is not intended for industrial use but for domestic purposes. Use of this product is for personal use only.

*Do not put any container filled with liquid or any small metal objects on the player.

*Exterior influences such as lightning and static electricity can affect normal operation of this player. If this occurs, turn the player off and on again with the POWER button, or disconnect and then reconnect the AC power cord to the AC power outlet. The player will operate normally.

*When condensation forms inside the player due to sharp changes in temperature, the player may not operate correctly. If this occurs, leave the player at room temperature until the inside of the player becomes dry and operational.

4. Disc

*Do not clean record-cleaning sprays, benzene, thinner, or other volatile solvents that may cause damage to the disc surface.

*Do not touch the disc’s signal surface. Hold by the edges or by one edge and the hole in the center.

*Wipe the dirt away gently; never wipe a cloth back and forth over the disc.

5. Environmental info

*The battery used in this product contains chemicals that are harmful to the environment.

*So, dispose of batteries in the proper manner, according to federal, state, and local regulations.

CAUTION : USE OF ANY CONTROLS, ADJUSTMENTS, OR PROCEDURES OTHER THAN SPECIFIED HEREIN MAY RESULT IN HAZARDOUS RADIATION EXPOSURE.

1

2

3

4

5

Before you start

Accessories

Batteries for

Remote Control Remote Control (AAA Size)

User’s Manual

Video/Audio Cable

Install Batteries in the Remote

1.Open the battery cover on the back of the remote.

2.Insert two AAA batteries. Make sure that the polarities (+ and -) are aligned correctly.

3.Replace the battery cover.

If remote doesn’t operate properly:

Check the polarity + - of the batteries (Dry-Cell)

Check if the batteries are drained.

Check if remote sensor is blocked by obstacles.

Check if there is any fluorescent lighting nearby.

Table of Contents

Setup

Precautions . . . . . . . . . . . . . . . . . . . . . . . . . . .2 Before you start . . . . . . . . . . . . . . . . . . . . . . . .3 General Features . . . . . . . . . . . . . . . . . . . . . . .4 Disc Type and Characteristics . . . . . . . . . . . . .5 Description-Front Panel . . . . . . . . . . . . . . . . . .6 Display Indicators . . . . . . . . . . . . . . . . . . . . . .6 Description-Rear Panel . . . . . . . . . . . . . . . . . .7 Tour of the Remote Control . . . . . . . . . . . . . . .8

Connections

Choosing a Connection . . . . . . . . . . . . . . . . . .9

Basic Functions

Playing a Disc . . . . . . . . . . . . . . . . . . . . . . . .11 Using the Search & Skip Functions . . . . . . . .12 Using the Display Function . . . . . . . . . . . . . . .12 Using the Disc and Title Menu . . . . . . . . . . . .13 Using the Function Menu . . . . . . . . . . . . . . . .14 Repeat Play . . . . . . . . . . . . . . . . . . . . . . . . . .14 Program Play & Random Play . . . . . . . . . . . .15 Slow Repeat play . . . . . . . . . . . . . . . . . . . . . .15

Advanced Functions

Adjusting the Aspect Ratio (EZ View) . . . . . . .16 Selecting the Audio Language . . . . . . . . . . . .17 Selecting the Subtitle Language . . . . . . . . . . .17 Changing the Camera Angle . . . . . . . . . . . . .18 Using the Instant Replay/Skip Function . . . . .18 Using the Bookmark Function . . . . . . . . . . . .19 Using the Zoom Function . . . . . . . . . . . . . . . .20 Clips Menu for MP3/JPEG . . . . . . . . . . . . . . .20 Folder Selection . . . . . . . . . . . . . . . . . . . . . . .21 MP3 Play . . . . . . . . . . . . . . . . . . . . . . . . . . . .21 Picture CD Playback . . . . . . . . . . . . . . . . . . .22

Changing Setup menu

Using the Setup Menu . . . . . . . . . . . . . . . . . .23

Setting Up the Language Features . . . . . . . . .24

Setting Up the Audio Options . . . . . . . . . . . . .26

Setting Up the Display Options . . . . . . . . . . . .27

Setting Up the Parental Control . . . . . . . . . . .28

Reference

Troubleshooting . . . . . . . . . . . . . . . . . . . . . . .30 Specifications . . . . . . . . . . . . . . . . . . . . . . . .31

ENG-2


ENG-3


Page 1
Image 1
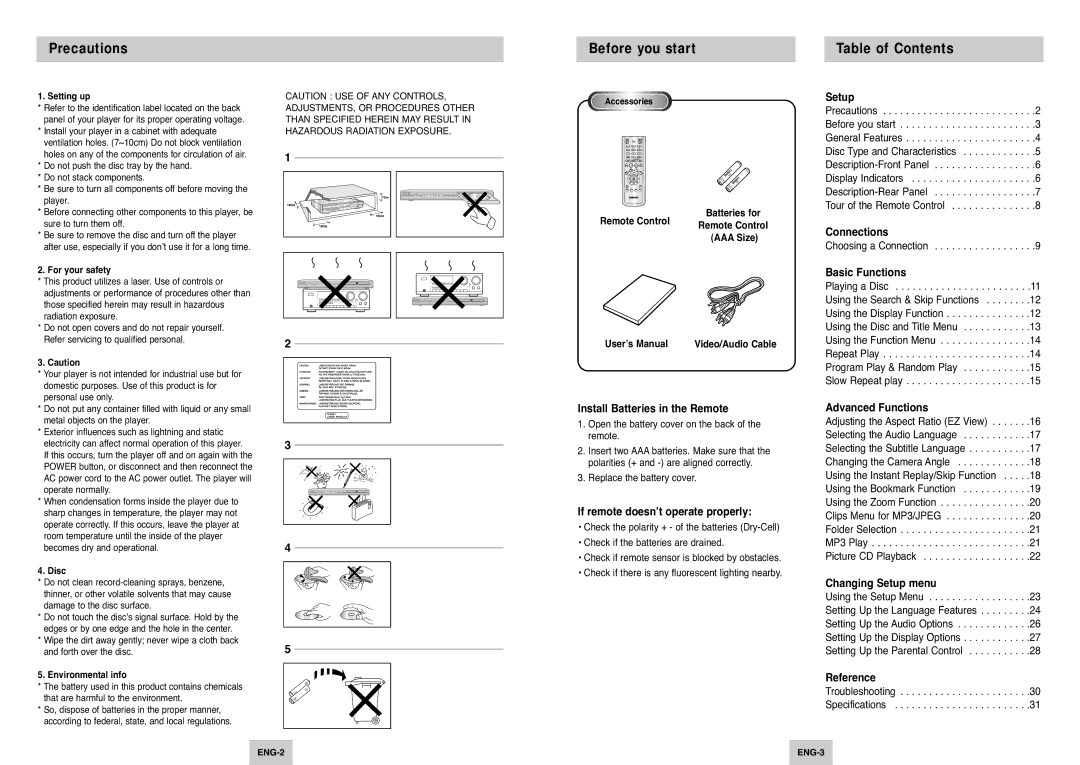
Samsung DVD-P145/FOU, DVD-P145/XEL, DVD-P145/XEH manual Precautions, Before you start, Table of Contents

DVD-P145/FOU, DVD-P145/XEH, DVD-P145/XEL specifications

The Samsung DVD-P145 series, comprising models DVD-P145/XET, DVD-P145/XEL, DVD-P145/XEH, DVD-P145/FOU, and DVD-P145/XEG, represents a versatile range of DVD players designed for home entertainment enthusiasts. These models bring together a blend of classic features and advanced technologies aimed at enhancing the user experience.

One of the standout features of the Samsung DVD-P145 series is its compatibility with a wide range of media formats. These players can handle various disc types, including DVD-R, DVD-RW, CD-R, and CD-RW, ensuring that users can enjoy their favorite movies and music without hassle. Moreover, the ability to play JPEG images allows for a convenient way to share and display photographs directly on a television screen.

The DVD-P145 series incorporates advanced video technologies such as Progressive Scan, which enhances picture quality by delivering clearer, sharper images. This feature is particularly effective for those who enjoy watching movies in high definition, elevating the viewing experience to another level with reduced motion blur and improved color accuracy. Additionally, the players support multi-channel audio output, ensuring immersive sound production that complements the visual experience.

Another notable characteristic is the user-friendly interface, which simplifies navigation through various settings and content. With easy access to functions such as zoom, repeat, and shuffle, users can customize their viewing experience according to personal preferences. The DVD-P145 players are also equipped with a compact design, making them easy to integrate into any home entertainment setup without occupying excessive space.

In terms of connectivity, the DVD-P145 series features multiple output options, including composite, S-Video, and coaxial digital audio outputs. This versatility allows seamless integration with a variety of televisions and audio systems, accommodating a range of user setups.

Overall, the Samsung DVD-P145 series stands out due to its combination of functionality, superior image quality, and ease of use. Whether for watching favorite films, enjoying music, or displaying photos, it provides a well-rounded solution for anyone seeking to enhance their home entertainment experience. As technology continues to evolve, the Samsung DVD-P145 remains a reliable option for classic media enjoyment.