DVD-R128, R129 DVD-R130, R131
Français
Avertissement
Entretien du boîtier
Précautions
Instructions importantes relatives à la sécurité
Précautions relatives à la manipulation
Utilisation du disque MPEG4
Stockage du disque
Spécifications du disque
Utilisation d’un CD-R/-RW
Compatibilité des disques
DVD-RW mode VR
DVD-RW mode Vidéo
’utilisez pas les disques suivants
Table des matières
Gestionnaire de disque
Vérification de l’espace disque
Caractéristiques générales
Étape
Étape 1 Sélectionnez le type de disque
Étape 5 Edition d’un disque enregistré
Étape 3 Enregistrement
Lorsque vous utilisez un DVD-R
Insérez les piles dans la télécommande
Accessoires
Préparation de la télécommande
Réglage de la télécommande
Codes TV contrôlables
REC
Description
AV3
Prog
Façade DVD-R131
Panneau arrière
Affichage en façade
Temps de lecture/horloge/indicateur d’état actuel
Aperçu de la télécommande
DVD-R130, R131 uniquement
Présentation rapide
Connexion de l’enregistreur DVD Connexions supplémentaires
Décodeur externe + téléviseur
Mode TV
Mode DVD
Sortie de balayage progressif 576p
Modes S-Vidéo, Vidéo composant et Sortie progressive
Cas 2 Connexion à une prise de sortie S-Vidéo
Cas 1 Connexion à une prise de sortie vidéo composite
Vous obtiendrez régulièrement des images de qualité
Cas 1 Connexion à votre téléviseur
Cas 3 Prises de sortie Vidéo composant
Blanc
Sélectionner l’entrée correcte
RemarqueINPUT SEL. pour sélectionner l’entrée correcte
La sélection de AV 3 in Entree AV
Utilisez le bouton Input SEL. pour
Bouton Return
Navigation dans le menu à l’écran
Bouton Menu
Bouton OK
Le balayage automatique des canaux peut démarrer
Branchement et réglage automatique
Connectez le câble RF comme indiqué enpage
Raccordez l’enregistreur DVD au secteur
Appuyez sur les boutons pour
Réglage de l’horloge
Le bouton ou OK
Reportez-vous au tableau suivant lors de
La selection de votre pays
’écran Sélection du pays s’affiche
Éditer Vous pouvez ajouter ou modifier des PR programmes
’aide des touches puis appuyez sur le bouton OK ou
Slovène
Le menu de réglage de la langue s’affiche
Anglais, Grec
Le menu du système s’affiche
Réglage de l’heure en mode
Mode
Création automatique de chapitre
Le menu des chapitres s’affiche
Le menu Système s’affiche
Enregistrement DivXR Configuration des options audio
Sortie Numérique
Options audio
Compression Dynamique
Composant
Mode Composant
Prise Sortie vidéo disponible
Le menu de réglage vidéo s’affiche
’appuyez pas sur le bouton P.SCAN si
Pour activer le réglage Pour annuler le réglage Progressif
Lorsque vous appuyez sur ce bouton
Ou sur OK
Options d’affichage Vidéo
Retirez le disque
Configuration du contrôle parental
Le message ‘Créer le mot de passe’ s’affiche
Oublié votre code secret
Propos du niveau d’évaluation
Propos du Changement de mot de passe
Reportez-vous à la page 37 si vous avez
Disques enregistrables
Avant l’enregistrement
Propos des signaux anti-copie
Mode enregistrement
Formats d’enregistrement
Films non enregistrables
Vérification de l’espace disque disponible Disc Information
Enregistrement du
Vous regardez
Propos du bouton Info
’enregistrement
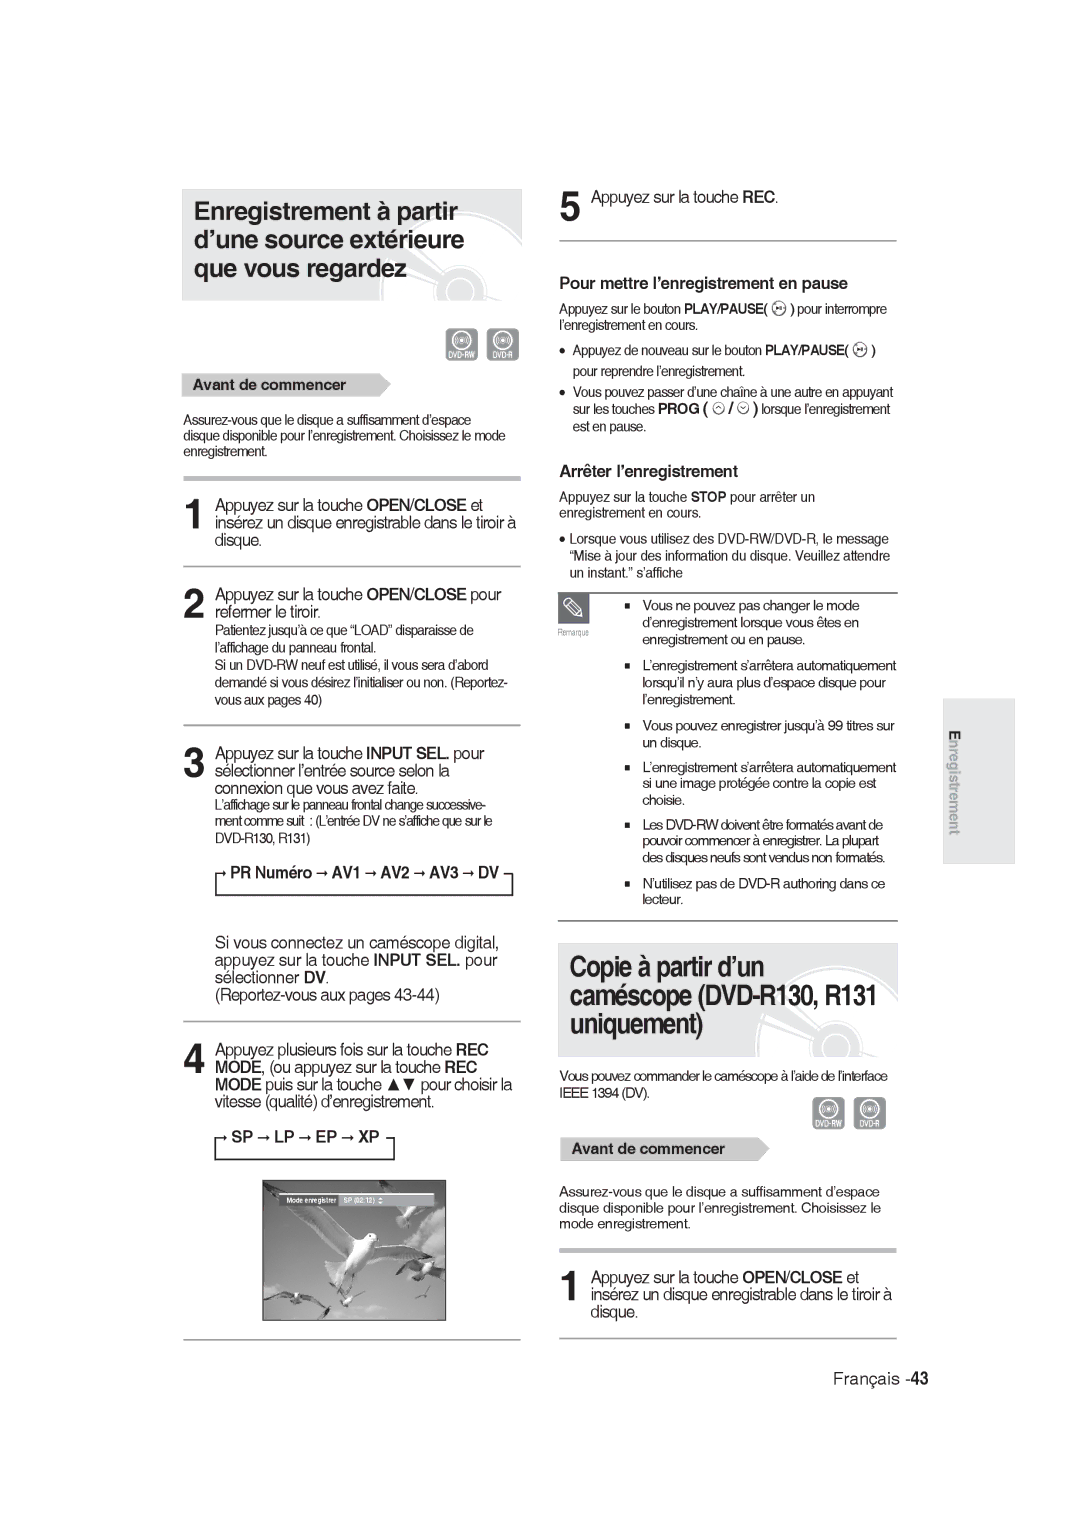
Mode puis sur la touche pour choisir la
Appuyez sur la touche REC
Enregistrement ou en pause
PR Numéro AV1 AV2 AV3 DV
Pour mettre l’enregistrement en pause
DVD-R130, R131
Le bouton ou
AV1, AV2, AV3 ou DV.DVD-R130, R131 uniquement
030 100 .. 500 .. normal
Remarqued’enregistrement
Paramétrez l’option enregistrement par minuterie
Appuyez sur le bouton TIMER, appareil en mode Arrêt
Utilisation du bouton Menu
Appuyez deux fois sur le bouton OK ou
Appuyez sur la touche OK
Les éléments Editer et Supprimer s’affichent
Appuyez sur OK ou sur le bouton
’écran de saisie des enregistrements programmés s’affiche
’enregistrement s’arrête
Les éléments Éditer et Supprimer s’affichent
Copies est reçu en cours d’enregistrement
Code de région DVD-Video uniquement
Avant la lecture
Type de disques pouvant être lus avec cet appareil
Disques ne pouvant être lus avec cet appareil
Puis rallumez-le en utilisant le bouton Play
Lecture d’un disque
Appuyez sur la touche OPEN/CLOSE
Appuyez sur la touche Stop pour arrêter la lecture
Cas des disques DVD-VIDEO
Utilisation des chapitres ou des pistes
Cas des disques DVD-RW/-R
Sauter des chapitres ou des pistes
Ralenti
Propos de la fonction Anykey
Lecture image par image
Lecture
Utilisation de la fonction Repeat
Lecture de manière répétée Repeat Playback
Utilisation de la touche Repeat
Pour revenir à la lecture normale
Utilisation de la touche Anykey
Utilisation de la touche Anykey
Appuyez sur la touche Anykey en cours lecture
Utilisation de la touche Audiio
Sélection des sous-titres Sélection de la langue audio
Utilisation de la touche Subtiitle
Appuyez sur la touche Subtitle en cours de lecture
Ne pas fonctionner avec tous les DVD
Changer l’angle de la caméra
Zoom avant
Taille normale 2X 4X 2X taille normale
Appuyez sur la touche OK lorsque la scène désirée apparaît
Utilisation des signets
Effacer un signet
Appuyez sur la touche Marker en cours de lecture
Skip
Utilisation des marqueurs
Lire un marqueur
Effacer un marqueur
Appuyez sur la touche Search / lecture rapide X2, X4
Lecture d’un CD audio CD-DA
Éléments de l’écran Audio CDCD-DA
Insérez un CD audio CD-DA dans le plateau
Insérez un disque MP3 dans le plateau
Lire un disque MP3
Appuyez sur les touches pour
Pour revenir à une lecture normale
Lecture répétée Répétition
Utilisation du bouton Repeat
Appuyez sur le bouton Repeat en cours de lecture
Utilisation du bouton Anykey
Mode Options de lecture
Appuyez sur le bouton Anykey en mode Arrêt
La fenêtre Play Mode s’affiche
Insérez le disque au format Jpeg dans le tiroir disque
Lecture d’une image
Programmer des pistes
En cas d’erreur lors de la création de votre
Lecture d’un fichier
Et sélectionnez un mode d’affichage
Insérez le disque au format MPEG4 dans le tiroir disque
Appuyez sur la touche Menu
Lecture de la liste de titres
Utilisation de la ttouche Tiitle Liist
Utilisation de la touche Title List
Le menu Edition s’affiche à droite
’écran Liste de titres s’affiche
Enregistré en appuyant sur la touche
Écran de Lecture des entrées enregistrées
Éléments de l’écran Liste de Titres
Les disques DVD-R/DVD-RWVidéo
Liste de lecture
Liste de titres
Utilisation de la touche Menu
Renommer Étiqueter un titre
’écran Renommer apparaît
Sélectionner Oui, puis appuyez sur la touche
Verrouiller Protéger un titre
Supprimer un titre
Appuyez sur la touche Menu
LI est impossible de supprimer une entrée
Supprimer une section d’un titre
Un DVD-R ou un DVD-RW finalisé ne peut être supprimé
Appuyez sur les touches Suppr
Appuyez sur la touche OK au point de démarrage
Éléments de l’écran Éditer la liste de titres
Appuyez sur le bouton OK dans le menu Faire
Appuyez sur le bouton MENU, appareil en mode Arrêt
Créer une Liste de lecture
Appuyez sur la touche OK au point de fin
Vous revenez à l’écran Éditer une liste de lecture
Appuyez sur le bou Play LIST, appareil en mode Arrêt
’écran Renommer apparaît
Appuyez sur le bouton Play LIST, appareil en mode Arrêt
Renommer une entrée dans une liste de lecture
Entrez les caractères désirés à l’aide des touches
Lire une scène sélectionnée
Éditerunescènepourunelistedelecture
Appuyez sur la touche OK au point de démarrage de la scène
Pour la configuration, suivez les étapes 1 à 3 de la
Appuyez sur la touche OK au point de fin de la scène
Bouton OK
Ajouter une scène
Sélectionner Dépla, puis appuyez sur la
Touche OK
Utilisation de la touche Menu
Pour la configuration, suivez les étapes 1 à 3 de la
Supprimer une scène
’écran Éditer la liste de lecture s’affiche
Science Dolphin
Un nom est donné au disque
Gestionnaire de disque
Éditer le nom d’un disque
Entrez les caractères souhaités en utilisant les touches
Mauvaise manipulation
Protection du disque Formater un disque
La Protection du disque vous permet de protéger vos
Disques d’un formatage ou d’une suppresion due à une
Protéger dans la rubrique Verrouiller
Supprimer toutes les listes de titres
’affiche de nouveau
Le disque est formaté
Finaliser un disque
Le disque n’est pas finalisé
Ne pas finaliser un dique mode V/VR
En mode Vidéo
En mode VR
Alimentation
Dépannage
Enregistrement
Français-87
Lecture
DVD. Voir
Vérifiez de nouveau les heures de
Vidéo
Enregitrement par minuterie
Son
Français-89
Télécommande
La télécommande ne fonctionne pas
Autres
Sortie audio
Caractéristiques techniques
France
Samsung Service Consommateurs Rue des Vanesses
800-10-7267
North America
Samsung
0800-124-421
Cet appareil est distribué par