
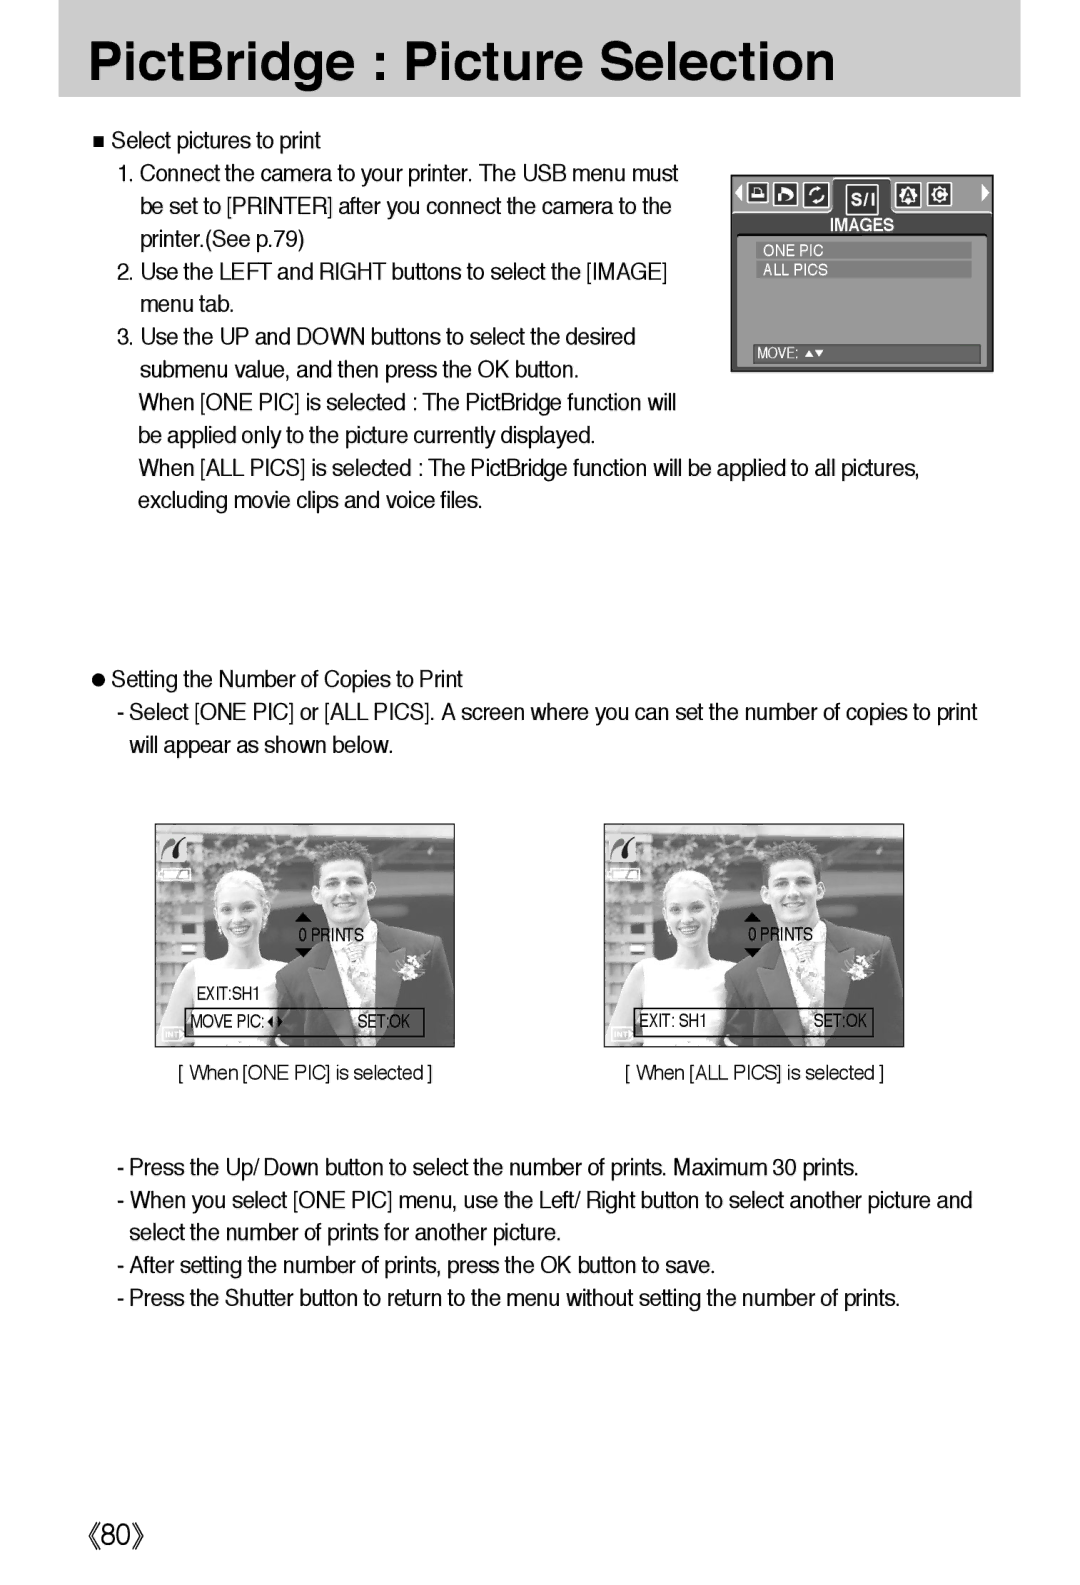
EC-A50ZZSAA, EC-A502ZSBA/E1, EC-A50ZZSBA/DE, EC-A50ZZSBA/E1, EC-A502ZRBA/E1 specifications
The Samsung EC-A502ZBBA/E1, EC-A502ZRBA/E1, and EC-A502ZSBA/E1 are innovative digital cameras that combine form and functionality, designed to meet the demands of photography enthusiasts and casual users alike. With their user-friendly design and cutting-edge features, these models are perfect for capturing high-quality images in a variety of settings.One of the standout features of these Samsung cameras is their impressive 16-megapixel sensor, which delivers vibrant and detailed photographs. This sensor, combined with advanced image processing technology, enables users to capture sharp images even in low-light conditions. The cameras support ISO settings that can be adjusted to enhance performance during nighttime photography or in dimly lit environments.
Another key characteristic is the built-in optical zoom lens, which allows for versatility in composition. Users can zoom in on distant subjects without losing image quality, making it easy to capture compelling portraits and landscapes alike. Additionally, the cameras feature a range of scene modes, allowing users to adapt their shooting settings based on the environment, whether it’s a sunny day at the park or an indoor gathering.
The EC-A502 series also emphasizes connectivity, making it easy to share photos with friends and family. With built-in Wi-Fi functionality, users can quickly transfer images to their smartphones and other devices. This feature simplifies the process of sharing photos on social media or with loved ones, enhancing the overall user experience.
Ergonomics and design play a significant role in the appeal of these cameras. The compact and lightweight construction makes them highly portable and perfect for travel. Additionally, the intuitive interface ensures that users can navigate through various settings effortlessly, whether they are seasoned photographers or beginners just getting started.
Ultimately, the Samsung EC-A502ZBBA/E1, EC-A502ZRBA/E1, and EC-A502ZSBA/E1 are excellent choices for anyone looking to enhance their photographic capabilities. With their impressive specifications, user-friendly features, and modern designs, these cameras stand out in the market, delivering quality imagery and ease of use. Whether documenting everyday moments or embarking on photographic adventures, these models provide the tools needed to capture life's best moments beautifully.