EC-D340ZSBA/E1, EC-D410ZSBA/E1 specifications
The Samsung EC-D410ZSBA/E1 and EC-D340ZSBA/E1 are compact digital cameras that have become popular among photography enthusiasts and casual users alike. These models offer a range of features and technologies that cater to everyday photography needs while providing exceptional image quality.One of the standout characteristics of these cameras is their impressive imaging capabilities. Both models are equipped with a powerful sensor that allows for high-resolution images, making it easy to capture stunning photographs with vibrant colors and sharp details. The EC-D410 features a higher resolution sensor compared to the EC-D340, catering to users who seek even more advanced imaging performance.
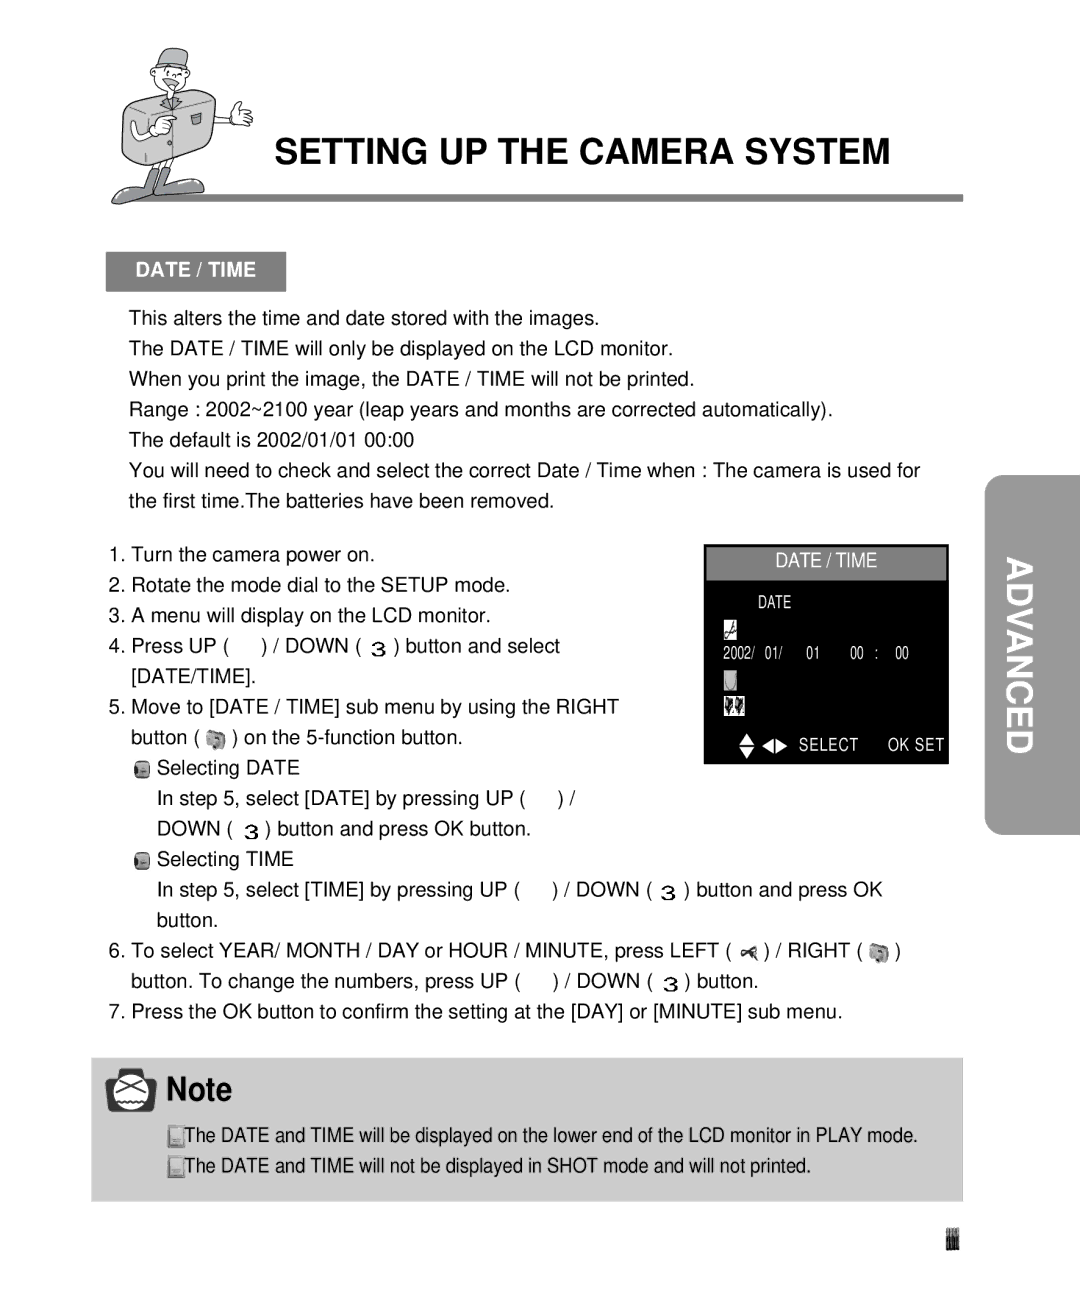
Another significant aspect of these cameras is their sleek and ergonomic designs. Samsung has crafted the EC-D410ZSBA/E1 and EC-D340ZSBA/E1 with a user-friendly interface, ensuring that users can easily navigate through settings and functions. The compact size of these cameras makes them highly portable, ideal for capturing moments on the go without the bulk of larger DSLR cameras.
In terms of performance, both models boast impressive autofocus systems that ensure quick and accurate focusing, allowing users to seize fleeting moments without delay. The cameras also include various shooting modes and scene selections, providing options for different environments and lighting conditions. This versatility makes them suitable for everything from casual snapshots to more complex photography tasks.
Additional features include built-in flash for low-light situations and the ability to record high-quality video. The EC-D410 and EC-D340 incorporate image stabilization technologies to reduce blurriness caused by camera shake, ensuring that both photos and videos come out clear and steady.
Connectivity options are also notable, as these cameras often come with Wi-Fi capabilities. This allows users to easily share their images to social media or transfer files to other devices without the hassle of cables.
Overall, the Samsung EC-D410ZSBA/E1 and EC-D340ZSBA/E1 are excellent choices for anyone looking to elevate their photography experience. With their combination of advanced features, portability, and user-friendly design, they offer an outstanding solution for capturing beautiful memories with ease. Whether you’re an amateur photographer or someone simply looking to document life’s moments, these cameras provide the functionality and performance needed for successful photography endeavors.

