Installing Your Microwave Oven |
| Setting the Time |
EN | Place the oven on a flat, level surface that strong enough to safely bear |
the weight of the oven. |
Your microwave oven has an inbuilt clock. The time can be displayed in either the
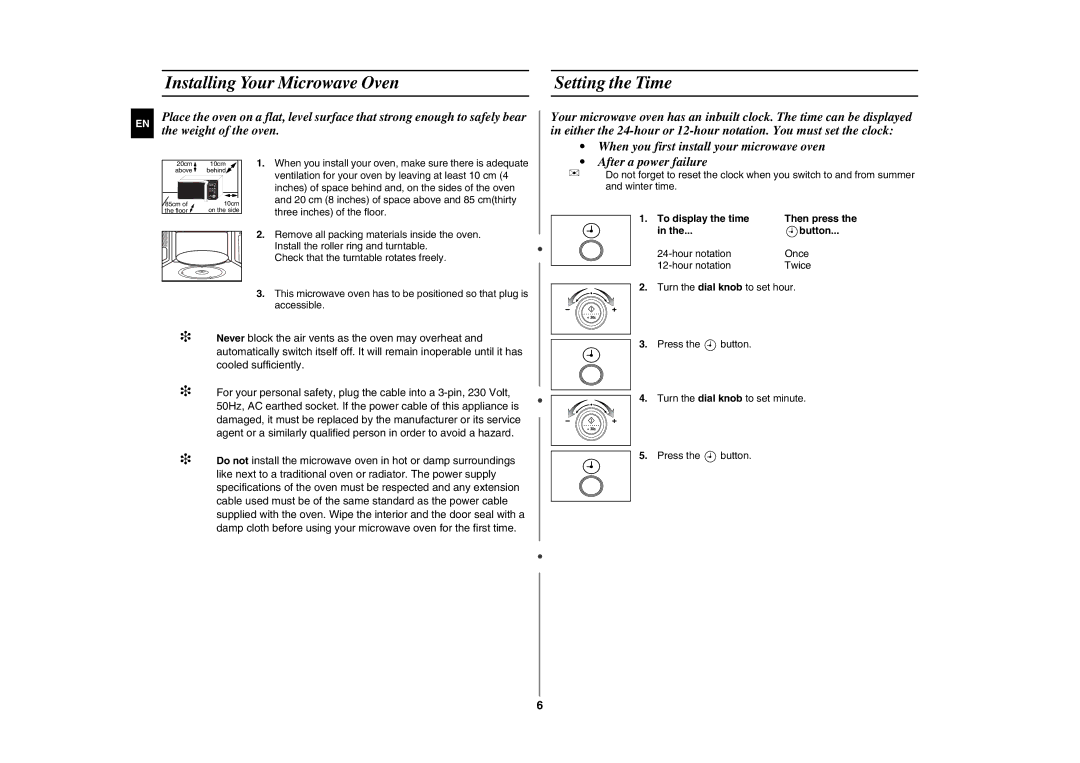
20cm | 10cm |
above | behind |
85cm of | 10cm |
the floor | on the side |
1.When you install your oven, make sure there is adequate ventilation for your oven by leaving at least 10 cm (4 inches) of space behind and, on the sides of the oven and 20 cm (8 inches) of space above and 85 cm(thirty three inches) of the floor.
2.Remove all packing materials inside the oven. Install the roller ring and turntable.
Check that the turntable rotates freely.
3.This microwave oven has to be positioned so that plug is accessible.
•When you first install your microwave oven
•After a power failure
✉Do not forget to reset the clock when you switch to and from summer and winter time.
1. To display the time | Then press the |
in the... | button... |
Once | |
Twice |
2. Turn the dial knob to set hour. |
❉Never block the air vents as the oven may overheat and automatically switch itself off. It will remain inoperable until it has cooled sufficiently.
❉For your personal safety, plug the cable into a
❉Do not install the microwave oven in hot or damp surroundings like next to a traditional oven or radiator. The power supply specifications of the oven must be respected and any extension cable used must be of the same standard as the power cable supplied with the oven. Wipe the interior and the door seal with a damp cloth before using your microwave oven for the first time.
3. | Press the | button. |
4. | Turn the dial knob to set minute. | |
5. | Press the | button. |
6
