Basic recording
RECORDING WITH EASE FOR BEGINNERS (SMART AUTO)
Scene icons | Meaning |
Appears when recording a night scene.
Appears when recording with a very bright background.
Appears when recording indoors.
Appears when recording a
Appears when recording a landscape.
Appears when recording a portrait.
Appears when recording a portrait outdoors at night.
1
2
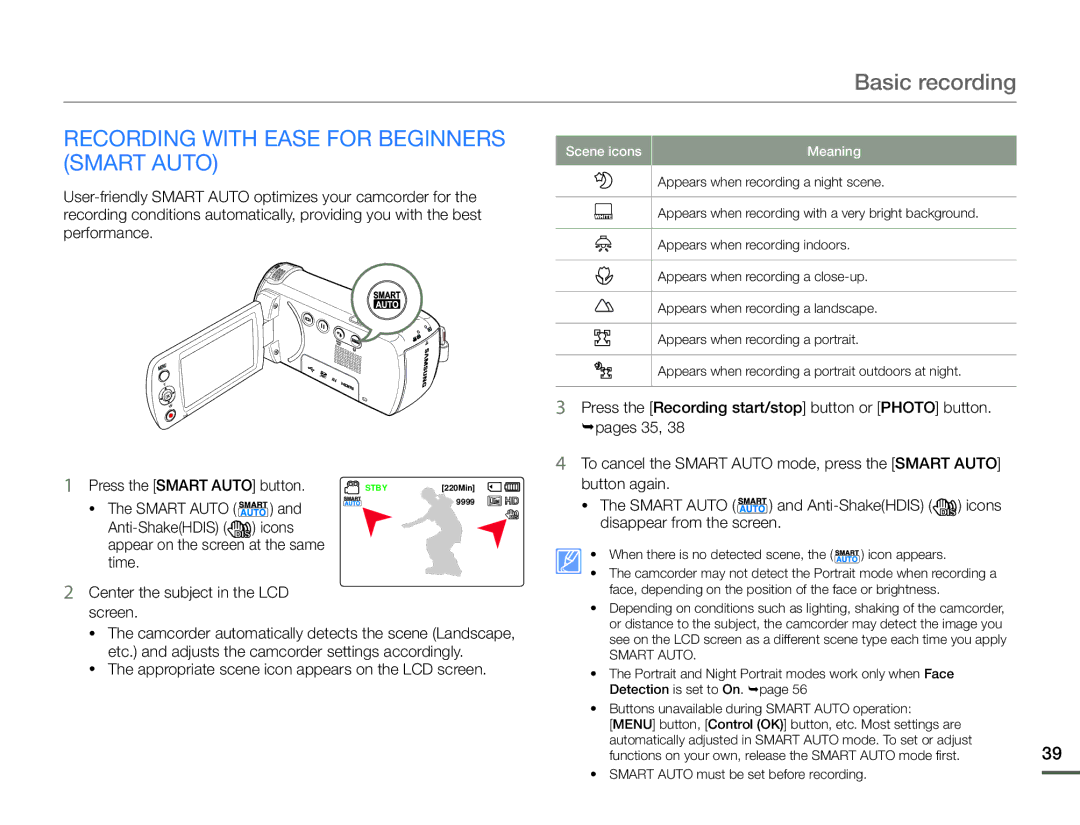
Press the [SMART AUTO] button. | STBY | [220Min] |
• The SMART AUTO ( ) and |
| 9999 |
|
| |
|
| |
appear on the screen at the same |
|
|
time. |
|
|
Center the subject in the LCD screen.
•The camcorder automatically detects the scene (Landscape, etc.) and adjusts the camcorder settings accordingly.
•The appropriate scene icon appears on the LCD screen.
3
4
Press the [Recording start/stop] button or [PHOTO] button. pages 35, 38
To cancel the SMART AUTO mode, press the [SMART AUTO] button again.
•The SMART AUTO ( ![]() ) and
) and ![]()
![]() ) icons disappear from the screen.
) icons disappear from the screen.
• When there is no detected scene, the ( ) icon appears. |
|
• The camcorder may not detect the Portrait mode when recording a |
|
face, depending on the position of the face or brightness. |
|
• Depending on conditions such as lighting, shaking of the camcorder, |
|
or distance to the subject, the camcorder may detect the image you |
|
see on the LCD screen as a different scene type each time you apply |
|
SMART AUTO. |
|
• The Portrait and Night portrait modes work only when Face |
|
Detection is set to On. page 56 |
|
• Buttons unavailable during SMART AUTO operation: |
|
[MENU] button, [Control (OK)] button, etc. Most settings are |
|
automatically adjusted in SMART AUTO mode. To set or adjust | 39 |
functions on your own, release the SMART AUTO mode first. |
• SMART AUTO must be set before recording.