Starting the recording mode
■How to use the Movie clip mode( ![]()
![]() )
)
A movie clip can be recorded for as long as the available recording time of the
memory capacity allows.
1. Select the [FULL] sub menu on the [MODE] menu (p.14).
2. Select the Movie clip mode by pressing the M (Mode) button (p.15).
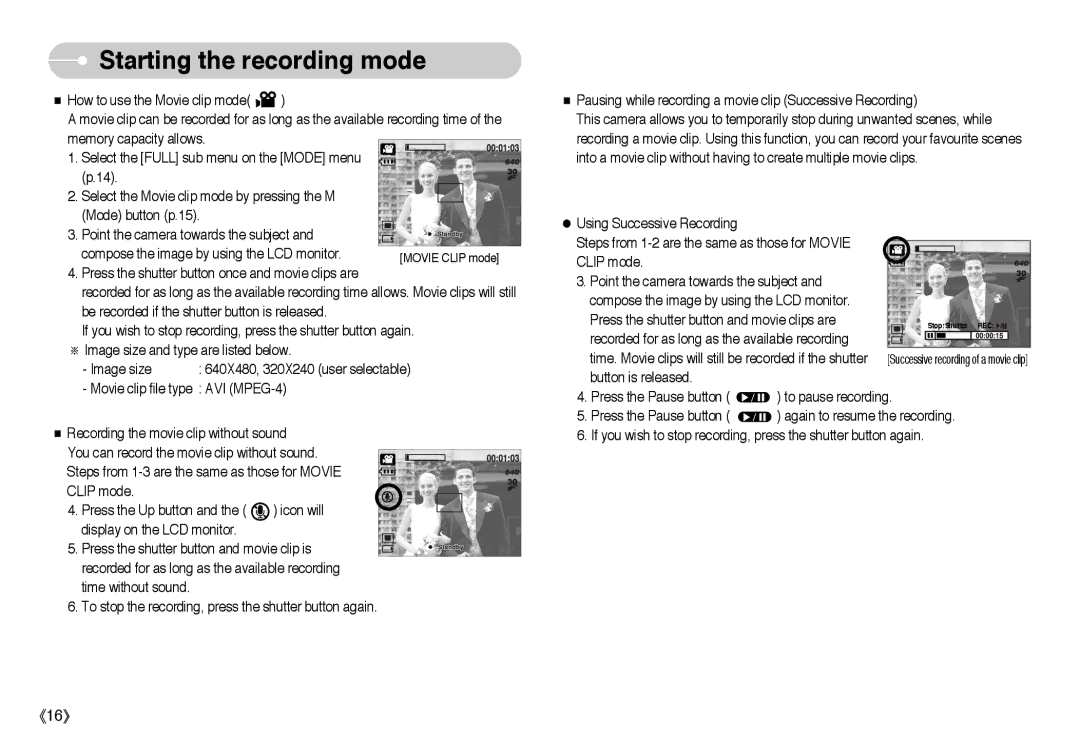
3. Point the camera towards the subject and compose the image by using the LCD monitor.
4.Press the shutter button once and movie clips are
recorded for as long as the available recording time allows. Movie clips will still be recorded if the shutter button is released.
If you wish to stop recording, press the shutter button again.
※Image size and type are listed below.
- Image size | : 640X480, 320X240 (user selectable) |
-Movie clip file type : AVI
■Recording the movie clip without sound
You can record the movie clip without sound.
Steps from
CLIP mode.
4.Press the Up button and the ( ![]() ) icon will display on the LCD monitor.
) icon will display on the LCD monitor.
5. Press the shutter button and movie clip is recorded for as long as the available recording
time without sound.
6. To stop the recording, press the shutter button again.
■Pausing while recording a movie clip (Successive Recording)
This camera allows you to temporarily stop during unwanted scenes, while recording a movie clip. Using this function, you can record your favourite scenes into a movie clip without having to create multiple movie clips.
●Using Successive Recording
Steps from
3. Point the camera towards the subject and compose the image by using the LCD monitor. Press the shutter button and movie clips are recorded for as long as the available recording time. Movie clips will still be recorded if the shutter button is released.
4.Press the Pause button ( ![]() ) to pause recording.
) to pause recording.
5.Press the Pause button ( ![]() ) again to resume the recording.
) again to resume the recording.
6.If you wish to stop recording, press the shutter button again.