Plug & Play
When the TV is initially powered on, several basic settings |
|
|
|
|
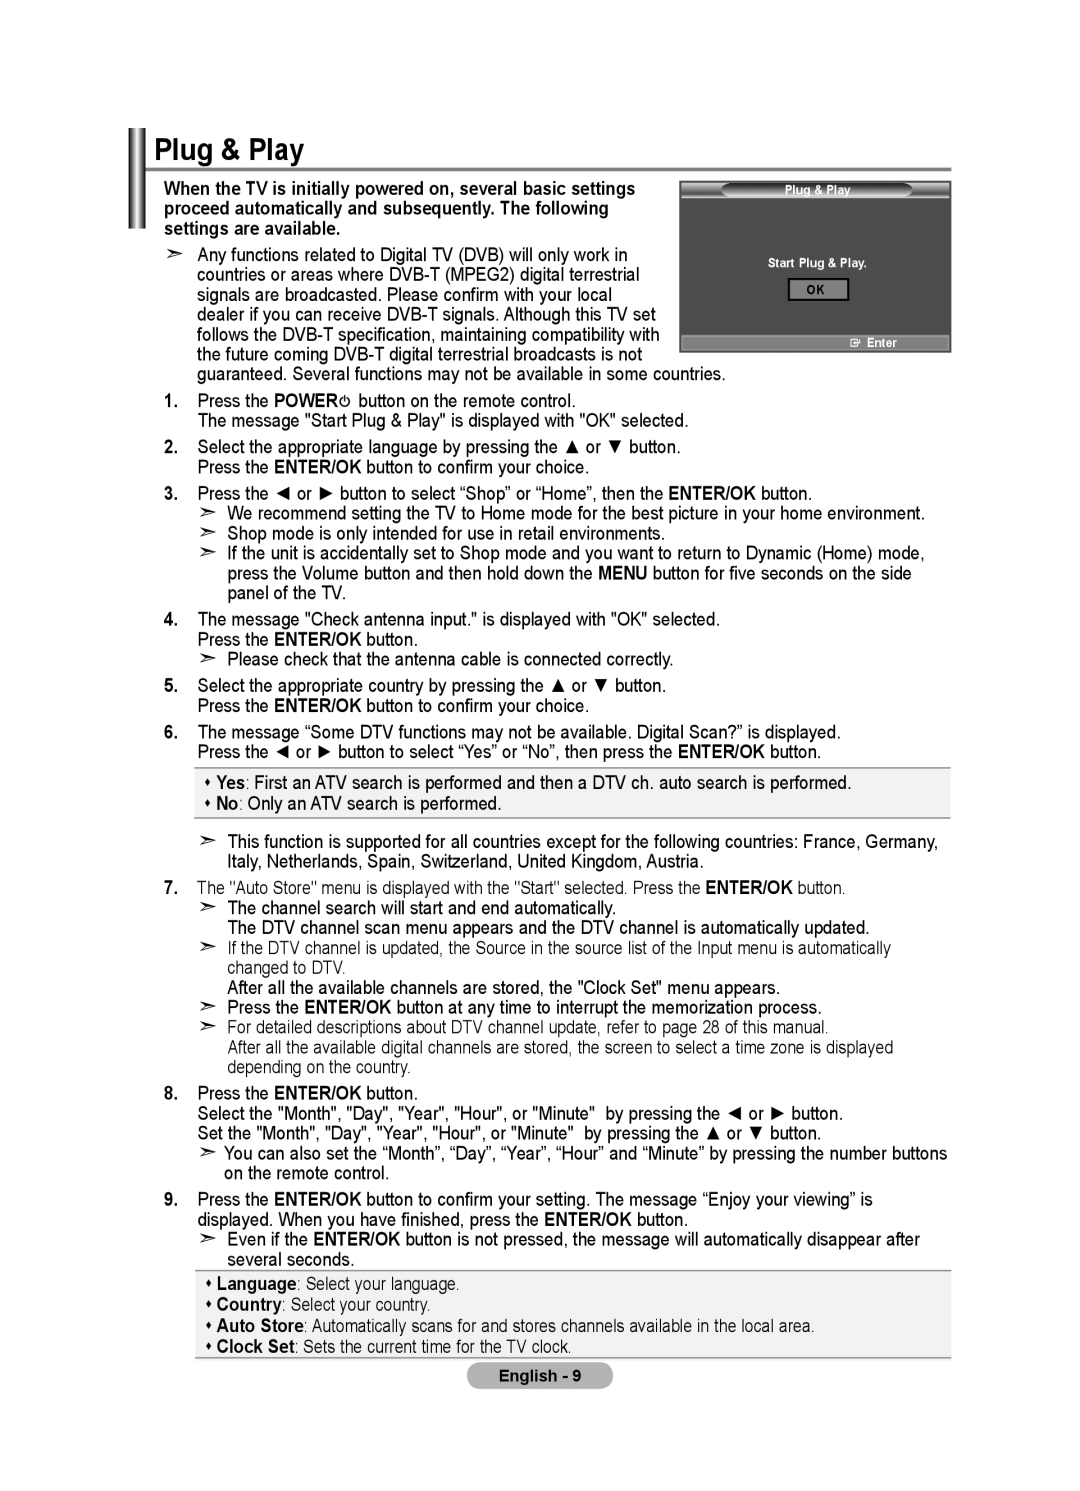
| Plug & Play | |||
proceed automatically and subsequently. The following |
|
|
|
|
settings are available. |
|
|
|
|
Any functions related to Digital TV (DVB) will only work in |
| Start Plug & Play. | ||
countries or areas where |
| |||
|
|
|
| |
signals are broadcasted. Please confirm with your local |
|
| OK |
|
dealer if you can receive |
|
|
|
|
follows the |
|
|
| Enter |
the future coming |
|
|
| |
|
|
|
| |
guaranteed. Several functions may not be available in some countries. |
|
|
| |
1.Press the POWER![]() button on the remote control.
button on the remote control.
The message "Start Plug & Play" is displayed with "OK" selected.
2.Select the appropriate language by pressing the ▲ or ▼ button. Press the ENTER/OK button to confirm your choice.
3.Press the ◄ or ► button to select “Shop” or “Home”, then the ENTER/OK button.
We recommend setting the TV to Home mode for the best picture in your home environment. Shop mode is only intended for use in retail environments.
If the unit is accidentally set to Shop mode and you want to return to Dynamic (Home) mode, press the Volume button and then hold down the MENU button for five seconds on the side panel of the TV.
4.The message "Check antenna input." is displayed with "OK" selected. Press the ENTER/OK button.
![]() Please check that the antenna cable is connected correctly.
Please check that the antenna cable is connected correctly.
5.Select the appropriate country by pressing the ▲ or ▼ button. Press the ENTER/OK button to confirm your choice.
6.The message “Some DTV functions may not be available. Digital Scan?” is displayed.
Press the ◄ or ► button to select “Yes” or “No”, then press the ENTER/OK button.
Yes: First an ATV search is performed and then a DTV ch. auto search is performed.
No: Only an ATV search is performed.
This function is supported for all countries except for the following countries: France, Germany, Italy, Netherlands, Spain, Switzerland, United Kingdom, Austria.
7.The "Auto Store" menu is displayed with the "Start" selected. Press the ENTER/OK button.
![]() The channel search will start and end automatically.
The channel search will start and end automatically.
The DTV channel scan menu appears and the DTV channel is automatically updated. ![]() If the DTV channel is updated, the Source in the source list of the Input menu is automatically
If the DTV channel is updated, the Source in the source list of the Input menu is automatically
changed to DTV.
After all the available channels are stored, the "Clock Set" menu appears.
![]() Press the ENTER/OK button at any time to interrupt the memorization process.
Press the ENTER/OK button at any time to interrupt the memorization process.
![]() For detailed descriptions about DTV channel update, refer to page 28 of this manual.
For detailed descriptions about DTV channel update, refer to page 28 of this manual.
After all the available digital channels are stored, the screen to select a time zone is displayed depending on the country.
8.Press the ENTER/OK button.
Select the "Month", "Day", "Year", "Hour", or "Minute" by pressing the ◄ or ► button. Set the "Month", "Day", "Year", "Hour", or "Minute" by pressing the ▲ or ▼ button.
![]() You can also set the “Month”, “Day”, “Year”, “Hour” and “Minute” by pressing the number buttons on the remote control.
You can also set the “Month”, “Day”, “Year”, “Hour” and “Minute” by pressing the number buttons on the remote control.
9.Press the ENTER/OK button to confirm your setting. The message “Enjoy your viewing” is displayed. When you have finished, press the ENTER/OK button.
![]() Even if the ENTER/OK button is not pressed, the message will automatically disappear after several seconds.
Even if the ENTER/OK button is not pressed, the message will automatically disappear after several seconds.
Language: Select your language.
Country: Select your country.
Auto Store: Automatically scans for and stores channels available in the local area.
Clock Set: Sets the current time for the TV clock.
English -