3 Using the Product
3-1 Plug & Play Feature
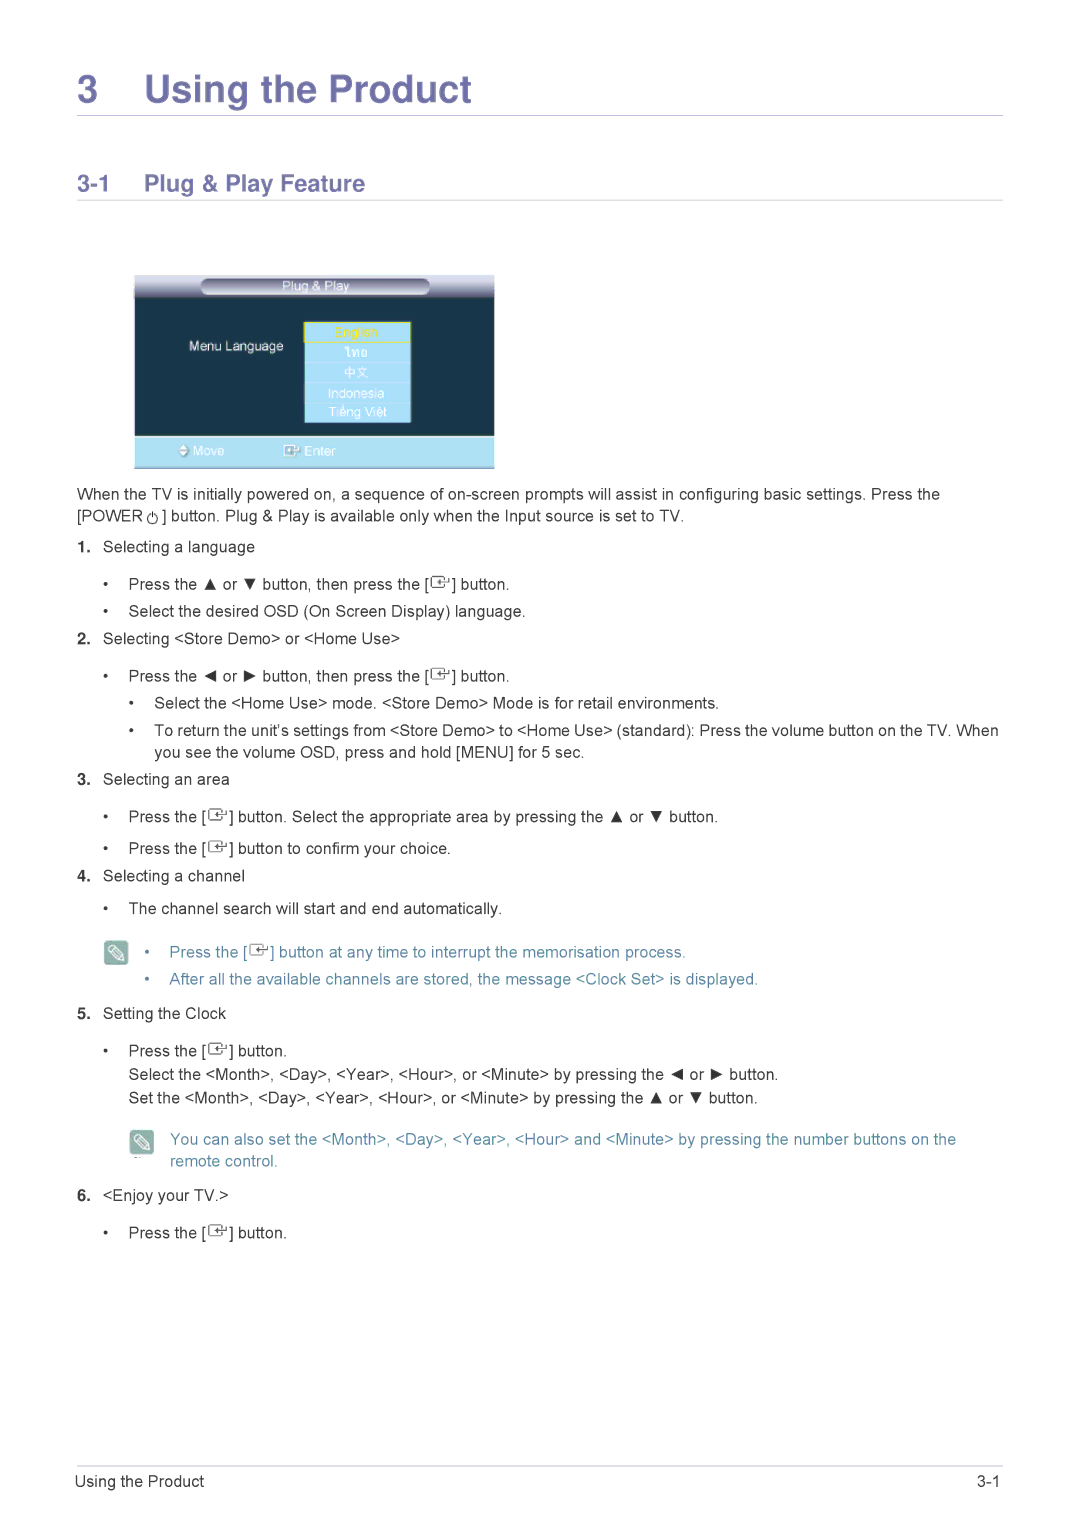
When the TV is initially powered on, a sequence of ![]() ] button. Plug & Play is available only when the Input source is set to TV.
] button. Plug & Play is available only when the Input source is set to TV.
1.Selecting a language
•Press the ▲ or ▼ button, then press the [![]() ] button.
] button.
•Select the desired OSD (On Screen Display) language.
2.Selecting <Store Demo> or <Home Use>
•Press the ◄ or ► button, then press the [![]() ] button.
] button.
•Select the <Home Use> mode. <Store Demo> Mode is for retail environments.
•To return the unit’s settings from <Store Demo> to <Home Use> (standard): Press the volume button on the TV. When you see the volume OSD, press and hold [MENU] for 5 sec.
3.Selecting an area
• Press the [ ![]() ] button. Select the appropriate area by pressing the ▲ or ▼ button.
] button. Select the appropriate area by pressing the ▲ or ▼ button.
•Press the [ ![]() ] button to confirm your choice.
] button to confirm your choice.
4.Selecting a channel
•The channel search will start and end automatically.
• Press the [ ![]() ] button at any time to interrupt the memorisation process.
] button at any time to interrupt the memorisation process.
•After all the available channels are stored, the message <Clock Set> is displayed.
5.Setting the Clock
•Press the [ ![]() ] button.
] button.
Select the <Month>, <Day>, <Year>, <Hour>, or <Minute> by pressing the ◄ or ► button. Set the <Month>, <Day>, <Year>, <Hour>, or <Minute> by pressing the ▲ or ▼ button.
You can also set the <Month>, <Day>, <Year>, <Hour> and <Minute> by pressing the number buttons on the remote control.
6.<Enjoy your TV.>
• Press the [ ![]() ] button.
] button.
Using the Product |