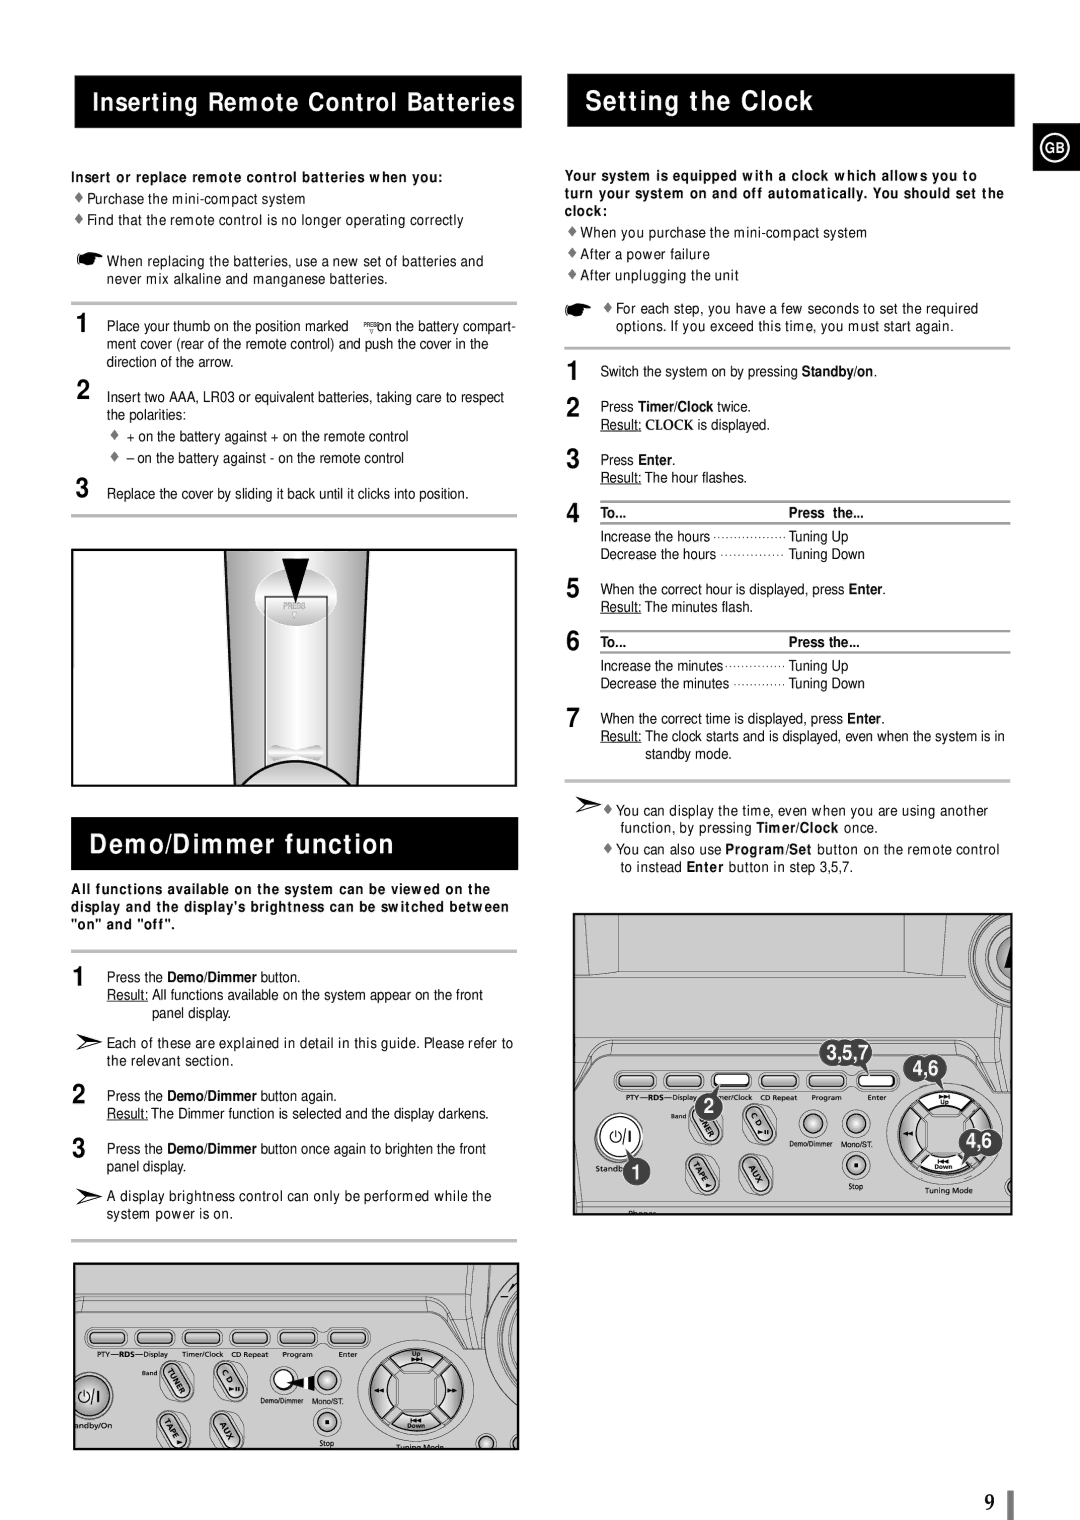
MAXB420RH/ELS, MAXB420RH/XEF, MAXB450RH/XEF, MAXB450RH/ELS, MAXB420RH specifications
The Samsung MAXB450RH/ELS and MAXB420RH/ELS are innovative air conditioning units designed to optimize indoor comfort across various environments. These models embody a blend of advanced technology, energy efficiency, and user-friendly features, making them an ideal choice for both residential and commercial settings.One of the key features of the MAXB450RH/ELS and MAXB420RH/ELS is their cutting-edge inverter technology. This technology allows the units to adjust the compressor speed, maintaining a consistent temperature while consuming less energy. This not only translates to reduced electricity bills but also minimizes environmental impact, making these air conditioners eco-friendly options.
Another significant characteristic is the unit’s impressive cooling and heating capabilities, providing comfort year-round. The MAXB450RH/ELS, with a higher cooling capacity, is particularly suitable for larger spaces, while the MAXB420RH/ELS caters well to smaller areas. Both models offer effective dehumidification, allowing for improved air quality and enhanced comfort by reducing humidity levels alongside temperature control.
The air conditioners come equipped with a multi-dimensional airflow system. This technology ensures that cool or warm air is distributed evenly throughout the room, preventing hot or cold spots, which enhances the overall comfort experience. With adjustable airflow direction, users can customize their cooling or heating preferences easily.
Furthermore, both models feature a user-friendly remote control, enabling effortless operation from any corner of the room, and they support programmable timers that allow users to set operating schedules according to their lifestyle needs. This feature enhances convenience and increases energy savings.
Samsung's MAXB450RH/ELS and MAXB420RH/ELS also boast a sleek and modern design that seamlessly integrates into any interior décor. Their low noise levels ensure that they operate quietly, making them suitable for bedrooms, offices, and other noise-sensitive environments.
In summary, the Samsung MAXB450RH/ELS and MAXB420RH/ELS air conditioning units are characterized by their inverter technology, exceptional cooling and heating capabilities, efficient airflow systems, and user-friendly features. These models not only enhance indoor comfort but also promote energy efficiency and environmental sustainability, positioning them as excellent choices for consumers seeking reliable climate control solutions.

