Samsung EC-NV3ZZBBB/IT Inserting the memory card, Instructions on how to use the memory card

Models: EC-NV3ZZBBV/E1 EC-NV3ZZBBD/AS EC-NV3ZZBBA/HK EC-NV3ZZBBM/E1 EC-NV3ZZNAA EC-NV3ZZBBQ/E1 EC-NV3ZZSBA/E2 EC-NV3ZZBBB/TA EC-NV3ZZBBB/US EC-NV3ZZBBC/CA EC-NV3ZZSFC/DE EC-NV3ZZBBB/PT EC-NV3ZZBBC/RU EC-NV3ZZSBC/AS EC-NV3ZZBBB/FR EC-NV3ZZSBA/MX EC-NV3ZZBBA/RU EC-NV3ZZBBB/IN EC-NV3ZZBBA/NL EC-NV3ZZBBE/E1 EC-NV3ZZBBY/E1 EC-NV3ZZBBC/E1 EC-NV3ZZBBC/US EC-NV3ZZSBG/E1 EC-NV3ZZSBD/AS EC-NV3ZZBBC/NL EC-NV3ZZBBB/RU EC-NV3ZZBBB/AR EC-NV3ZZBBD/RU EC-NV3ZZSFB/US EC-NV3ZZBBH/AS EC-NV3ZZBBF/AS EC-NV3ZZSBA/IN EC-NV3ZZBBF/E2 EC-NV3ZZBBD/DE EC-NV3ZZBBA/IL EC-NV3ZZSBB/AS EC-NV3ZZBBB/DE EC-NV3ZZBBA/TA EC-NV3ZZBBA/FI EC-NV3ZZBBG/E2 EC-NV3ZZBBD/NL EC-NV3ZZSBA/TR EC-NV3ZZBBC/PT EC-V3ZZZSBA/US EC-NV3ZZBSA/E1 EC-NV3ZZBBJ/AS EC-NV3ZZBBB/CA EC-NV3ZZBBP/E1 EC-NV3ZZBBB/AS EC-NV3ZZBBG/AS EC-V3ZZZSBB/E1 EC-NV3ZZSBH/E1 EC-NV3ZZBBA/US EC-NV3ZZBBA/DK EC-NV3ZZBBA/SP EC-NV3ZZBBC/IT EC-NV3ZZSBA/E1 NV3 EC-NV3ZZBBB/TR EC-NV3ZZBBF/E1 EC-NV3ZZBBA/CH EC-NV3ZZBBD/MX EC-NV3ZZBBG/E1 EC-NV3ZZSBE/AS EC-NV3ZZBBD/CA EC-NV3ZZBBL/AS EC-NV3ZZSBA/AS EC-NV3ZZBBC/E2 EC-NV3ZZSBA/CA EC-NV3ZZBBC/DE EC-NV3ZZBBX/E1 EC-NV3ZZBBF/US EC-NV3ZZBBA/GB EC-NV3ZZBBU/E1 EC-NV3ZZBBA/TH EC-V3ZZZSBA/E1 EC-NV3ZZBBB/SP EC-NV3ZZBBA/TR EC-NV3ZZSBA/IT EC-NV3ZZBBC/FR STC-NV3S EC-NV3ZZBBD/FR EC-NV3ZZBBA/FR EC-NV3ZZBBB/NL EC-NV3ZZBBA/CA EC-NV3ZZBBT/E1 EC-NV3ZZBBE/US EC-NV3ZZBBA/E2 EC-NV3ZZBBD/US EC-NV3ZZBBA/MX EC-NV3ZZSBE/E1 EC-NV3ZZBBC/AS EC-NV3ZZBBM/AS EC-NV3ZZBBA/IT EC-NV3ZZBBP/AS EC-NV3ZZBBC/GB EC-NV3ZZBBE/DE EC-NV3ZZBBA/SE EC-NV3ZZBBC/SP EC-NV3ZZBBE/E2 EC-NV3ZZBAB EC-NV3ZZBAA EC-NV3ZZBBJ/E1 EC-NV3ZZSBA/FR EC-NV3ZZSBA/GB EC-NV3ZZBBN/AS EC-NV3ZZBBD/E2 EC-NV3ZZSBB/GB EC-NV3ZZSBA/RU EC-NV3ZZBBE/AS EC-NV3ZZBBA/E1 EC-NV3ZZBBA/IN EC-NV3ZZBBA/AR EC-NV3ZZSBB/E1 EC-NV3ZZBBW/E1 EC-NV3ZZBBB/IT EC-NV3ZZSFB/RU EC-NV3ZZBBA/IR EC-NV3ZZBBB/GB EC-NV3ZZBBR/E1 EC-NV3ZZSFB/DE EC-NV3ZZBBD/GB EC-NV3ZZBBN/E1 EC-NV3ZZBBB/E1 EC-NV3ZZSBJ/E1 EC-NV3ZZBBL/E1 EC-NV3ZZBBB/E2 EC-NV3ZZSBB/E2 EC-NV3ZZSBF/AS EC-NV3ZZBBH/E1 EC-NV3ZZSBA/US EC-NV3ZZBBB/MX EC-NV3ZZSBF/E1 EC-NV3ZZBBA/DE EC-NV3ZZSBC/E1 EC-NV3ZZBBC/MX EC-NV3ZZSBD/E1 EC-NV3ZZBBC/TR EC-NV3ZZSBA/TA EC-NV3ZZSBA/DE EC-NV3ZZSAA EC-NV3ZZBBA/AS EC-NV3ZZBBA/PT EC-NV3ZZBBD/E1

1 94
Download 94 pages 20.75 Kb
Page 13
Image 13

Connecting to a Power Source

Insert the battery as shown

- If the camera does not turn on after you

have inserted battery, please check whether the battery is inserted with the correct polarity (+ / -).

- When the battery chamber cover is opened, do not press the battery chamber cover by force. This may cause damage to the battery chamber cover.

There are 4 indicators for battery condition that are displayed on the LCD monitor.

Battery


indicator


Battery

The battery is

Low battery capacity

Low battery capacity

Low battery capacity

(Prepare to recharge

(Prepare to recharge

(Prepare to recharge

status

fully charged

or use spare battery)

or use spare battery)

or use spare battery)


Inserting the memory card

Insert the memory card as shown.

- Turn off the camera’s power before inserting the memory card.

- Have the front of the memory card facing toward the front of the camera (lens) and the card pins toward the back of the camera (LCD monitor).

- Do not insert the memory card the wrong way round. Doing so may damage the memory card slot.

Instructions on how to use the memory card

Be sure to format the memory card (see p.59) if you are using a newly purchased memory for the first time, if it contains data that the camera cannot recognise, or if it contains images captured with a different camera.

Turn off the camera power whenever the memory card is being inserted or removed.

Repeated use of the memory card will eventually reduce the memory card’s performance. Should this be the case, you will need to purchase a new memory card. Wear and tear on the memory card is not covered by the Samsung warranty.

The memory card is an electronic precision device.

Do not bend, drop or subject the memory card to any heavy impact.

Do not store the memory card in an environment with strong electronic or magnetic fields, e.g. near loud speakers or TV receivers.

Please do not use or store in an environment where there are extremes in temperature.

Do not allow the memory card to become dirty or to come into contact with any liquid. Should this happen, clean the memory card with a soft cloth.

Please keep the memory card in its case when not in use.

During and after periods of extended use, you may notice that the memory card is warm. This is perfectly normal.

Do not use a memory card that is used in another digital camera.

To use the memory card in this camera, format the memory card using this camera.

Do not use a memory card formatted by another digital camera or memory card reader.

If the memory card is subjected to any of the following, the recorded data may become corrupted :

-When the memory card is used incorrectly.

-If the power is switched off or the memory card is removed while recording, deleting (formatting) or reading.

12

Page 13
Image 13
Samsung EC-NV3ZZBBB/IT, EC-NV3ZZSAA, EC-NV3ZZBBC/E2 Inserting the memory card, Instructions on how to use the memory card

EC-NV3ZZBBV/E1, EC-NV3ZZBBD/AS, EC-NV3ZZBBA/HK, EC-NV3ZZBBM/E1, EC-NV3ZZNAA specifications

The Samsung EC-NV3 series represents a lineage of compact digital cameras that blend style with advanced technology, making them a popular choice for photography enthusiasts and casual users alike. Within this range, models such as EC-NV3ZZSBA/DE, EC-NV3ZZBBB/E2, EC-NV3ZZBBD/E2, EC-NV3ZZBBC/E2, and EC-NV3ZZSBA/E1 stand out due to their impressive features and specifications.

One of the main attractions of the Samsung EC-NV3 cameras is their sleek design, available in various colors. The compact size and light weight make it easy to carry around, ensuring you never miss a moment. The elegantly designed body houses a powerful performance engine, allowing users to capture high-quality images without the bulk of larger DSLRs.

A standout feature of the EC-NV3 series is the 14.2-megapixel CCD sensor, which offers exceptional image clarity and detail. Users can enjoy vibrant colors and sharp contrast, making every photograph pop. Additionally, the series includes a 3x optical zoom lens, allowing for versatile shooting options from wide-angle landscapes to close-up portraits.

The cameras boast Samsung’s impressive Smart Auto technology, which automatically selects the best settings based on the camera’s environment. This innovative feature enables users to take stunning photographs without needing extensive photography knowledge. The camera's scene recognition technology can intelligently identify up to 22 different scenes, ensuring optimal exposure and quality.

Furthermore, the EC-NV3 series offers 720p HD video recording capabilities. This allows users to seamlessly transition from still photos to capturing life in motion, making it an ideal choice for family events, vacations, and everyday moments alike.

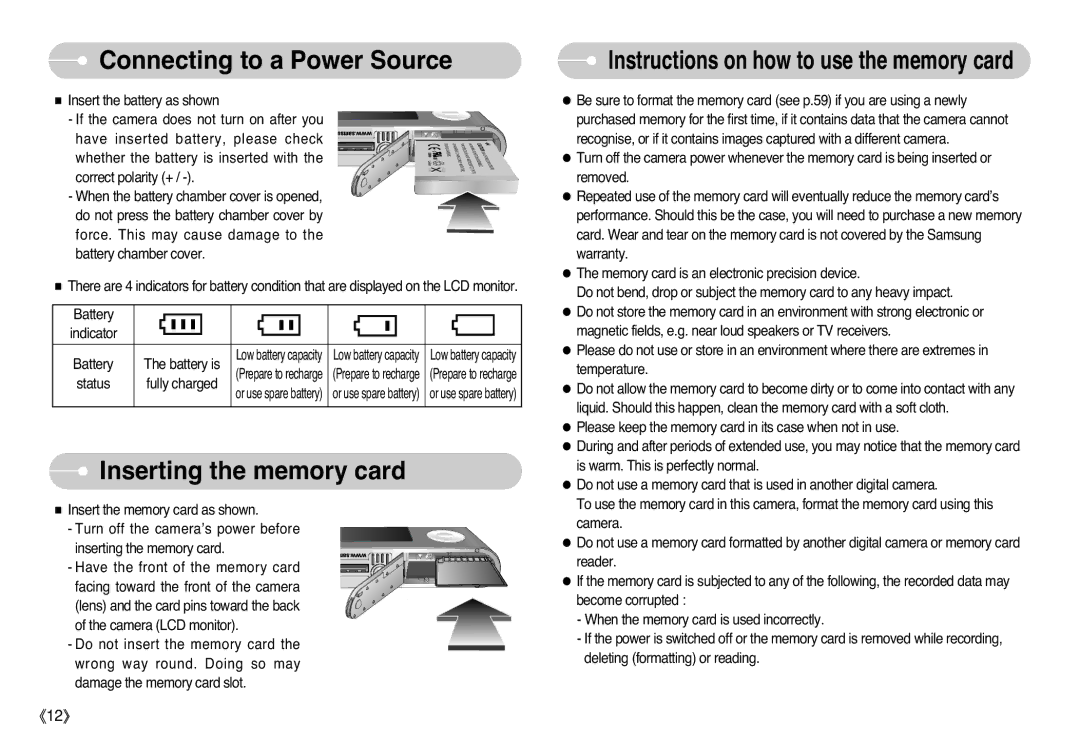
In terms of usability, the Samsung EC-NV3 cameras feature a 2.7-inch LCD screen that provides a clear view, even in bright sunlight. The interface is user-friendly, allowing for easy navigation through settings and menus.

Battery life is another significant aspect of these models, with the ability to take hundreds of shots on a single charge, making them perfect for capturing the day’s adventures without the fear of running out of power.

In summary, the Samsung EC-NV3 series cameras are designed for users who value both style and functionality. With high-resolution imaging, intelligent shooting modes, and the convenience of compact design, they cater to a range of photography needs, making them a compelling choice for anyone looking to enhance their photographic experience.