PLASMA DISPLAY PANEL
PDP-TELEVISION
Owner’s Instructions
ON-SCREEN MENUS Picture In Picture PIP Energy Saving TELETEXT Option
Warranty
User Instructions
Avoid operating the TV at temperatures below 5C41F
Installation
Symbols
Contents
Using the DTV Feature
Time Features
Using the Stand-Base PS-42E97HD/PS-50E97HD
Checking Parts
Ferrite Core Power Cord
Sold Separately
Power Indicator
Control Panel
6 Power button
Remote Control Sensor
Input/Output Specification
Connection Panel
1 POWER IN
6 SERVICE
DVI IN AUDIO L/R
8 COMMON INTERFACE Slot
9 HDMI INDVI IN
0 ANT IN
Viewing the Remote Control
Teletext Functions
The main lead is attached to the rear of the television
Switching Your Television On and Off
Installing Batteries in the Remote Control
Plug & Play Feature
Viewing the Menus
The Iberian Peninsula and Balears Islands
Start
Stop
Start
HDMI, DTV
Viewing an External Signal Sources
If you want to reset this feature …
You can give a name to the external source
Editing Device Names
Storing Channels Automatically
Colour System Auto/PAL/SECAM/NTSC4.43
Storing Channels Manually
Channel mode
Sound System BG/DK/I/L
children, from watching unsuitable programmes by muting out video
Adding / Locking Channels
Using the Channel Manager, you can conveniently lock or add
Select On by pressing the or button, then press the ENTER/OK
This operation may be necessary after using the auto store
Sorting the Stored Channels
Assigning Names to Channels
Mode
Fine Tuning Channel Reception
Changing the Picture Standard
Dynamic
Colour Tone Cool2/Cool1/Normal/Warm1/Warm2
Customizing the Picture Settings
Reset Cancel/OK
Dynamic Contrast Off/Low/Medium/High
Configuring Detailed Settings on the Picture
My Colour Control Pink/Green/Blue/White/Reset
Gamma -3 ~ +3
Positioning and Sizing the screen using Zoom
Selecting the Screen Mode
Selecting the Picture Size
Available options Digital NR, Active Colour, DNIe
Digital NR / Active Colour / DNIe
Freezing the Current Picture
Digital NR Off/Low/Medium/High/Auto
If Game Mode is On
Sound Features
Mode Standard/Music/Movie/Speech/Custom
Reset
dual-1
Selecting the Sound Mode depending on the model
NICAM
English
Time Features
Auto Power Off
Melody Off/Low/Medium/High
Language
Blue Screen On/Off
HDMI Black Level Normal/Low
When connecting to a game console such as PlayStationTM or
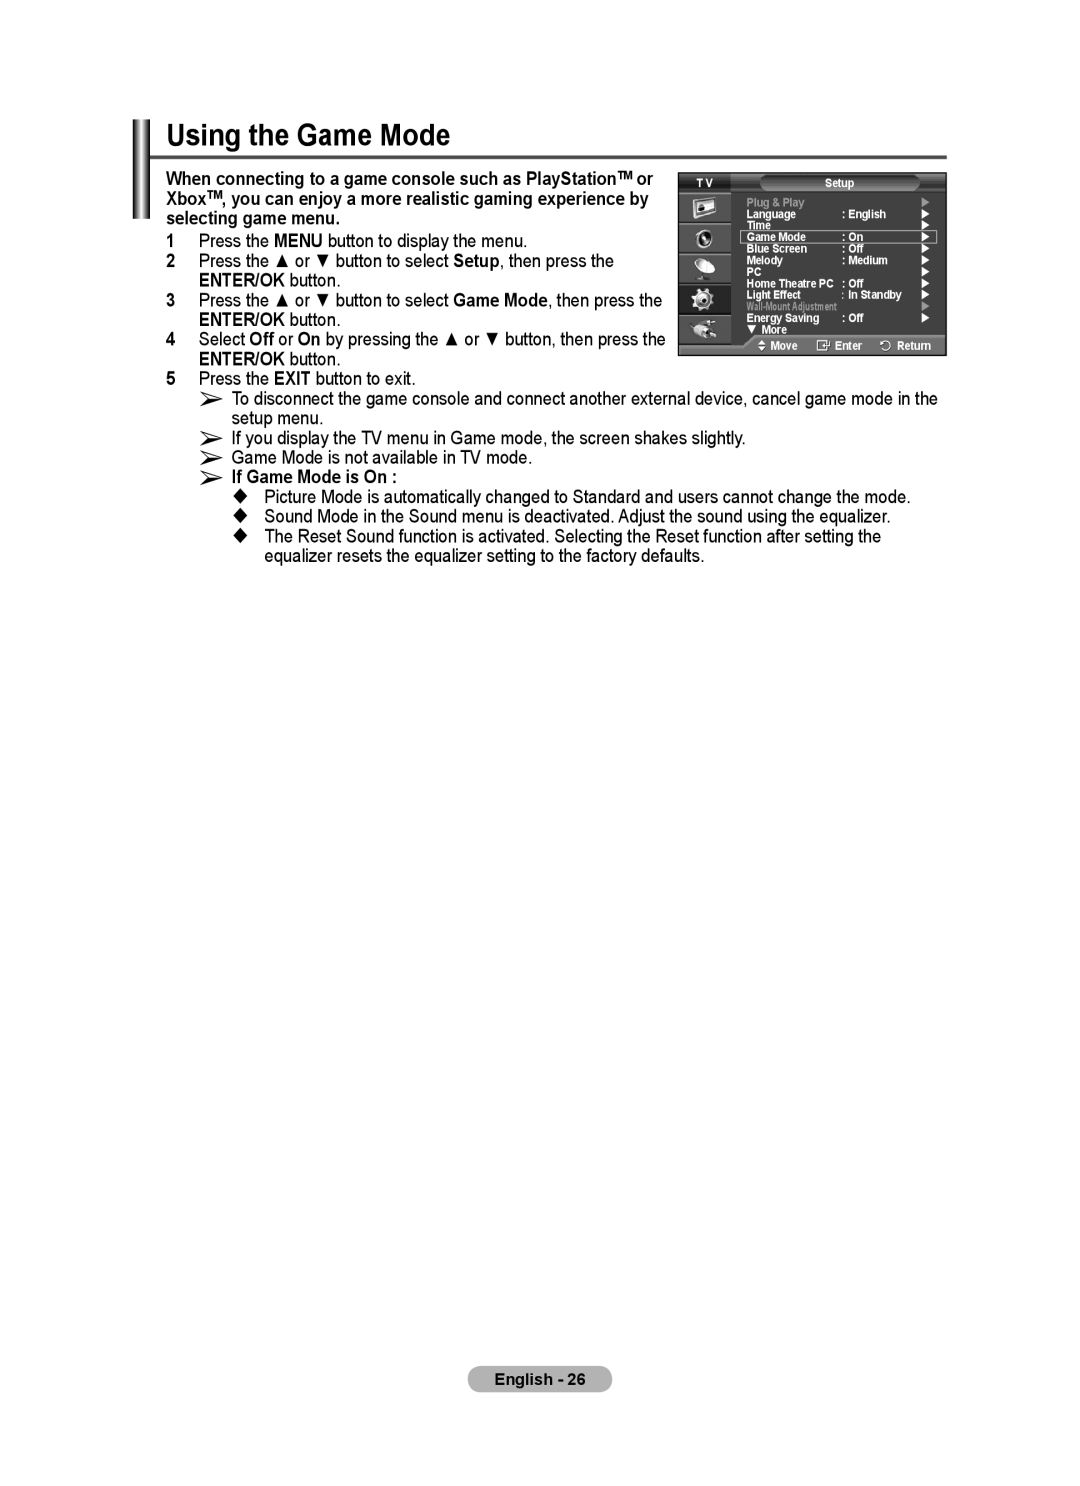
Using the Game Mode
If Game Mode is On
XboxTM, you can enjoy a more realistic gaming experience by
Rear Panel
Wall- mount adjustment Sold separately
Using the remote Control Buttons
Entering the menu
Available options PIPOn/Off, Source, Size, Position Programme
Viewing the Picture in Picture PIP
PIP On/Off Table of PIP Settings
Source TV/Ext.1/Ext.2
Screen Burn Protection
Gray
Setting up Your PC Software Based on Windows XP
Input Mode PC
Auto Adjustment
Setting the PC
Image Reset
Image Reset
You can view higher quality pictures by configuring the screen
Setting the Home Theatre PC
configure the Detailed Settings when Picture Mode is set to
Wall-Mount Adjustment
Setup
Previewing the DTV Menu System
Default
Disable
Teletext Language Preference
Displaying Programme Information
Language Audio Language
Primary Audio Language Secondary Audio Language
1. Channel
Operating the DTV Menu
Viewing the DTV Menu
Country, Auto Store, Manual Store, Edit Favourite
Add
1.4 Edit Favourite Channels
ENTER/OK button
Renumber
Guide
2. Guide
This menu consists of 4 sub-menus
2.1 Now & Next Guide / Full Guide
Full Guide
2.3 Default Guide
2.2 Scheduled List
3. Language
When the favorite channel list has not been set up
2.4 All Channels and Favorite Channels
Audio Language, Subtitle Language, Teletext Language, and Preference
Language
Using this feature, users can select one of the languages
3.2 Preference
Primary Audio Language, Secondary Audio Language
4.2 Parental Lock
4. Setup
4.1 Menu Transparency
Medium
activates even though Hard of hearing mode is
Subtitle / Subtitle Mode / Audio Format / Digital Text
− Subtitle Mode Normal basic subtitle / Hard of hearing
You can select the time zone where you are located
Manual Upgrade
− Software Version / Firmware Version − Signal Information
− Software Upgrade Option
Standby Mode Upgrade On / Off
− Common Interface
Installing the CI Card
− Reset
dealer or by phone
8 cancel
Teletext Feature depending on the model
4 mode
1 TV/DTV
Part Contents
The teletext pages are organized according to six categories
inch
Wall Mount Kit Specifications VESA
Install your wall mount on a solid wall perpendicular to the floor
Standard Screw
Setting Up the Remote to Operate Your Cable Box
Setting Up Your Remote Control
Setting Up the Remote to Operate Your VCR
Setting Up the Remote to Operate Your DVD
Setting Up the Remote to Operate Your Set Top Box
Code
Remote Control Codes
Brand
Brand
SET-TOP BOX
CABLE BOX
SAMSUNG SET-TOP BOX
Brand
Code
SAMSUNG DVD
Product
Brand
button on the remote control
How to assemble the Stand-Base depending on the model
Troubleshooting
Check the picture contrast and brightness settings
Dimension
Specifications
PC Resolution
Weight
This page is intentionally left blank
Correct Disposal of This Product
Waste Electrical & Electronic Equipment