
S760 specifications
The Samsung S760 is a compact digital camera that offers a blend of simplicity and functionality, making it an excellent choice for both casual photographers and those looking to get started in digital photography. With its straightforward design and user-friendly interface, the S760 caters to individuals seeking an easy-to-use camera without compromising on picture quality.One of the standout features of the Samsung S760 is its 7.2-megapixel resolution. This robust resolution allows users to capture images with remarkable clarity and detail, ensuring that photos are crisp and vibrant. The 3x optical zoom lens, complemented by a digital zoom feature, enables users to get closer to distant subjects, providing versatility in various shooting situations. Whether photographing landscapes, portraits, or close-up shots, the S760 delivers excellent results.
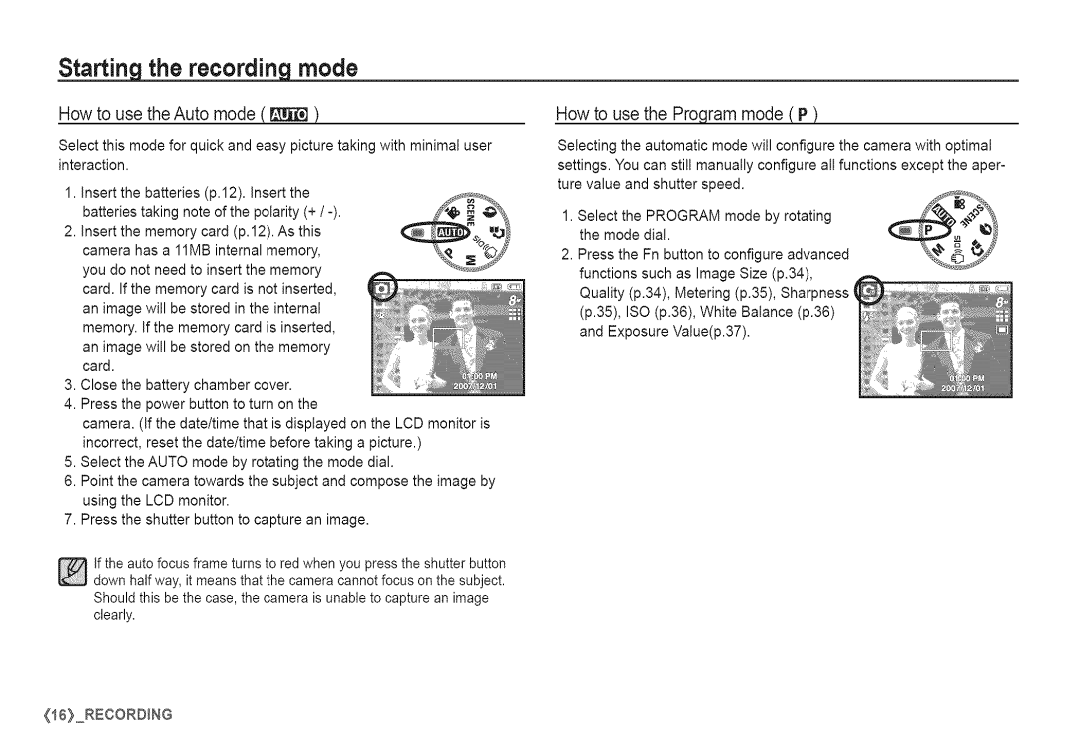
Incorporating advanced technologies, the S760 is equipped with a variety of shooting modes that cater to different photography styles. These modes include auto, portrait, landscape, night, and more, allowing users to easily adapt the camera settings according to their environment and subject matter. The camera's high-sensitivity (ISO) settings enhance low-light performance, reducing the likelihood of grainy images in dim conditions.
The S760 also features a 2.5-inch LCD screen that offers a clear view for composing shots and reviewing images. This display is particularly useful for framing photos in bright light conditions, ensuring that users can see what they are capturing with ease. The camera’s compact design allows for easy portability, making it an excellent choice for travel and everyday use.
Furthermore, the Samsung S760 includes various image editing options, such as red-eye reduction, brightness adjustment, and a range of filters to enhance images before sharing or printing. It has an internal storage capacity, which can be expanded using SD cards, providing flexibility for capturing numerous photos without worrying about running out of space.
In summary, the Samsung S760 combines stylish design with essential features that cater to both novice photographers and those looking to capture everyday moments. From its impressive resolution and optical zoom to its user-friendly interface and versatile shooting modes, the S760 is a reliable companion for anyone looking to explore the world of digital photography. Its portability and ease of use make it a practical choice for capturing life's fleeting moments.