User Guide
Function Switches
SW1
The camera operates in Internal Synchronization mode when the switch is set to OFF and in
❈Operating mode is set to lnternal Synchronization Mode when using the DC12V power supply, regardless of the L/L switch status.
SW2
Functions to prevent flicker for NTSC systems in areas with a 50Hz power frequency, and for PAL systems in areas with a 60Hz power frequency. Flicker occurs when there is a mismatch between the vertical synchronizing frequency and lighting control frequency. When SW2 is set to ON, the electronic shutter speed is fixed either to 1/100 seconds (NTSC) or 1/120 seconds (PAL).
Iris Level Control
Use the
User Guide
4.Installation
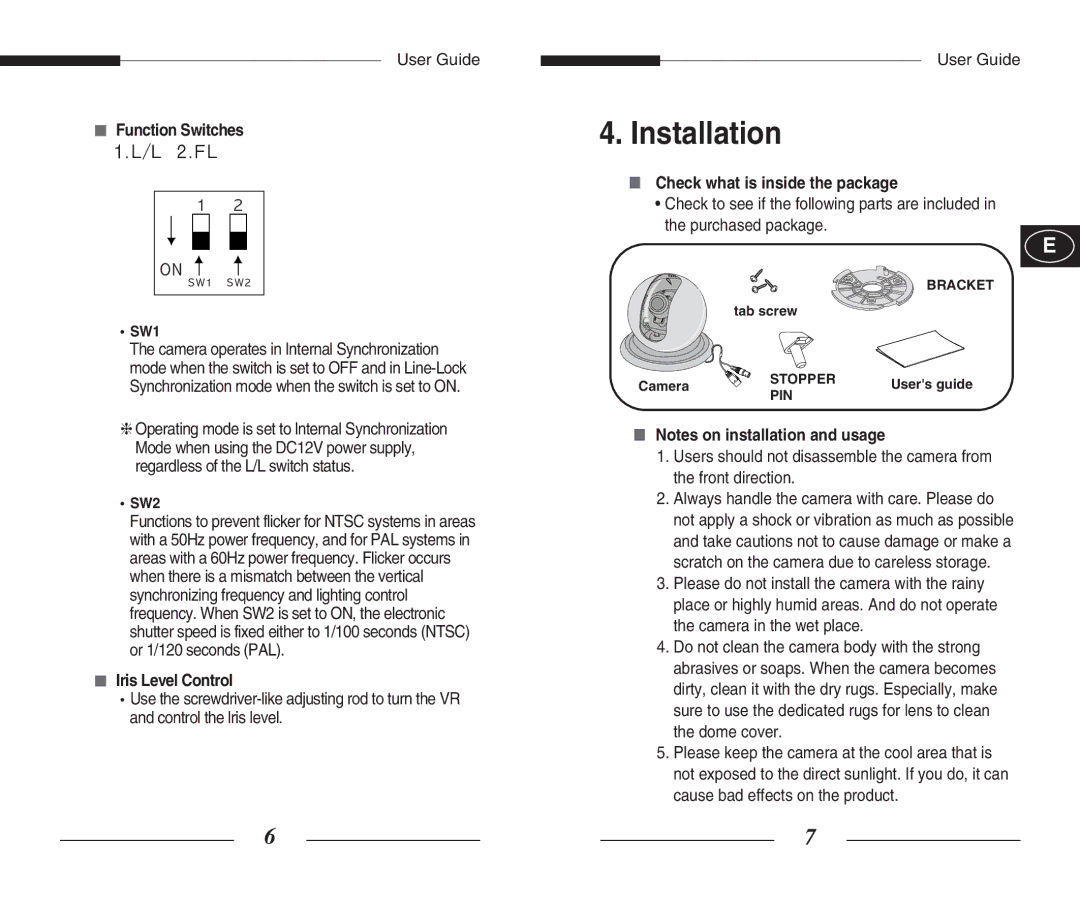
■Check what is inside the package
•Check to see if the following parts are included in the purchased package.
E
|
| BRACKET | |
| tab screw |
| |
Camera | STOPPER | User's guide | |
PIN | |||
|
|
■Notes on installation and usage
1.Users should not disassemble the camera from the front direction.
2.Always handle the camera with care. Please do not apply a shock or vibration as much as possible and take cautions not to cause damage or make a scratch on the camera due to careless storage.
3.Please do not install the camera with the rainy place or highly humid areas. And do not operate the camera in the wet place.
4.Do not clean the camera body with the strong abrasives or soaps. When the camera becomes dirty, clean it with the dry rugs. Especially, make sure to use the dedicated rugs for lens to clean the dome cover.
5.Please keep the camera at the cool area that is not exposed to the direct sunlight. If you do, it can cause bad effects on the product.
6 |
|
|
| 7 |
|
| |||
|
|
|
|
|