D R O I D T a B L E T
GENSM-T520UMEngNAETN031414F4
Intellectual Property
Open Source Software
Disclaimer of Warranties Exclusion of Liability
Modification of Software
Samsung Electronics America SEA, Inc
Telephone Address
Page
Table of Contents
Applications
Camera and Video
Settings
111
Health and Safety
Warranty Information 172
152
177
Getting Started
Special Text
Battery
Battery Indicator
Connections tab Wi-Fi
Text Conventions
Charging the Battery
Setting Up Your Device
Power/Lock Key
Turning Your Device On and Off
Turning Your Device On
Date and time Set the date, time, and select a time zone
Galaxy Tab Accessories
Installing a Memory Card
Memory Card
Securing Your Device
Troubleshooting
Press the Power/Lock Key
Holding the Device
Locking the Device Manually
Features
Understanding Your Device
Back, Top, and Bottom
Command Keys
Navigating Your Device
Recent Apps
Home
Touching
Using the Touch Screen
Finger Gestures
Touching and Holding Dragging
Available options
Double-Tapping
Swipe
Rotating the Screen
Control Motions
Pinching and Spreading
Tilting
Panning to Browse
Feature on
Palm Motions
Sweeping
Covering
Activate Multi Window
Multi Window
Capturing Screenshots
Display the Multi window panel
Using Multi Window Applications
Multi Window Panel
Maximize the application Close the application
Panel Configuration
Window Controls
Widgets Status Bar Content
Home Screen
App Google Current
Search Screen Shortcuts
To modify a Magazine style Home screen
Additional Home Screens
Customize Home Screen Widgets
To resize a Magazine Widget
To relocate a Magazine Widget
To remove a Magazine Widget
Customizing Home Screens
Notifications
Notification Panel
Touch to display additional options
Accessing Additional Panel Functions
Bottom of the screen or touch Back
Status Bar
To display the Status Bar
Status Bar Icons
Connectivity Icons
Shortcuts and Widgets
Device Status Icons
Messaging Icons
New email New Gmail
Using Folders
Folders
Adding a Shortcut or Widget
Removing a Shortcut or Widget
Apps Screen
Wallpapers
Wallpaper
Touch Menu Edit
To view the screen shots
Screen Capture
Application Information
Handwriting
Using the Keyboard
Entering Text
Entering Text By Voice
Copying and Pasting
Setting Up Accounts
Accounts setting
Accounts and Contacts
Accounts
Your Google Account
Your Samsung Account
Contacts
Add a Contact
Touch Save
Updating Contacts
Deleting Contacts
There are various ways to display your contacts
Contacts Display Options
Linked Contacts
Sharing Contact Information
Linking Contacts
Touch Menu Link contact
Separating Contacts
Touch Menu Settings Import/Export
Groups
Importing and Exporting Contacts
Create a New Group
Adding Group Members
Removing Group Members
Renaming a Group
Touch Menu Add member
Favorites
Deleting Groups
Mark a Contact as a Favorite
View Favorites
Types of Messages
Configuring Email Accounts
Messaging
Touch Menu Settings Delete account
Managing Your Email Accounts
Refreshing Your Email Account
Deleting Email Accounts
Email Settings
Composing and Sending Email
While composing a message
Touch Discard to discard the email Messaging
Setting Up Your Gmail Account
Gmail
Replying to an Email
Forwarding an Email
Gmail Settings
Hangouts
Composing and Sending Gmail
Refreshing Your Gmail Account
Google+
Google+
From a Home screen, touch Google folder
Multimedia
Listening to Music
Play Music
Google folder Play Music
Music Player Options and Settings
Music Player
Searching for Music
Scan for nearby devices Share music with devices nearby
Managing Playlists
Player
Creating a Playlist
Adding Songs to a Playlist
Renaming a Playlist
Changing the Order of a Playlist
Playing a Playlist
Removing Songs from Playlists
Music Player Controls
Accessing the Music Player
Playing Music
Assign the current song as a Favorite
Options While Playing a Song
Playing Music by Mood
Use this application to access your personalized magazines
Flipboard
Accessing Magazines from a Home Screen
Touch Content Guide My Flipboard Settings Help
Touch Content Guide
To access a Magazine from a Home screen
WatchON Menu
Initial Configuration
WatchON
Taking Photos
Camera and Video
Camera
Shooting Mode
Sound & shot Take a photo with sound
Sports Use this setting for fast-moving subjects
To get the best shot, follow these tips
Recording Mode
Panoramic Photos
Applying Filter Effects
Recording Videos
Dual Camera Mode
Zooming In and Out
Configuring Settings for Camera
Share Shot
Controlling the Camera Remotely
Camera
Video recorder
Settings
Timer Use this for delayed-time shots
Touch Options
Reset Reset the camera settings
Shortcuts
Viewing Images Using the Motion Feature
Gallery
Viewing Images
Use this application to view images and videos
Editing Images
Playing Videos
Trimming Segments of a Video
Setting as Wallpaper
Modifying Images
Favorite Images
Deleting Images
Using Tag Buddy
Video
Tagging Faces
Touch the OFF / on button to turn Tag buddy
Playing Videos
YouTube
Wi-Fi
Turn Wi-Fi On or Off
From Settings
Connections
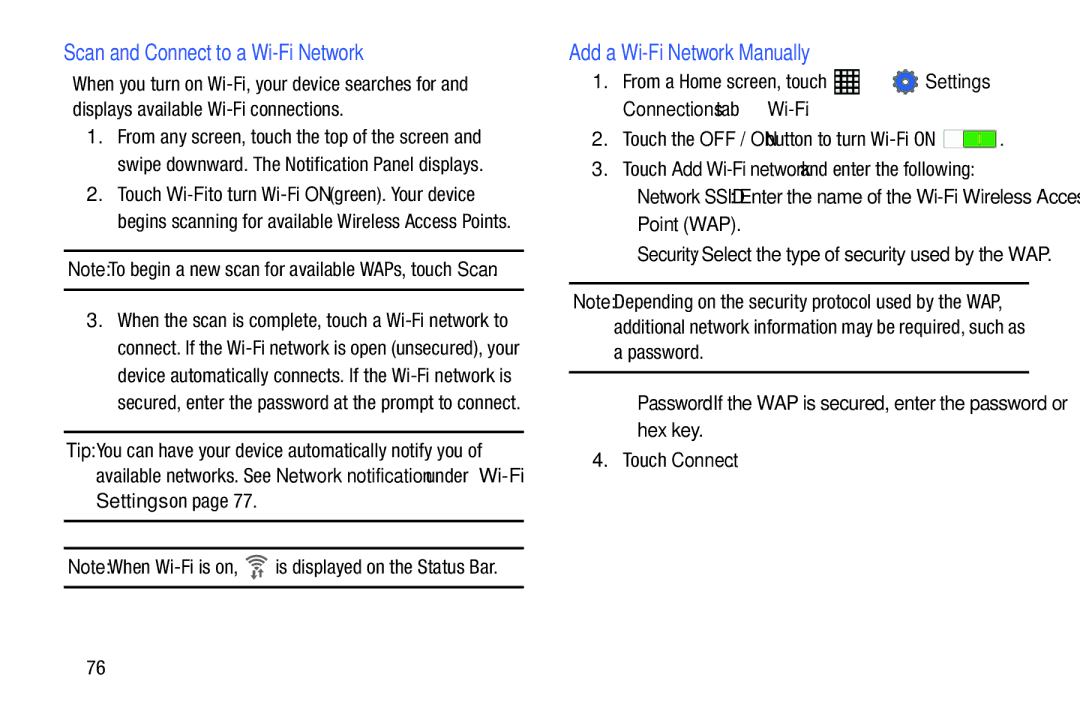
From a Home screen, touch Settings Connections tab Wi-Fi
Scan and Connect to a Wi-Fi Network
Add a Wi-Fi Network Manually
Wi-Fi Status Indicators
Wi-Fi Settings
Sort by Sort Wi-Fi networks by Alphabet or Signal strength
Advanced
Touch Wi-Fi Direct
Wi-Fi Direct
IP address View your device’s IP address not configurable
Touch the Wi-Fi Direct option
Bluetooth
Share Information with Wi-Fi Direct
Turning Bluetooth On or Off
Pairing with a Bluetooth Device
Touch Bluetooth to turn Bluetooth on green or off grey
Or OFF
When you are connected to the target device
Bluetooth Status Indicators
Reconnect to a Bluetooth Device
Unpair from a Bluetooth Device
Send Information Using Bluetooth
Disconnect from a Bluetooth Device
Connections tab Bluetooth
Ways of sharing files via Bluetooth include
Touch the OFF / on button to turn Bluetooth
Bluetooth
Bluetooth Settings
Accessing Files Received via Bluetooth
Change Your Bluetooth Name
Touch Menu Received files
Uninstalling an App
Managing Downloads
To uninstall an app from the Apps screen
Uninstall screen Touch
Uninstall
Appears on Apps that can be uninstalled or disabled
Touch Updates available
Applications
Updating Applications
GPS Applications
Accessing Applications
To access applications
To access the Task Manager Touch Recent apps Task manager
Task Manager
Application Folders
Alarm
Setting Alarms
Stopping Alarms
Deleting Alarms
Calculator
Calendar
Creating Events or Tasks
Samsung folder Calculator
Syncing with Google Calendar Searching for Events
Deleting Events
Sharing Events
Changing Calendar Type
Chrome
Use this application to take photos or videos
For more information, refer to Camera on
For more information, refer to Contacts on
Send and receive email using popular email services
Drive
Dropbox
Meeting
Google
Google
Google Now
Google Settings
Google Settings
Hancom Viewer
Help
Internet
Viewing Webpages
Change the Search Engine
Zoom
Using Browser Windows
Searching the Web by Voice
Bookmarks
History
Maps
Sharing Webpages
Entering Text in a Field
Internet Menu
Memo
Music
My Files
Viewing Files
From a Home screen, touch My Files
Netflix
Play Games
Photos
Play Books
Play Store
Play Movies & TV
Play Newsstand
Installing Applications
Uninstalling Applications
To uninstall applications purchased from Play Store
Follow on the onscreen instructions
Updates to Downloaded Apps
Remote PC
Voice
Samsung folder S Voice
Device tab Lock screen Touch Wake up in lock screen
Using Wake-Up Commands on Locked Screen
To activate this feature From a Home screen, touch
Settings
Configure your device to your preferences
Samsung Apps
Screen Saver
SideSync
Voice Search
WebEx
Samsung folder SlideSync
Touch World Clock
Touch Menu DST settings
World Clock
Settings
About Settings
Accessing Settings
Settings Tabs
Settings Screen
Wi-Fi Direct Settings
Control your device’s wireless connections
Connections
Airplane Mode
OFF / on button to turn Airplane mode on
View your Wi-Fi data usage From a Home screen, touch
Data Usage
Location Services
To manage your Location Reporting settings
Location Reporting
Touch Google Location Reporting for options
More Networks
My Places
Printing
Touch My places
Connecting to a VPN
Adding a VPN
Edit or Delete a VPN
VPN Options
Manage your ethernet connection and ethernet device
Nearby Devices
Ethernet
Volume
Screen Mirroring
Device
Sound
Vibration Intensity
System
Samsung Applications
Device tab Sound Vibration intensity
More Settings
Display
Samsung Keyboard
120
Dynamic Use this mode to make the display tone more vivid
For more information, refer to Multi Window on Settings
Set the device to use Multi window
Touch the OFF / on button to turn Multi window
Swipe Options
Lock Screen
Screen Security
Options are available when Pattern is selected
Options are available when PIN is selected
Pattern Options
PIN Options
Touch Home Screen, Lock screen, or Home and lock screens
Password Options
Wallpaper
Font
Notification Panel
Device tab Font
Docking Touch
Accessibility
Configure the following settings
Accessibility
126
Services
Vision
Font size Set the font size
OFF / on button to turn it on
Recognition
Blocking Mode
Mobility
Controls tab Language and input Default
Controls
Language and Input
Language
More settings
Clear personal data Remove all personalized data entered
Keyboard swipe
Key-tap feedback
Voice Search
Speech
Google Voice Typing
Mouse/Trackpad
Default language status Display the default language in use
Text-To-Speech Options
Voice Control
Motions
Palm Motion
Smart Screen
Controls tab Smart screen
134
General
Adding an Account
Managing Accounts
To view the accounts you have added
Touch an account to view the sync settings for that account
Cloud
To remove the account, touch Menu
General tab Cloud Under Personal data management
Under Content sync with Dropbox
Backup and Reset
Backup and Restore
Factory Data Reset
Reset to return your device to its factory defaults
Date and Time
138
Accessory
To change accessory settings
Application Manager
Memory Usage
Downloaded
SD Card
Menu Sort by size or Sort by name
Sort by size or Sort by name
Default Applications
Running Services
View and control services running on your device
Set and manage your default applications
Setting Up User Profiles
Users
General tab Users Add user
142
From a Home screen, touch Settings General tab Battery
Touch Refresh to update the listing
Deleting a User or Profile
Touch Nickname and enter a new name Touch Save
Power Saving Mode
Storage
Device Memory
Mounting an SD Card
Close the memory card slot cover Settings
Removing a Memory Card
Unmounting an SD Card
Touch Unmount SD card
Use the Security settings to secure your device
Security
Encryption
Formatting an SD Card
From a Home screen, touch Settings General tab Security
Enable or Disable Remote Controls
Introduction to remote controls screen displays
Find My Mobile
Find My Mobile Web
Passwords
Device Administration
Touch Trusted credentials
Security Update Service
Credential Storage
150
About Device
Model number SM-T520
Touch Update
Software Update
Software Update Options
Health and Safety Information
Exposure to Radio Frequency RF Signals
Do cell phones pose a health hazard?
152
Interphone Study
153
International Cohort Study on Mobile Phone Users Cosmos
154
Reducing Exposure Hands-Free Kits and Other Accessories
Cell Phone Industry Actions
Hands-Free Kits
155
Children and Cell Phones
156
Specific Absorption Rate SAR Certification Information
157
158
On the Road Off the Tablet
FCC Part 15 Information to User
Smart Practices While Driving
Battery Use and Safety
160
161
162
Samsung Mobile Products and Recycling
UL Certified Travel Charger
Display / Touch-Screen
163
Care and Maintenance
Your Location
Navigation
Emergency Communication
Responsible Listening
Page
Operating Environment
American Academy of Audiology
Street, S.W., Suite Patriots Plaza Building Washington, DC
Email cdcinfo@cdc.gov Internet
Using Your Mobile Device Near Other Electronic Devices
Implantable Medical Devices
Other Medical Devices
Vehicles
Restricting Childrens Access to Your Mobile Device
When your Device is Wet
Posted Facilities
Potentially Explosive Environments
Other Important Safety Information
FCC Notice and Cautions
FCC Notice
170
171
Warranty Information
Standard Limited Warranty
What is covered and for how long?
What is not covered?
173
What must you do to obtain warranty service?
What are SAMSUNGs obligations?
What are the limits on SAMSUNGs liability?
174
What is the procedure for resolving disputes?
175
176
Precautions for Transfer and Disposal
Severability
End User License Agreement for Software
177
178
179
180
181
Dispute Resolution
182
183
184
Index
Infrared Blaster Internet Language and Input Settings
Linking Contacts Location Services Settings Lock Screen
GPS GPS Applications Groups
Hancom Viewer
Reset
Security Settings
Smart screen Software Update Sound Settings
Wi-Fi

 ➔
➔  Settings ➔ Connections tab ➔