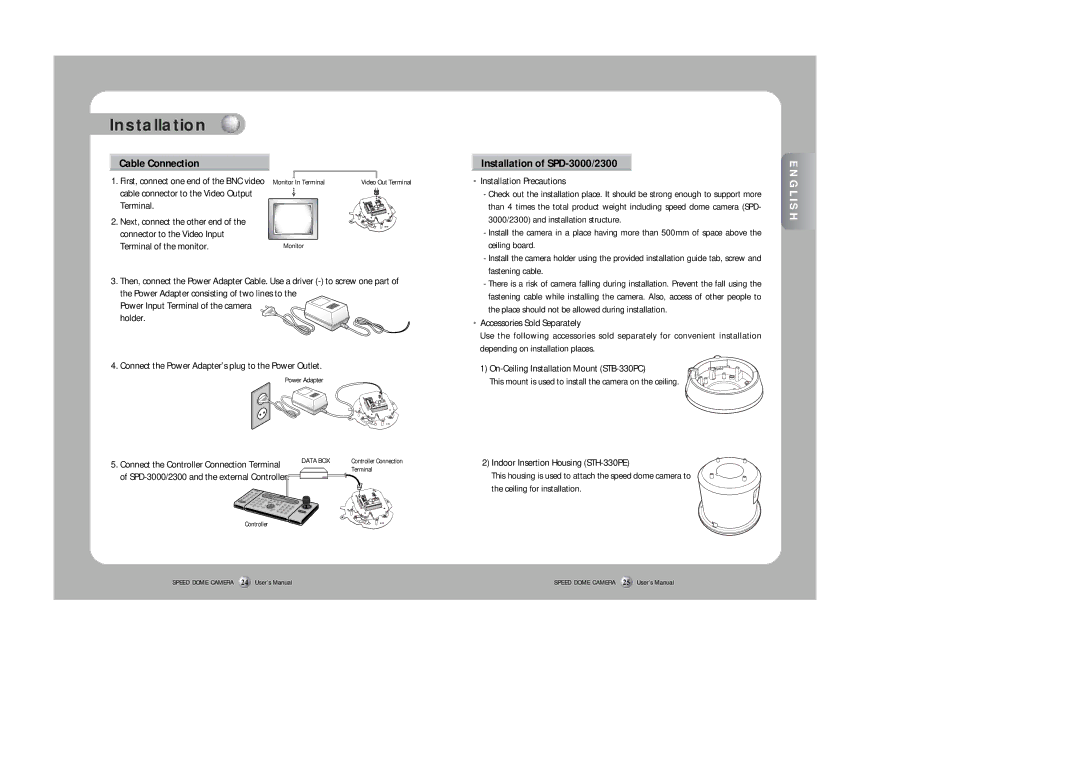
SPD-2300 specifications
The Samsung SPD-2300 is a versatile and innovative video surveillance solution designed to meet the demands of modern security systems. With its advanced features, robust technologies, and user-friendly characteristics, the SPD-2300 stands out in the crowded market of surveillance cameras.One of the primary features of the SPD-2300 is its high-definition video resolution. The camera supports full HD 1080p video, ensuring that every detail is captured with clarity and precision. This level of resolution is crucial for identifying subjects, monitoring activities, and ensuring comprehensive coverage of monitored areas. The SPD-2300’s ability to deliver crisp images even in low-light conditions is enhanced by its advanced IR night vision technology, which allows for clear visibility in total darkness.
In terms of image processing, the SPD-2300 incorporates wide dynamic range (WDR) technology. This feature is particularly beneficial in environments with strong backlighting or varying lighting conditions, as it helps balance the exposure across the entire scene. This capability ensures that both dark and bright areas are effectively captured, providing a more accurate representation of the monitored environment.
The SPD-2300 is also equipped with motion detection capabilities. This technology actively monitors motion within its field of view and can trigger alerts or recording functions when movement is detected. This feature not only helps in conserving storage space but also enhances security by ensuring that only significant events are recorded.
Another significant characteristic of the SPD-2300 is its connectivity options. The camera supports both wired and wireless connectivity, providing flexibility in installation. This adaptability is essential for various applications, whether in residential, commercial, or industrial settings. Additionally, the SPD-2300 can be integrated with existing security systems, enhancing its functionality and user experience.
Moreover, the camera is designed with a user-friendly interface, making it accessible for users with varying levels of technical knowledge. Its mobile application allows users to monitor live feeds, receive notifications, and manage camera settings from their smartphones, contributing to a seamless surveillance experience.
Lastly, the durable construction of the SPD-2300 ensures reliability in various environmental conditions. Built to withstand harsh weather, this camera is ideal for both indoor and outdoor applications. With its combination of robust features, advanced technologies, and user-centric design, the Samsung SPD-2300 offers a comprehensive solution for anyone looking to enhance their security infrastructure.

 ENGLISH