❑ Picture Options
N In PC mode, you can only make changes to the Colour Tone and Size from among the |
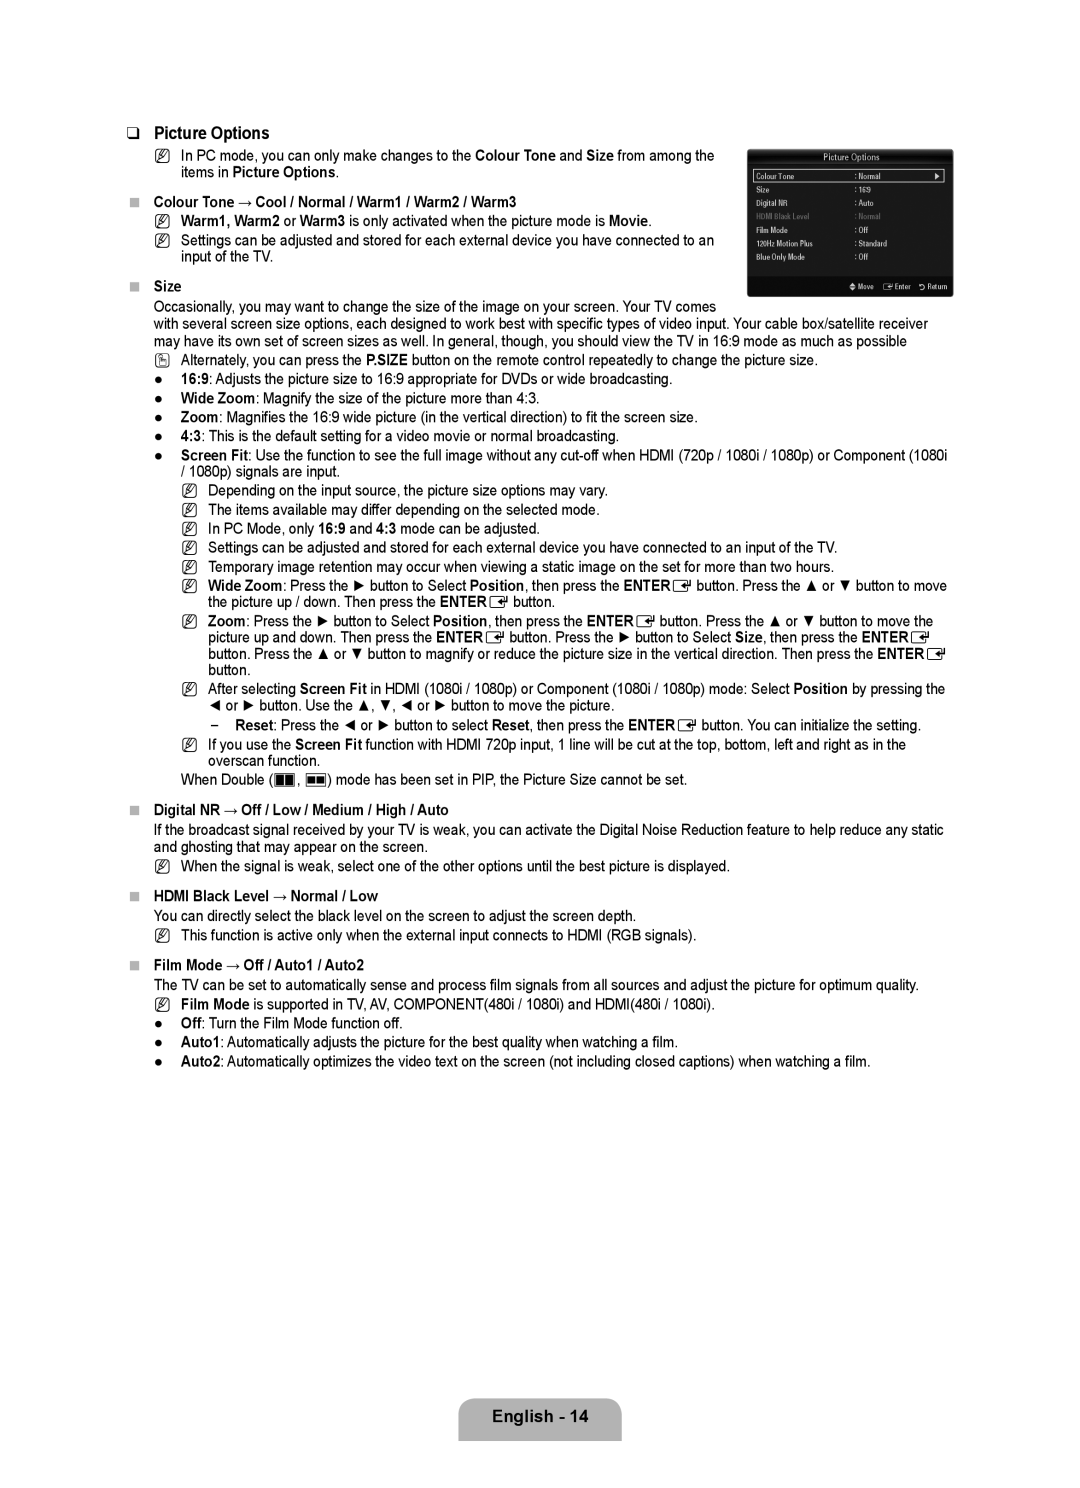
| Picture Options |
|
items in Picture Options. | Colour Tone | : Normal | ▶ |
■ Colour Tone → Cool / Normal / Warm1 / Warm2 / Warm3 | Size | : 16:9 |
|
Digital NR | : Auto |
| |
N Warm1, Warm2 or Warm3 is only activated when the picture mode is Movie. | HDMI Black Level | : Normal |
|
Film Mode | : Off |
| |
N Settings can be adjusted and stored for each external device you have connected to an | 120Hz Motion Plus | : Standard |
|
input of the TV. | Blue Only Mode | : Off |
|
■ Size |
| UMove EEnter | RReturn |
Occasionally, you may want to change the size of the image on your screen. Your TV comes
with several screen size options, each designed to work best with specific types of video input. Your cable box/satellite receiver may have its own set of screen sizes as well. In general, though, you should view the TV in 16:9 mode as much as possible
OAlternately, you can press the P.SIZE button on the remote control repeatedly to change the picture size. ● 16:9: Adjusts the picture size to 16:9 appropriate for DVDs or wide broadcasting.
● Wide Zoom: Magnify the size of the picture more than 4:3.
● Zoom: Magnifies the 16:9 wide picture (in the vertical direction) to fit the screen size.
● 4:3: This is the default setting for a video movie or normal broadcasting.
● Screen Fit: Use the function to see the full image without any
/1080p) signals are input.
NDepending on the input source, the picture size options may vary. N The items available may differ depending on the selected mode. N In PC Mode, only 16:9 and 4:3 mode can be adjusted.
N Settings can be adjusted and stored for each external device you have connected to an input of the TV. N Temporary image retention may occur when viewing a static image on the set for more than two hours.
N Wide Zoom: Press the ► button to Select Position, then press the ENTEREbutton. Press the ▲ or ▼ button to move the picture up / down. Then press the ENTEREbutton.
N Zoom: Press the ► button to Select Position, then press the ENTEREbutton. Press the ▲ or ▼ button to move the picture up and down. Then press the ENTEREbutton. Press the ► button to Select Size, then press the ENTERE button. Press the ▲ or ▼ button to magnify or reduce the picture size in the vertical direction. Then press the ENTERE button.
N After selecting Screen Fit in HDMI (1080i / 1080p) or Component (1080i / 1080p) mode: Select Position by pressing the
◄or ► button. Use the ▲, ▼, ◄ or ► button to move the picture.
Reset: Press the ◄ or ► button to select Reset, then press the ENTEREbutton. You can initialize the setting. N If you use the Screen Fit function with HDMI 720p input, 1 line will be cut at the top, bottom, left and right as in the
overscan function.
When Double (À, Œ) mode has been set in PIP, the Picture Size cannot be set.
■Digital NR → Off / Low / Medium / High / Auto
If the broadcast signal received by your TV is weak, you can activate the Digital Noise Reduction feature to help reduce any static and ghosting that may appear on the screen.
N When the signal is weak, select one of the other options until the best picture is displayed.
■HDMI Black Level → Normal / Low
You can directly select the black level on the screen to adjust the screen depth.
N This function is active only when the external input connects to HDMI (RGB signals).
■Film Mode → Off / Auto1 / Auto2
The TV can be set to automatically sense and process film signals from all sources and adjust the picture for optimum quality. N Film Mode is supported in TV, AV, COMPONENT(480i / 1080i) and HDMI(480i / 1080i).
●Off: Turn the Film Mode function off.
●Auto1: Automatically adjusts the picture for the best quality when watching a film.
●Auto2: Automatically optimizes the video text on the screen (not including closed captions) when watching a film.