INSTALLATION & MAINTENANCE
The User’s Manual is for common use.
Make use of the User’s Manual depending upon your washing machine model.
ENVIRONMENT
Leave some space
Maintain at least 10cm between the washer and the wall.
Place the washer on a sturdy flat surface.
If the washer is placed on an uneven or weak surface, noise or vibration occurs. (Allowable is 1˚)
Adjust the legs for even placement.
Never install the washer near water.
Do not place the washer in steamy rooms or where the washer is directly exposed to rain.Moisture may destroy the electrical insulation causing an electrical shock hazard.
Avoid direct sunlight or heaters.
As plastic and electrical components are affected by direct heat,never place the washer near furnaces, boilers, etc. Do not place under direct sunlight.
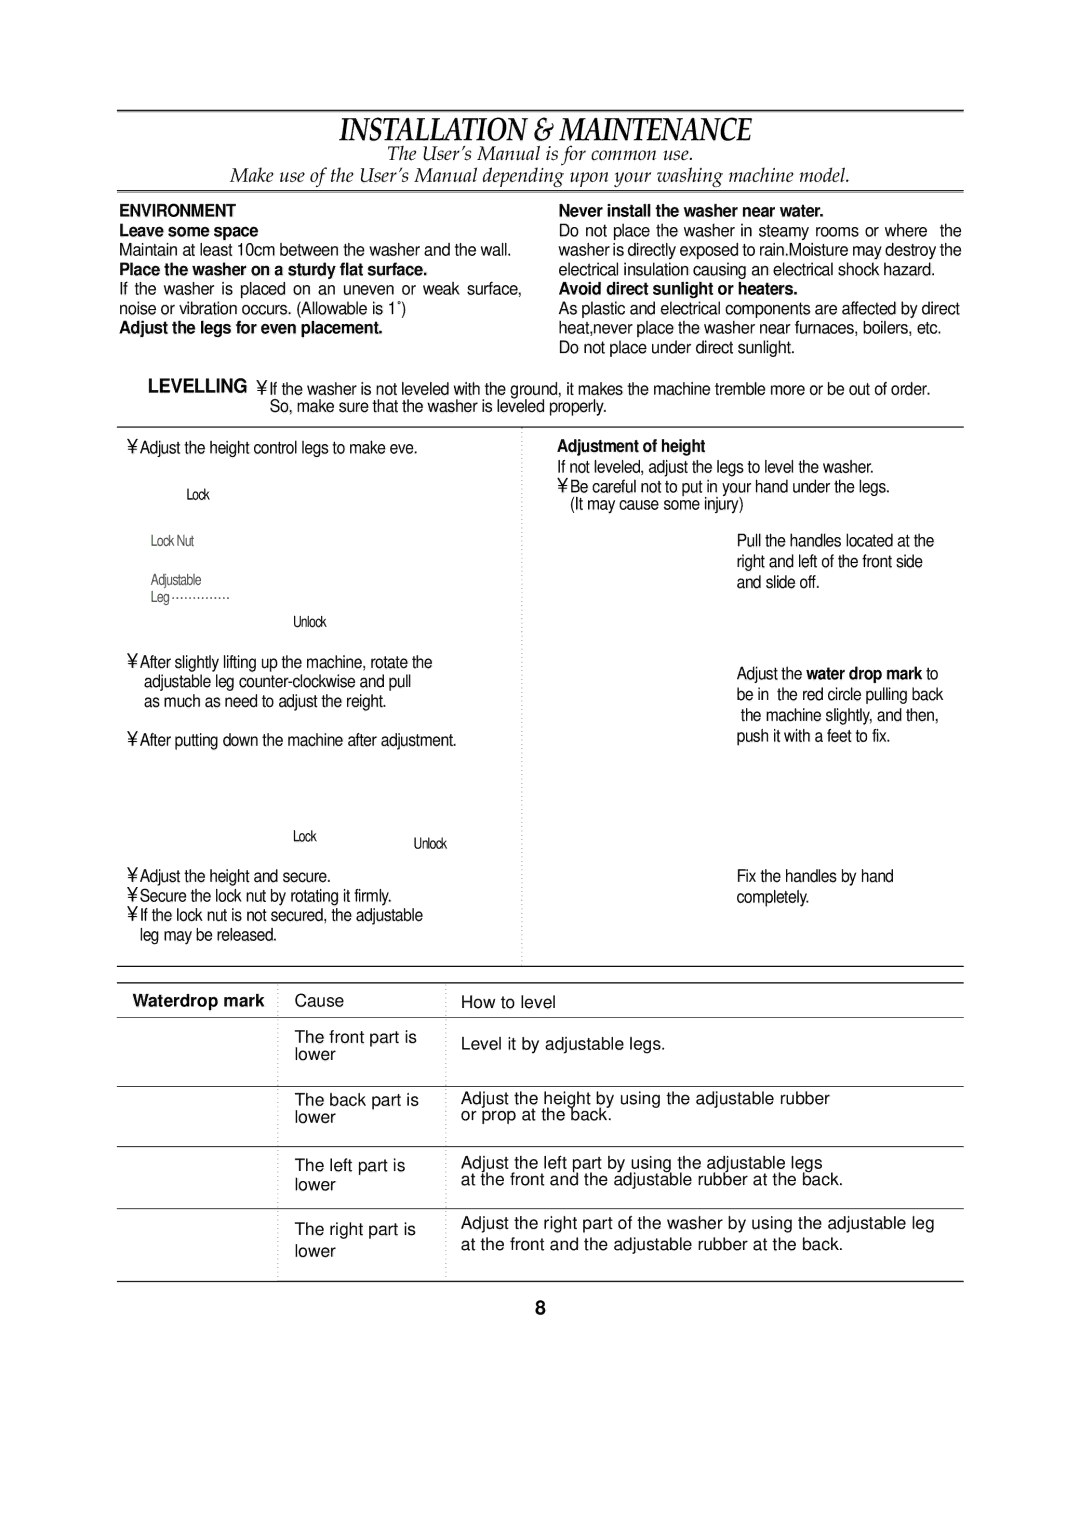
![]() LEVELLING • If the washer is not leveled with the ground, it makes the machine tremble more or be out of order. So, make sure that the washer is leveled properly.
LEVELLING • If the washer is not leveled with the ground, it makes the machine tremble more or be out of order. So, make sure that the washer is leveled properly.
•Adjust the height control legs to make eve.
Lock
Lock Nut
Adjustable
Leg
Unlock
•After slightly lifting up the machine, rotate the adjustable leg
•After putting down the machine after adjustment.
LockUnlock
•Adjust the height and secure.
•Secure the lock nut by rotating it firmly.
•If the lock nut is not secured, the adjustable leg may be released.
Adjustment of height
If not leveled, adjust the legs to level the washer.
•Be careful not to put in your hand under the legs. (It may cause some injury)
Pull the handles located at the right and left of the front side and slide off.
Adjust the water drop mark to be in the red circle pulling back the machine slightly, and then, push it with a feet to fix.
Fix the handles by hand completely.
Waterdrop mark | Cause | How to level |
| The front part is | Level it by adjustable legs. |
| lower | |
|
| |
|
|
|
| The back part is | Adjust the height by using the adjustable rubber |
| lower | or prop at the back. |
|
|
|
| The left part is | Adjust the left part by using the adjustable legs |
| lower | at the front and the adjustable rubber at the back. |
|
| |
|
|
|
| The right part is | Adjust the right part of the washer by using the adjustable leg |
| at the front and the adjustable rubber at the back. | |
| lower | |
|
|
8
