Adjustment in PC (VGA)/YPBPR Mode
Adjusting the Picture
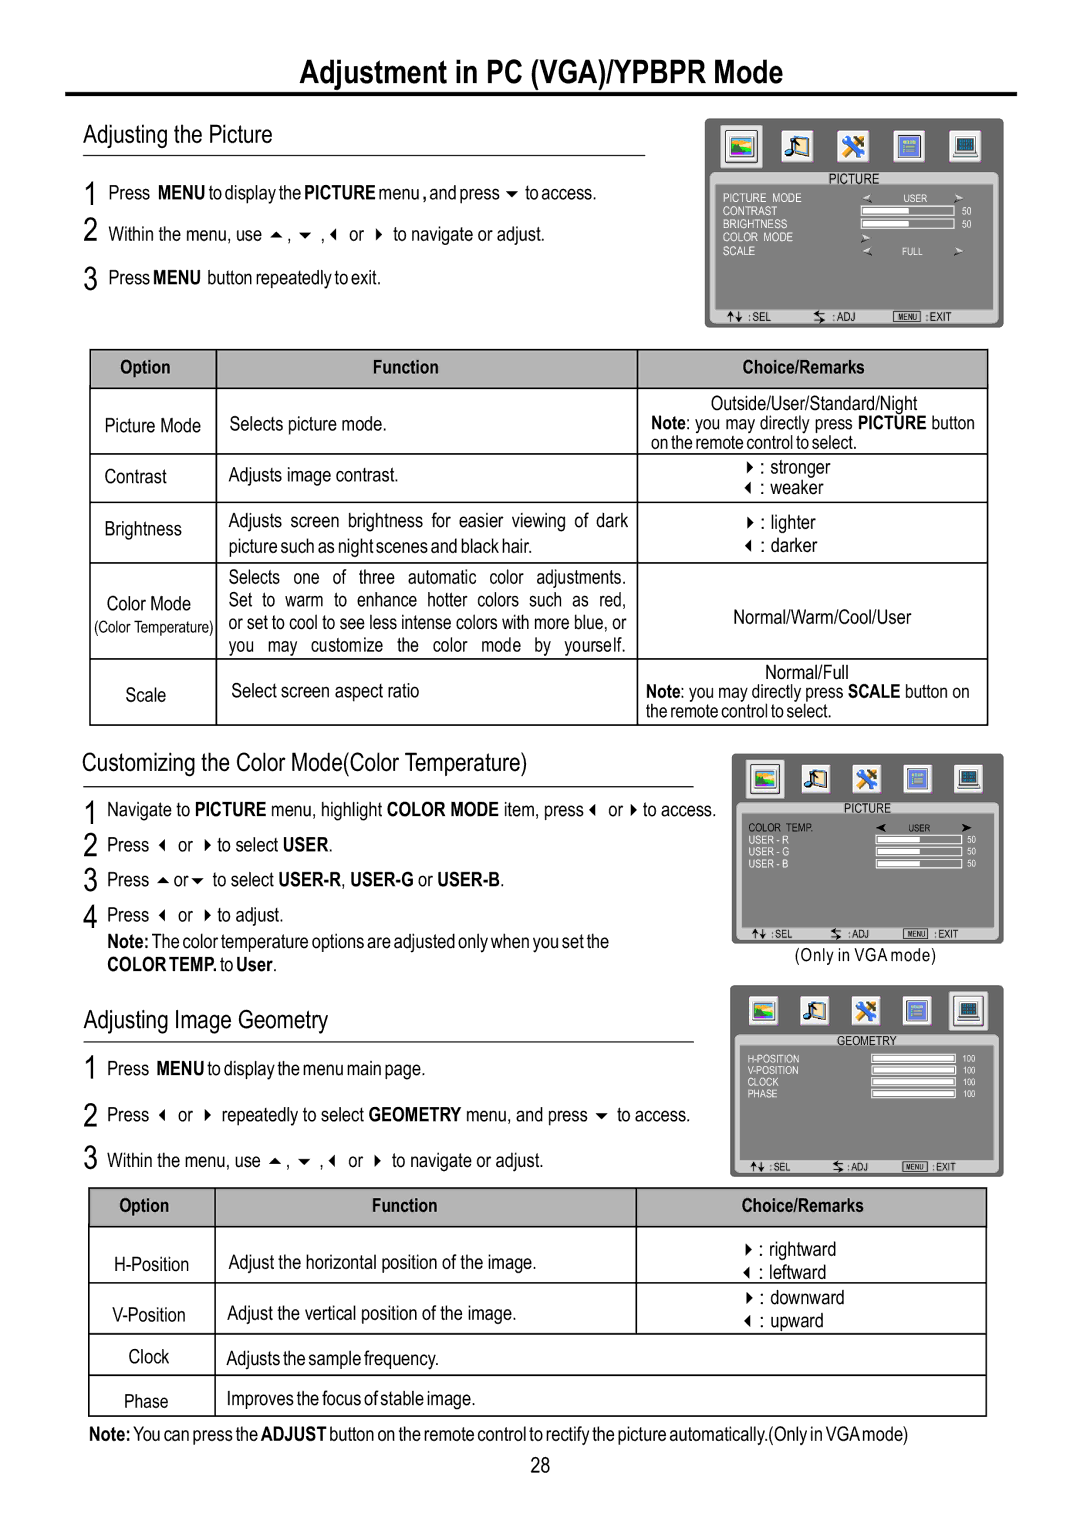
1 | Press MENU to display the PICTURE menu , and press 6to access. |
2 | Within the menu, use 5, 6 ,3 or 4 to navigate or adjust. |
3 | Press MENU button repeatedly to exit. |
| PICTURE |
PICTURE MODE | USER |
CONTRAST |
|
BRIGHTNESS |
|
COLOR MODE |
|
SCALE | FULL |
50
50
:SEL:ADJ
MENU :EXIT
Option | Function |
|
|
| Choice/Remarks |
|
|
|
|
|
|
|
|
|
|
| Outside/User/Standard/Night |
Picture Mode | Selects picture mode. |
|
|
| Note: you may directly press PICTURE button |
|
|
|
|
| on the remote control to select. |
Contrast | Adjusts image contrast. |
|
|
| 4: stronger |
|
|
| 3: weaker | ||
|
|
|
|
| |
Brightness | Adjusts screen brightness for easier viewing of dark | 4: lighter | |||
| picture such as night scenes and black hair. |
| 3: darker | ||
| Selects one of three automatic | color | adjustments. |
| |
Color Mode | Set to warm to enhance hotter | colors | such | as red, | Normal/Warm/Cool/User |
(Color Temperature) | or set to cool to see less intense colors with more blue, or | ||||
| you may customize the color | mode | by | yourself. |
|
| Select screen aspect ratio |
|
|
| Normal/Full |
Scale |
|
|
| Note: you may directly press SCALE button on | |
|
|
|
|
| the remote control to select. |
Customizing the Color Mode(Color Temperature)
1 Navigate to PICTURE menu, highlight COLOR MODE item, press3 or4to access. 2 Press 3 or 4to select USER.
3 Press 5or6 to select
4 Press 3 or 4to adjust.
Note: The color temperature options are adjusted only when you set the COLOR TEMP. to User.
PICTURE
COLOR TEMP. |
| USER |
USER - R |
| 50 |
USER - G |
| 50 |
USER - B |
| 50 |
:SEL | :ADJ | MENU :EXIT |
(Only in VGA mode)
Adjusting Image Geometry
1 Press MENU to display the menu main page.
GEOMETRY
CLOCK
PHASE
100
100
100
100
2
3
Press 3 or 4 repeatedly to select GEOMETRY menu, and press 6 to access.
Within the menu, use 5, 6 ,3 or 4 to navigate or adjust.
:SEL![]() :ADJ
:ADJ
MENU :EXIT
Option | Function | Choice/Remarks | |
|
|
| |
Adjust the horizontal position of the image. | 4: rightward | ||
3: leftward | |||
|
| ||
Adjust the vertical position of the image. | 4: downward | ||
3: upward | |||
Clock | Adjusts the sample frequency. |
| |
|
|
| |
Phase | Improves the focus of stable image. |
|
Note: You can press the ADJUST button on the remote control to rectify the picture automatically.(Only in VGA mode)
28