Marathon 810 Installation Guide, February 1996 | 7 | |
|
|
|
4.Reboot your computer again using the blank, bootable diskette.
5.You should now be able to access the software on your new hard disc. If your new hard drive is drive C, type c:\seamove to transfer the disc support software. Use a different drive letter if necessary.
The SEAMOVE program transfers the
Configuring your system BIOS
1.Restart your computer (again!) from a bootable diskette, and enter your system setup program as described previously.
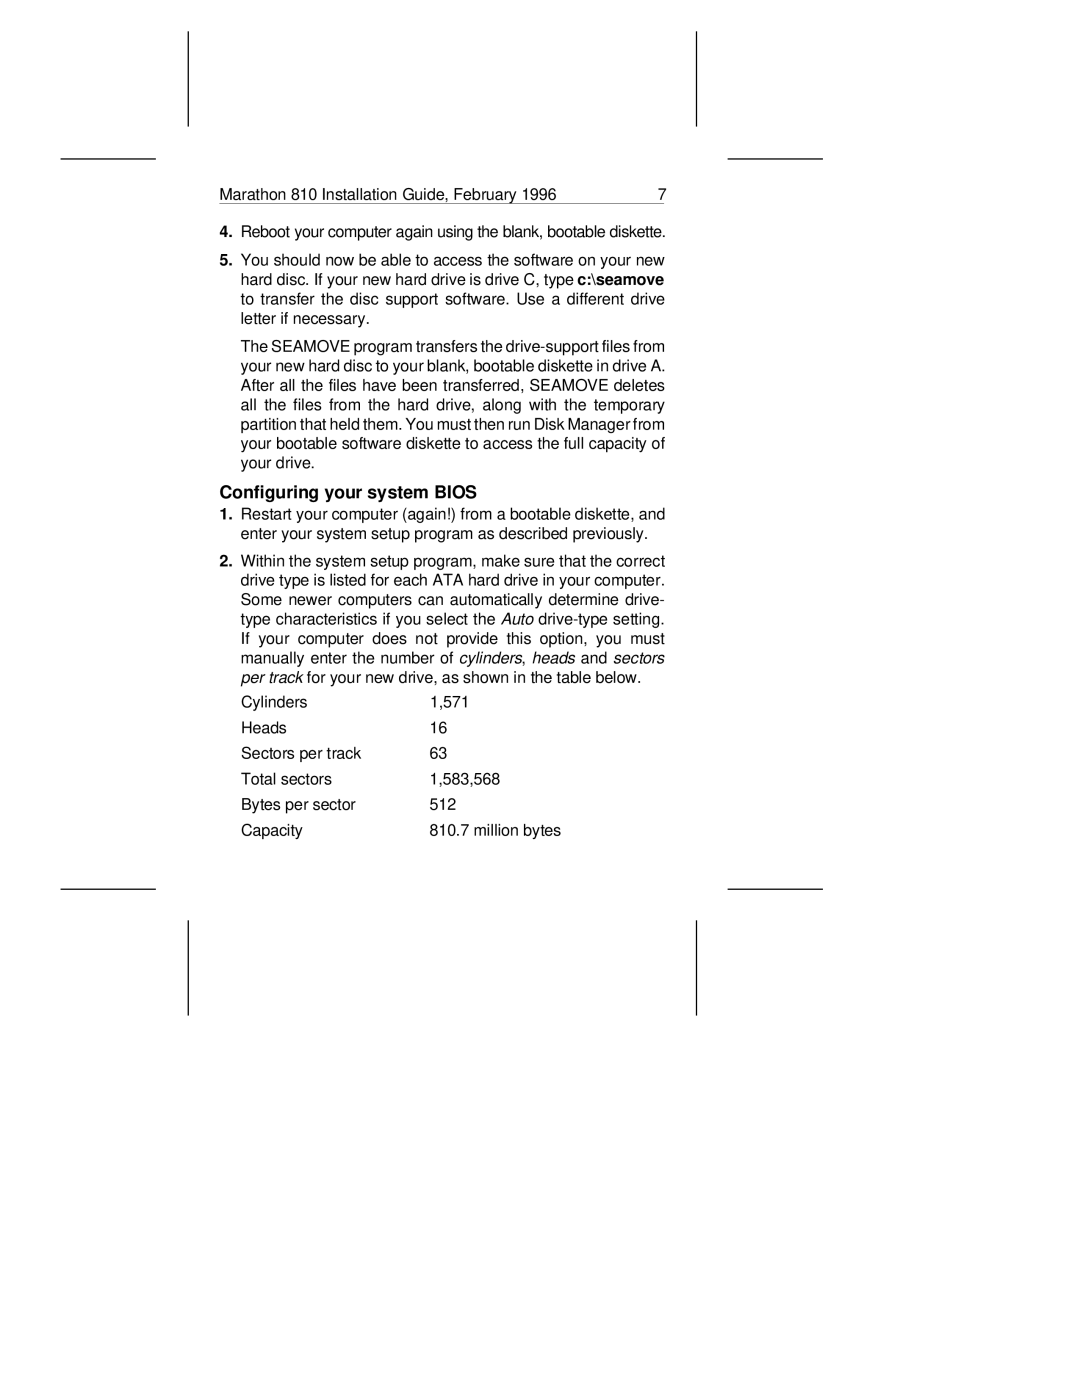
2.Within the system setup program, make sure that the correct drive type is listed for each ATA hard drive in your computer. Some newer computers can automatically determine drive- type characteristics if you select the Auto
Cylinders | 1,571 |
Heads | 16 |
Sectors per track | 63 |
Total sectors | 1,583,568 |
Bytes per sector | 512 |
Capacity | 810.7 million bytes |
