Before Using Your Battery Charger
It is important to prepare your charger for use. This section will tell you how to assemble the charger, ground and connect the power cord, and prepare to charge a battery.
Assembling your charger
It is important to fully assemble your charger before use.
Follow these instructions for easy assembly.
PARTS: | TOOLS NEEDED: |
|
|
Two, | 3/8" wrench |
screws | (for mounting foot) |
Two, | 5/16" wrench |
screws | (for wheels) |
Two wheels | Hammer |
One axle | Phillips screwdriver |
Two axle caps |
|
Two axle brackets |
|
One handle |
|
One handle grip |
|
One mounting foot |
|
|
|
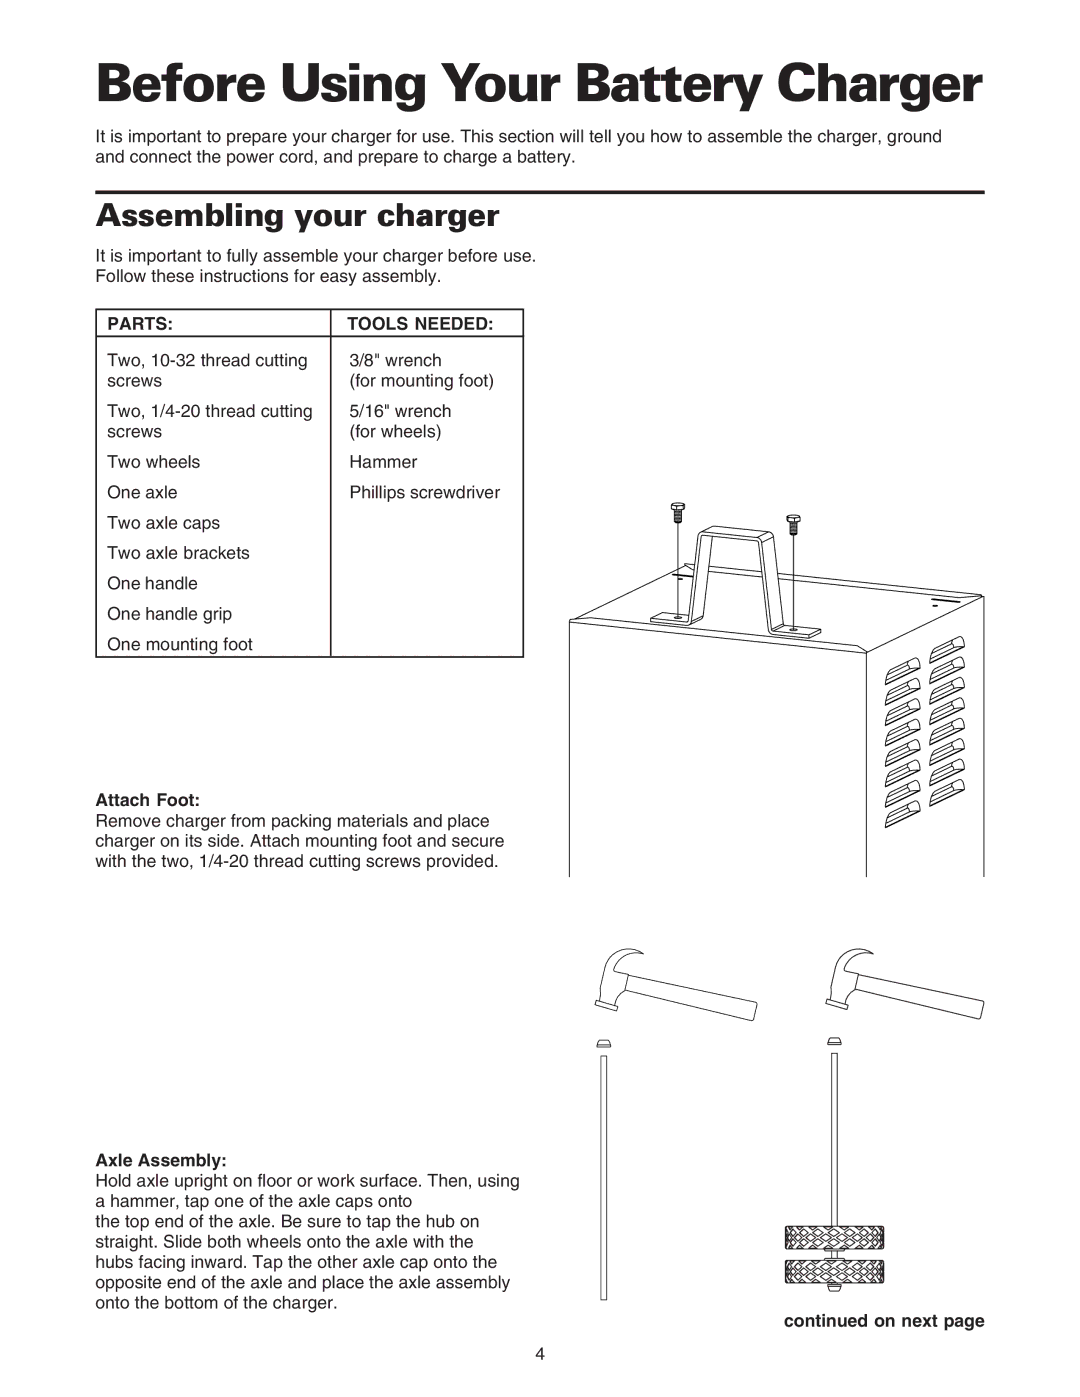
Attach Foot:
Remove charger from packing materials and place charger on its side. Attach mounting foot and secure with the two,
Axle Assembly:
Hold axle upright on floor or work surface. Then, using a hammer, tap one of the axle caps onto
the top end of the axle. Be sure to tap the hub on straight. Slide both wheels onto the axle with the hubs facing inward. Tap the other axle cap onto the opposite end of the axle and place the axle assembly onto the bottom of the charger.
continued on next page
4