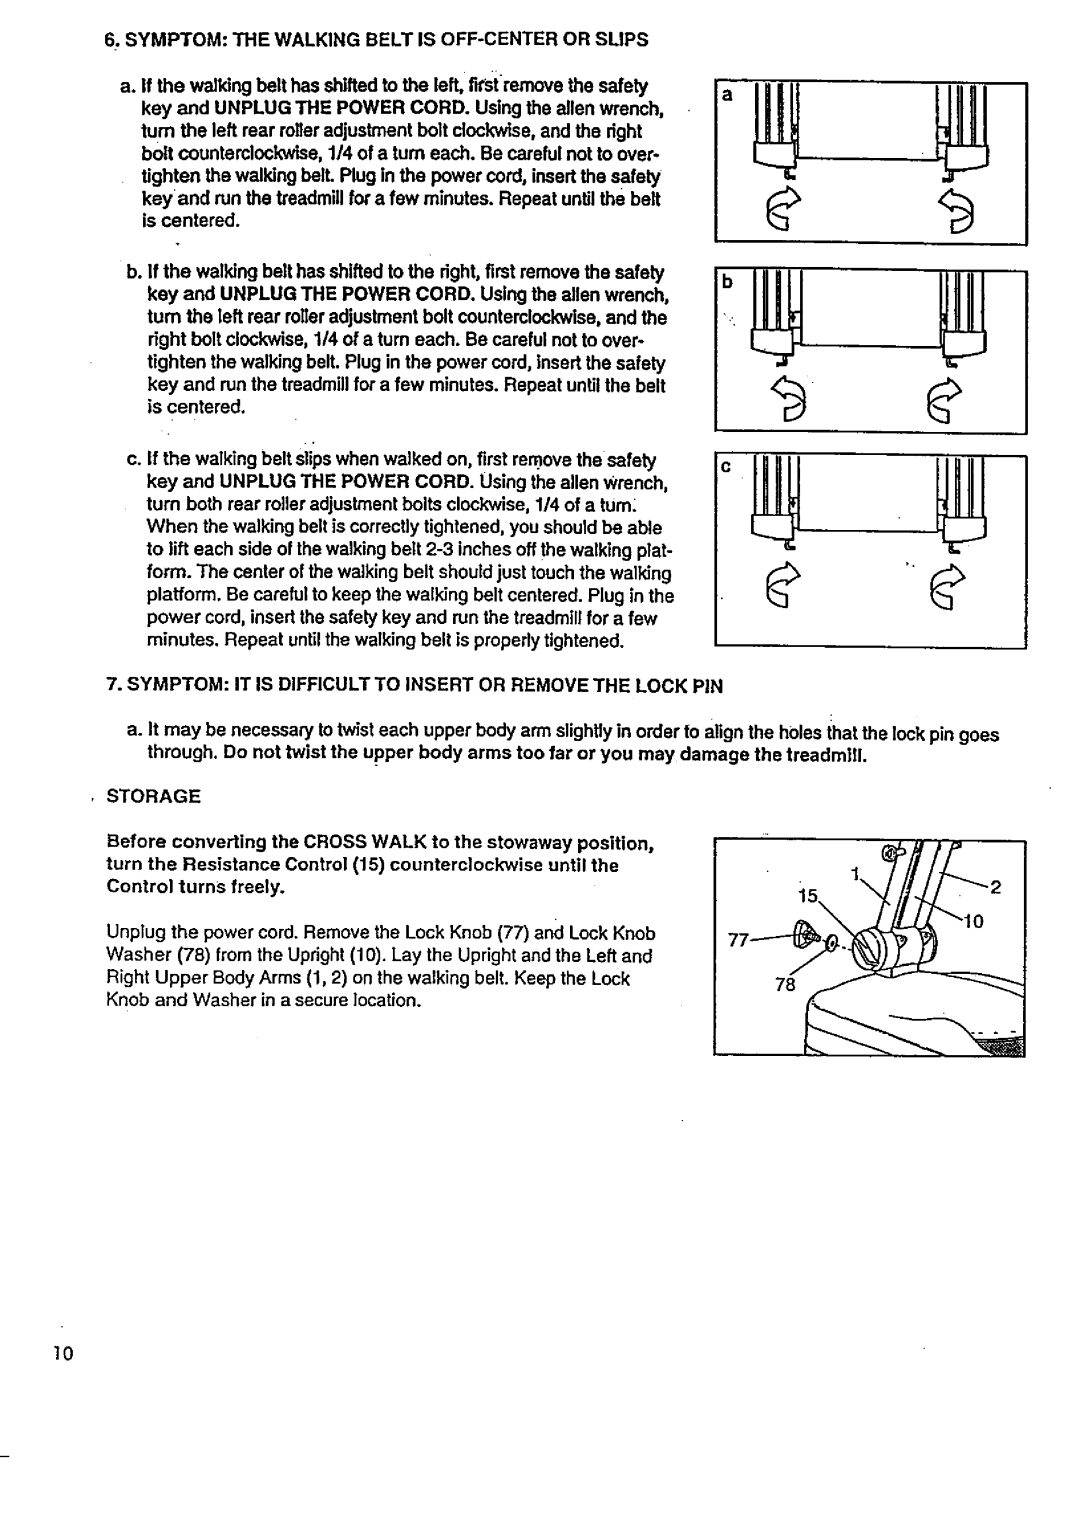
6, SYMPTOM: THE WALKING BELT IS OFF-CENTER OR SLIPS
a. If the walking belt has shifted to the left, r_st remove the safety | a | |
key and UNPLUG THE POWER CORD. Using the allen wrench, | ||
| ||
turn the left roar roller adjustment belt clockwise, and the right |
| |
bolt counterclockwise, 1/4 of a turn each. Be careful not to over- |
| |
tighten the walking bell Plug in the power cord, insert the safety |
| |
keyand run the treadmill for a few minutes. Repeat until the belt |
| |
is centered. |
| |
b. If the walking bolt has shifted to the dght, first remove the safety |
| |
key and UNPLUG THE POWER CORD. Using the allen wrench, |
| |
turn the left rear roller adjustment bolt counterclockwise, and the |
| |
right bolt clockwise, 1/4 of a turn each. Be careful not to over- |
| |
tighten the walking belt. Plug in the power cord, insert the safety |
| |
key and run the treadmill for a few minutes. Repeat until the belt |
| |
is centered. |
|
c. If the walking belt slips when walked on, first rem.ovethe safety key and UNPLUG THE POWER CORD. Using the allen Wrench, turn both rear roller adjustment bolts clockwise, 1/4 of a tum; When the walking belt is correctly tightened, you should be able to lift each side of the walking belt
7. SYMPTOM: IT IS DIFFICULT TO INSERT OR REMOVE THE LOCK PIN
a.It may be necessary to twist each upper body arm slightly in order to align through. Do not twist the upper body arms too far or you may damage
the holes that the lock pin goes the treadmill.
,STORAGE
Before converting the CROSS WALK to the stowaway position, turn the Resistance Control (15) counterclockwise until the Control turns freely.
Unplug the power cord. Remove the Lock Knob (77) and Lock Knob
Washer (78) from the Updght (10). Lay the Upright and the Left and
Right | Upper Body Arms (1, 2) | on the walking belt. Keep the Lock | 78 |
Knob | and Washer in a secure | location. |
|
]0