
917.25147 specifications
The Sears 917.25147 is a notable model within the realm of lawn care and outdoor maintenance, specifically recognized for its versatility and reliability as a garden tractor. Designed for both homeowners and gardening enthusiasts alike, this model has garnered a reputation for its efficient performance and user-friendly features.One of the standout characteristics of the Sears 917.25147 is its powerful engine. Equipped with a robust 18.5 HP Briggs & Stratton engine, this tractor ensures ample power for a variety of tasks, from mowing the lawn to hauling lighter loads. The engine's design emphasizes durability and efficiency, providing consistent performance that can tackle even the most challenging terrains.
The cutting deck of the Sears 917.25147 is another feature that deserves highlighting. With a 42-inch cutting width, it is ideally suited for medium to large lawns. This size strikes a balance between efficiency and maneuverability, allowing users to make quick work of their mowing duties while still navigating through tight spaces and shrubs. The deck also features adjustable cutting heights, which range from one to four inches, giving users the flexibility to customize their mowing experience based on grass type and desired lawn appearance.
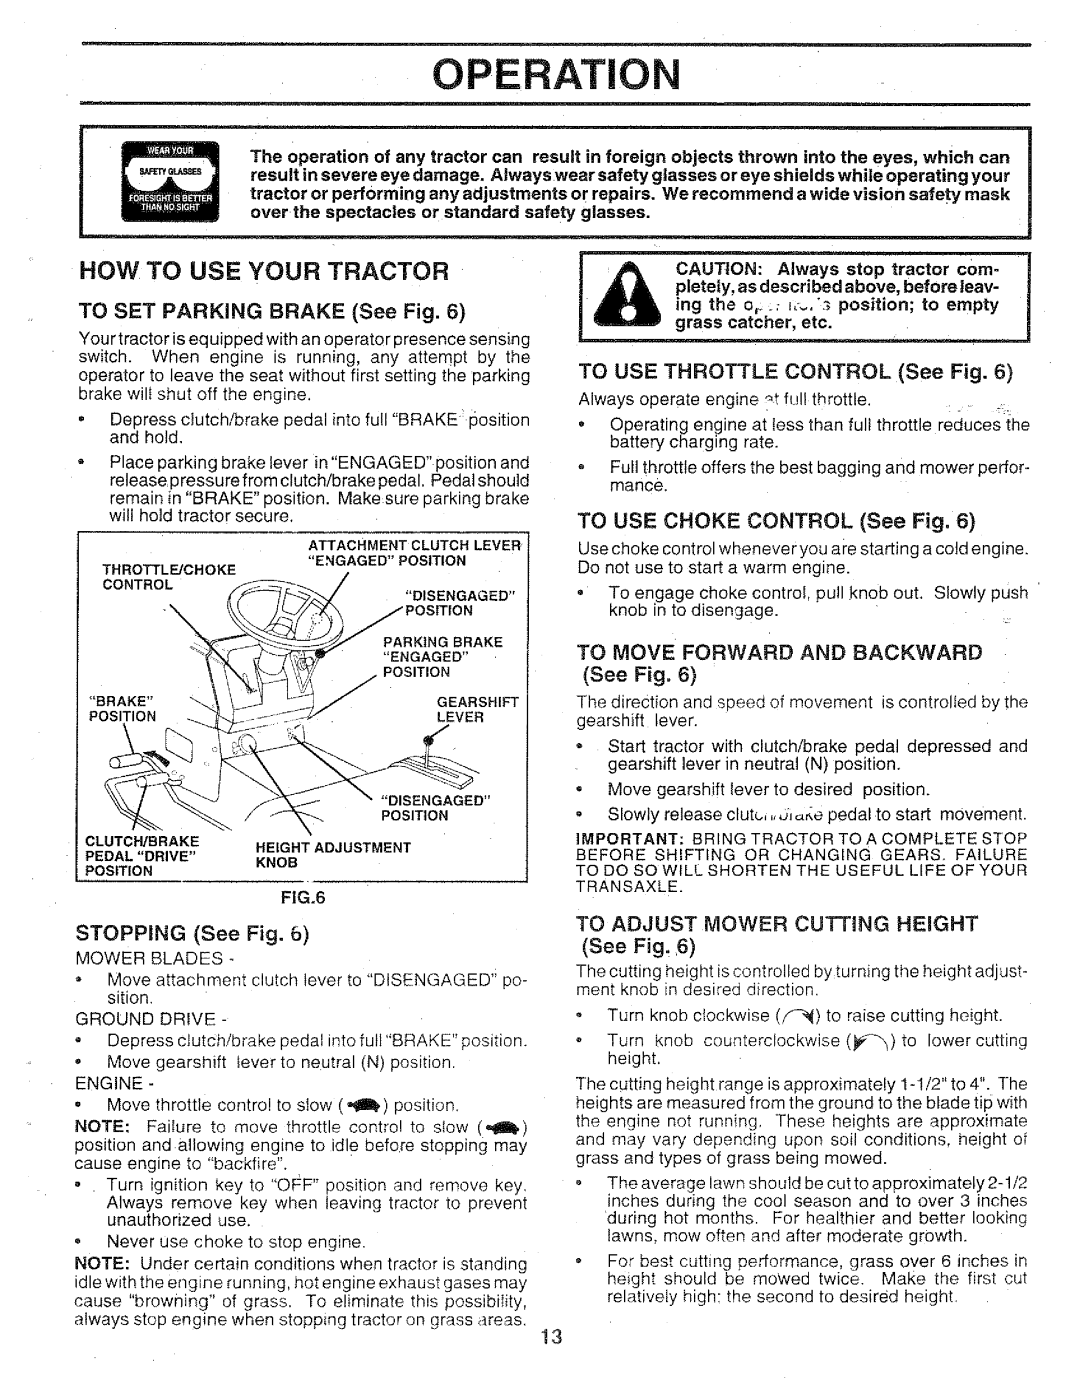
In terms of comfort and convenience, the Sears 917.25147 is designed with the user in mind. The high-back seat offers ample support for extended mowing sessions, while the ergonomic controls are easy to reach and operate. The hydrostatic transmission system contributes to a seamless driving experience, allowing users to easily adjust their speed without the need for frequent gear changes.
Another technological advancement in the Sears 917.25147 is its integrated cutting system, which helps ensure an even and clean cut. This feature not only enhances the aesthetic appeal of freshly mowed grass but also promotes healthier lawn growth by preventing scalping.
Moreover, maintenance has been made easier with accessible components that can be serviced without the need for specialized tools. The tractor's compact design also facilitates storage, making it a practical addition to any home or garden.
In conclusion, the Sears 917.25147 lawn tractor combines power, efficiency, and user-friendly features, making it an excellent choice for anyone looking to maintain their outdoor space with ease. Its blend of quality construction, technological enhancements, and comfort-focused design positions it as a reliable partner for gardening endeavors.