917.25759 specifications
The Sears 917.25759 is a remarkable example of American craftsmanship in the realm of lawn care equipment. This riding lawn mower is celebrated for its robust performance, reliability, and user-friendly design, making it a favorite among homeowners who seek efficient and effective lawn maintenance solutions.One of the standout features of the Sears 917.25759 is its powerful 18 horsepower Kohler engine, which provides ample power to tackle both small and large lawns with ease. The engine's performance is complemented by a reliable automatic transmission, which allows for seamless gear transitions and a smooth driving experience. With a cutting width of 42 inches, this mower facilitates efficient grass cutting while minimizing the number of passes needed to achieve a neatly manicured lawn.
The mower's innovative cutting deck design includes a deck lift system, enabling users to easily adjust the cutting height according to their preferences or specific lawn requirements. This adaptability allows for versatile performance, whether tackling tall grass or maintaining a low-cut appearance.
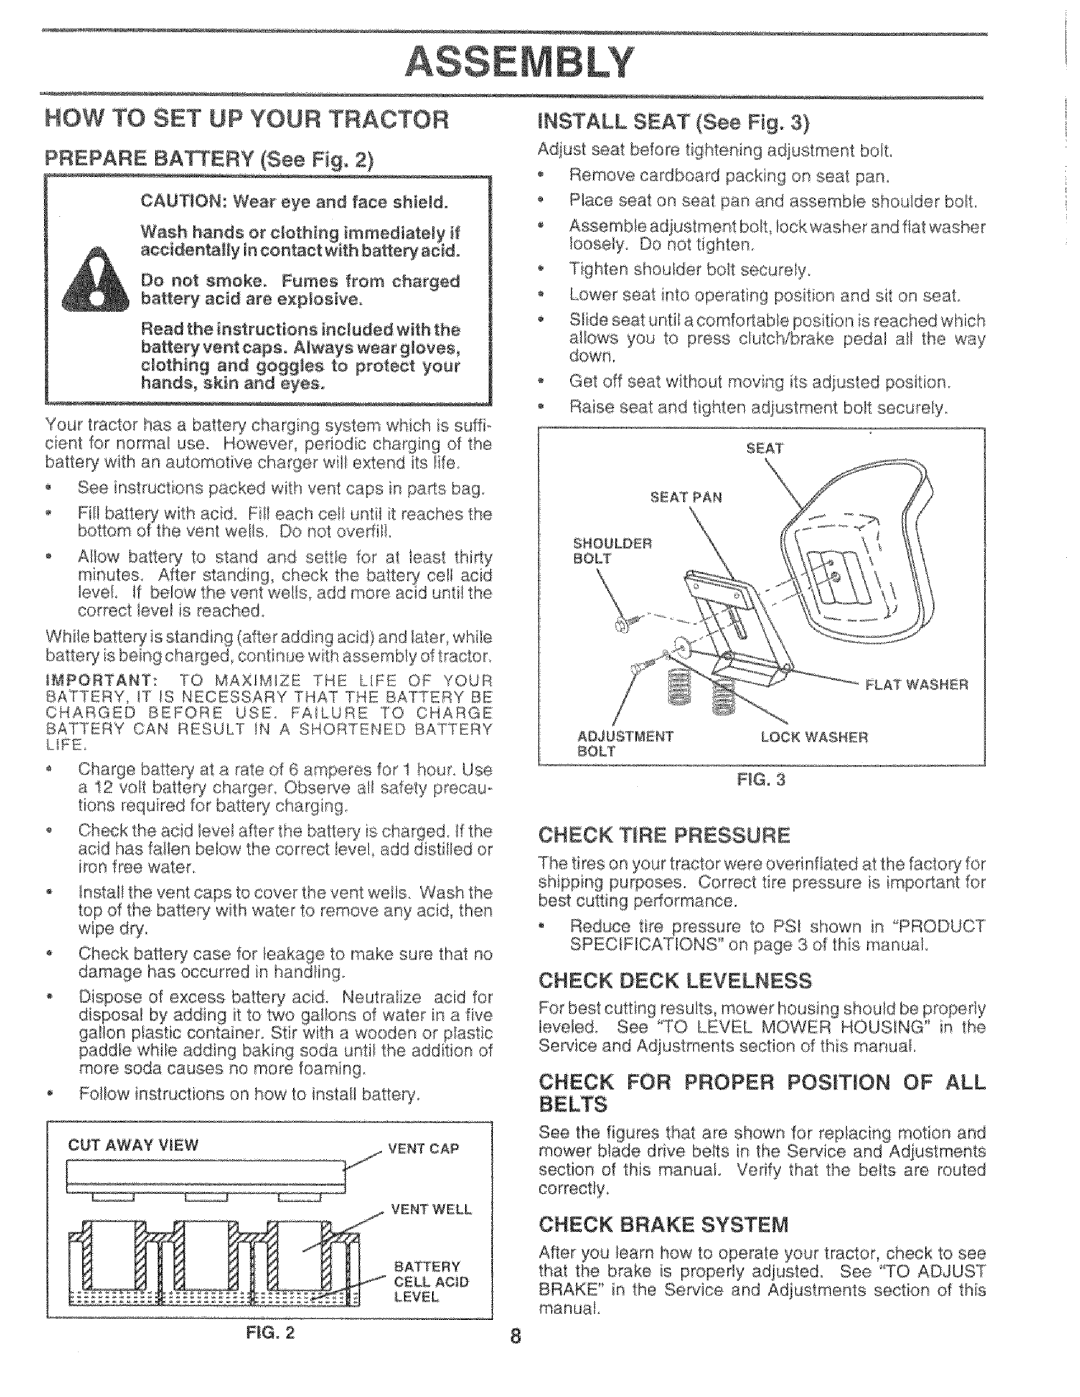
Another noteworthy characteristic of the Sears 917.25759 is its user-oriented design. The mower features an ergonomically designed seat, offering comfort during extended use. The adjusted steering wheel also contributes to an enhanced driving experience, as it can be easily positioned according to the user's height, improving accessibility and control.
In terms of technology, the Sears 917.25759 incorporates a durable construction that withstands the rigors of frequent use. The mower's rugged wheels and reinforced frame ensure stability and longevity, even when navigating uneven terrain. Additionally, the mower's removable engine cover provides easy access for routine maintenance, allowing users to perform necessary checks and repairs without hassle.
Safety has not been overlooked in the design of the Sears 917.25759. It includes features such as a blade brake that engages automatically whenever the operator leaves the seat, helping to prevent accidents. Furthermore, the mower's low center of gravity and secure traction give users confidence when operating on slopes.
In summary, the Sears 917.25759 is a powerful and reliable riding lawn mower equipped with features that enhance performance, safety, and user comfort. With its blend of robust construction, innovative technologies, and a user-focused design, it remains a popular choice for those seeking quality lawn care equipment.

