3. Before Using
1.Attach the strap
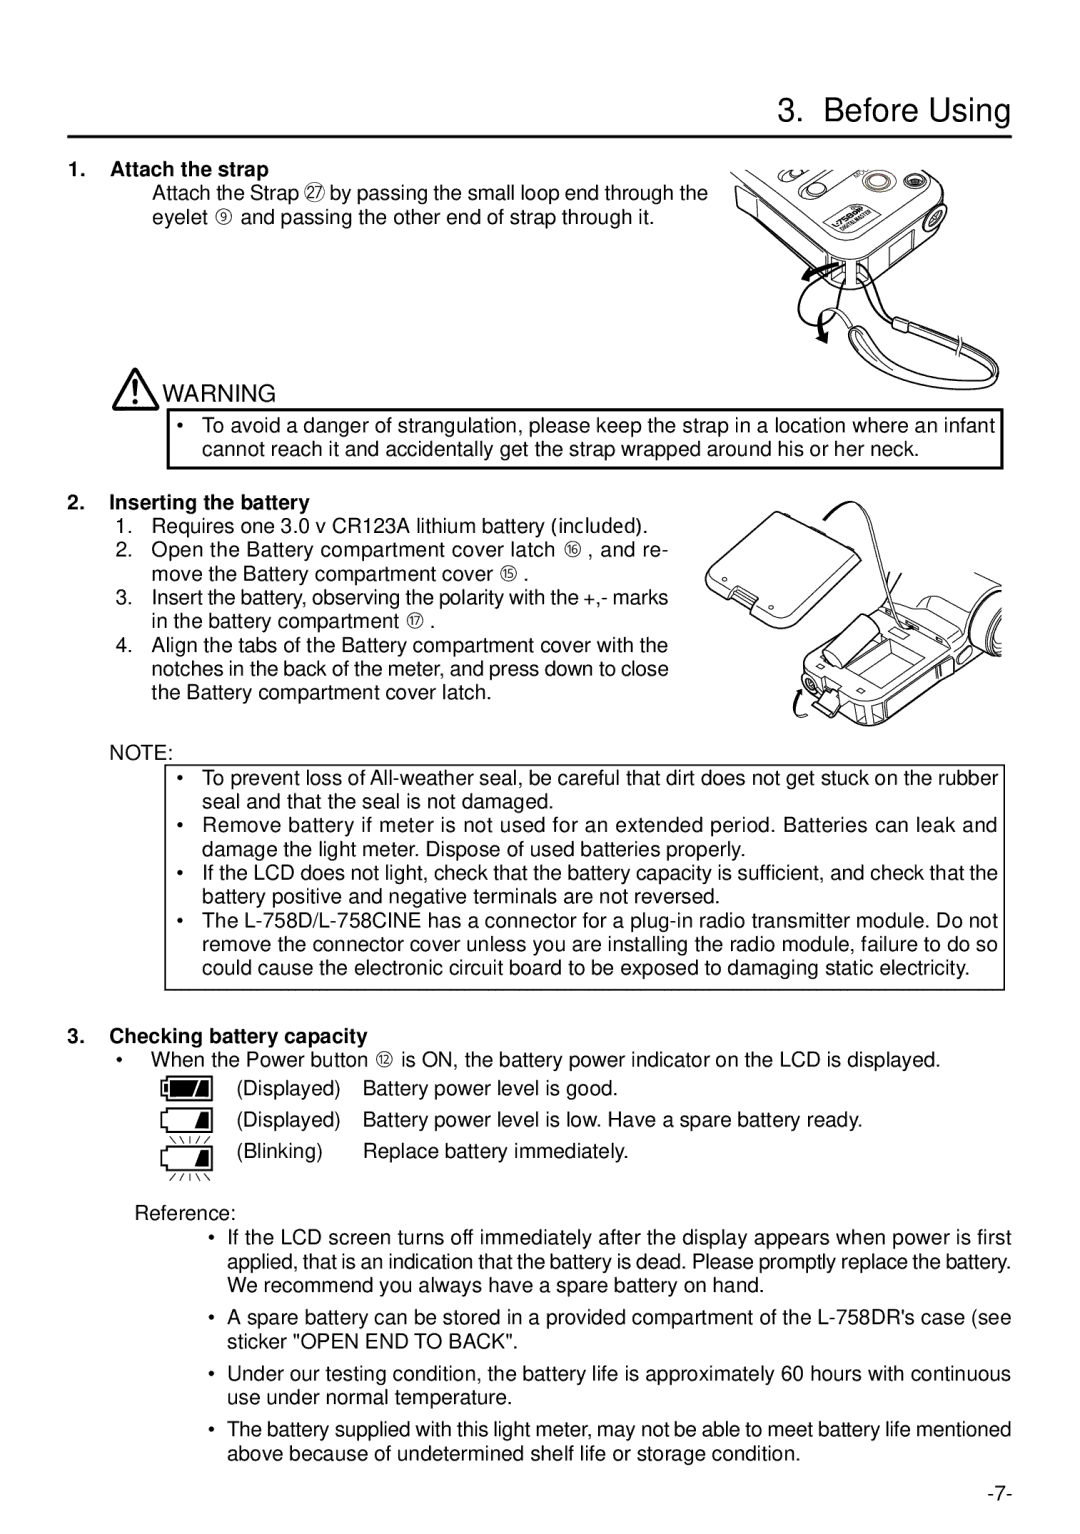
Attach the Strap @7by passing the small loop end through the eyelet ⑨ and passing the other end of strap through it.
![]() WARNING
WARNING
•To avoid a danger of strangulation, please keep the strap in a location where an infant cannot reach it and accidentally get the strap wrapped around his or her neck.
2.Inserting the battery
1.Requires one 3.0 v CR123A lithium battery (included).
2.Open the Battery compartment cover latch ⑯ , and re- move the Battery compartment cover ⑮ .
3.Insert the battery, observing the polarity with the +,- marks
in the battery compartment ⑰ .
4. Align the tabs of the Battery compartment cover with the notches in the back of the meter, and press down to close the Battery compartment cover latch.
NOTE:
•To prevent loss of
•Remove battery if meter is not used for an extended period. Batteries can leak and damage the light meter. Dispose of used batteries properly.
•If the LCD does not light, check that the battery capacity is sufficient, and check that the battery positive and negative terminals are not reversed.
•The
3.Checking battery capacity
•When the Power button ⑫ is ON, the battery power indicator on the LCD is displayed.
(Displayed) | Battery power level is good. |
(Displayed) | Battery power level is low. Have a spare battery ready. |
(Blinking) | Replace battery immediately. |
Reference:
•If the LCD screen turns off immediately after the display appears when power is first applied, that is an indication that the battery is dead. Please promptly replace the battery. We recommend you always have a spare battery on hand.
•A spare battery can be stored in a provided compartment of the
•Under our testing condition, the battery life is approximately 60 hours with continuous use under normal temperature.
•The battery supplied with this light meter, may not be able to meet battery life mentioned above because of undetermined shelf life or storage condition.
