Safety
The warranty on your Sentry Xpress controller does not cover damage from overfiring, regardless of the circumstances. It is the operator’s responsibility to make sure the kiln turns off at the proper time.
![]() When the kiln is not in use, disconnect the power.
When the kiln is not in use, disconnect the power.
![]() Do not leave the kiln unattended, especially near the expected
Do not leave the kiln unattended, especially near the expected
![]() Wear firing safety glasses when looking into the firing chamber of a hot kiln.
Wear firing safety glasses when looking into the firing chamber of a hot kiln.
![]() Do not touch hot sides of kiln. Keep unsuper- vised children away.
Do not touch hot sides of kiln. Keep unsuper- vised children away.
![]() Install your kiln at least 12 inches from any wall or combustible surface.
Install your kiln at least 12 inches from any wall or combustible surface.
![]() Do not open lid or door until kiln has cooled and all switches are off.
Do not open lid or door until kiln has cooled and all switches are off.
![]() Fire only in a
Fire only in a
![]() Keep cordset away from hot sides of kiln or fur- nace.
Keep cordset away from hot sides of kiln or fur- nace.
![]() DANGEROUS VOLTAGE! Do not touch heat- ing elements with anything. Disconnect before servicing.
DANGEROUS VOLTAGE! Do not touch heat- ing elements with anything. Disconnect before servicing.
![]() When vacuuming the kiln, keep the nozzle away from the controller. Vacuum cleaners create a static charge that can damage the controller.
When vacuuming the kiln, keep the nozzle away from the controller. Vacuum cleaners create a static charge that can damage the controller.
General
Guidelines
Time and Temperature Display
Center Dot: Time |
|
A center dot appears dur- |
|
ing time display. It separates |
|
hours from minutes. (Exam- |
|
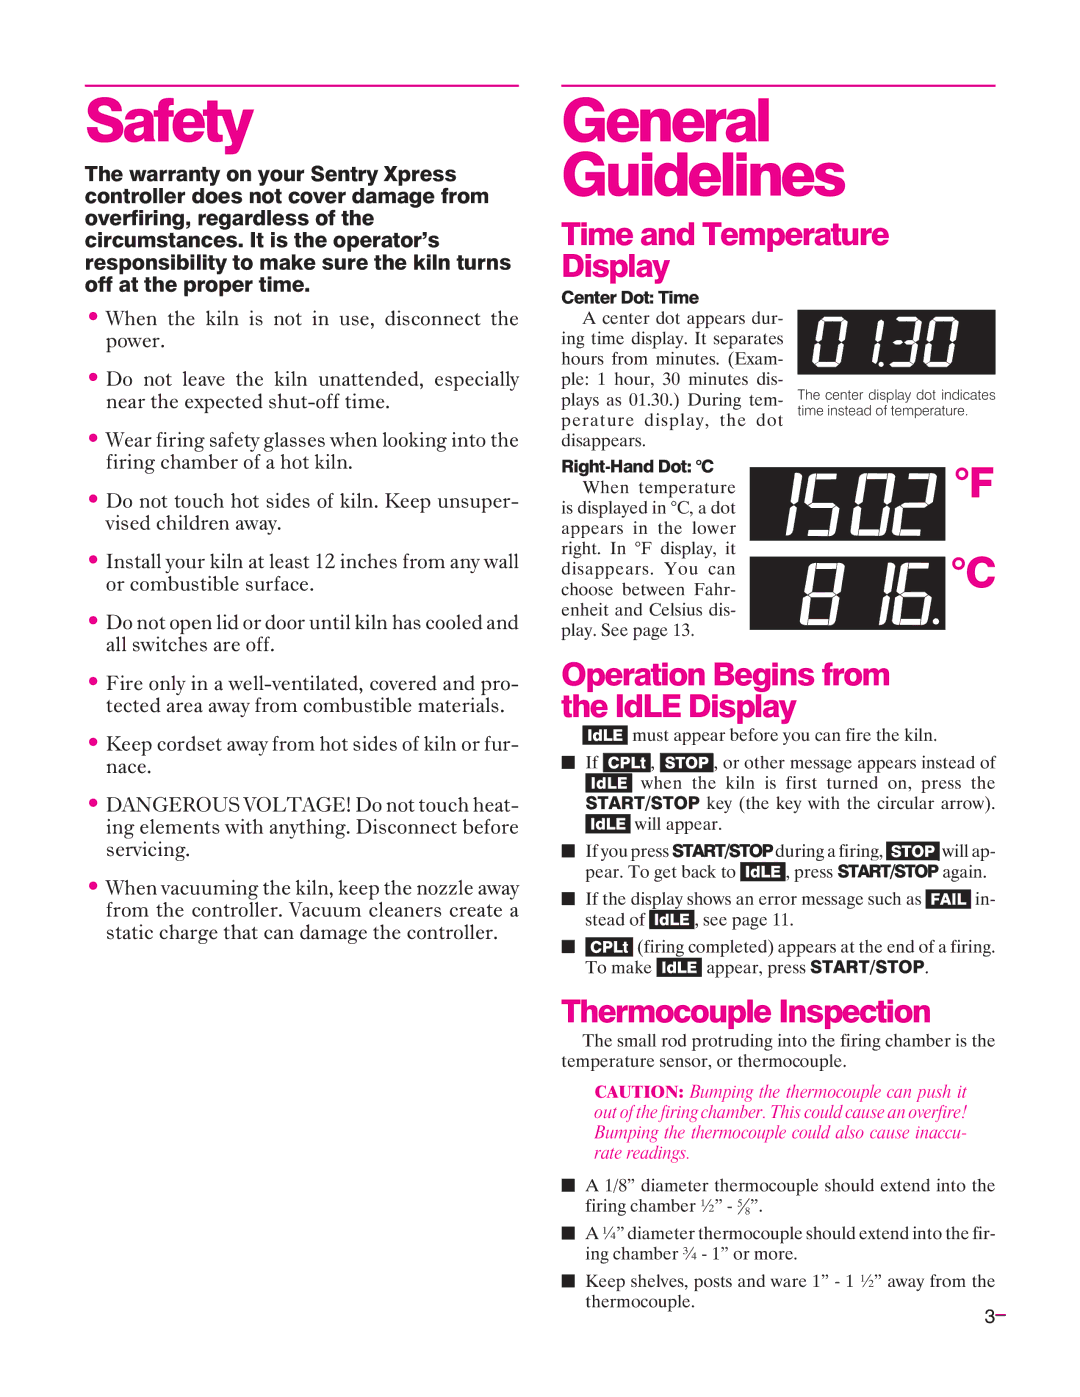
ple: 1 hour, 30 minutes dis- | The center display dot indicates |
plays as 01.30.) During tem- | |
perature display, the dot | time instead of temperature. |
disappears. | °F |
| |
When temperature | |
is displayed in °C, a dot | |
appears in the lower | °C |
right. In °F display, it | |
disappears. You can | |
choose between Fahr- | |
enheit and Celsius dis- |
|
play. See page 13. |
|
Operation Begins from the IdLE Display
|
|
|
| must appear before you can fire the kiln. |
|
|
|
| |||||||||||||||
|
|
|
|
|
|
| |||||||||||||||||
■ If |
|
|
|
| , |
|
|
| , or other message appears instead of | ||||||||||||||
|
|
|
|
|
| ||||||||||||||||||
|
|
|
|
|
| when the | kiln | is first turned on, press the | |||||||||||||||
|
|
|
|
|
| ||||||||||||||||||
|
|
|
|
|
|
|
|
| key (the key with the circular arrow). | ||||||||||||||
|
|
|
| will appear. |
|
|
|
|
|
| will ap- | ||||||||||||
|
|
|
|
|
|
|
|
|
| ||||||||||||||
■ If you press |
|
|
|
|
| during a firing, |
|
|
| ||||||||||||||
|
|
|
|
|
|
|
| ||||||||||||||||
| pear. To get back to |
|
|
|
| , press |
|
|
|
| again. | ||||||||||||
|
|
|
|
|
|
|
|
| |||||||||||||||
■ If the display shows an error message such as |
|
|
|
| in- | ||||||||||||||||||
|
|
|
|
| |||||||||||||||||||
| stead of |
|
|
| , see page 11. |
|
|
|
|
| |||||||||||||
|
|
|
|
|
|
|
|
|
|
| |||||||||||||
■(firing completed) appears at the end of a firing.
To make ![]() appear, press
appear, press ![]()
![]()
![]()
![]()
![]() .
.
Thermocouple Inspection
The small rod protruding into the firing chamber is the temperature sensor, or thermocouple.
CAUTION: Bumping the thermocouple can push it out of the firing chamber. This could cause an overfire! Bumping the thermocouple could also cause inaccu- rate readings.
■A 1/8” diameter thermocouple should extend into the firing chamber ½” - 5 8”.
■A ¼” diameter thermocouple should extend into the fir- ing chamber ¾ - 1” or more.
■Keep shelves, posts and ware 1” - 1 ½” away from the
thermocouple.3
