T3 Rack Mount Kit Installation Instructions
Installation Instructions
Step
1.Measure the distance from the front rack rail to the rear rack rail.
Distance = _________
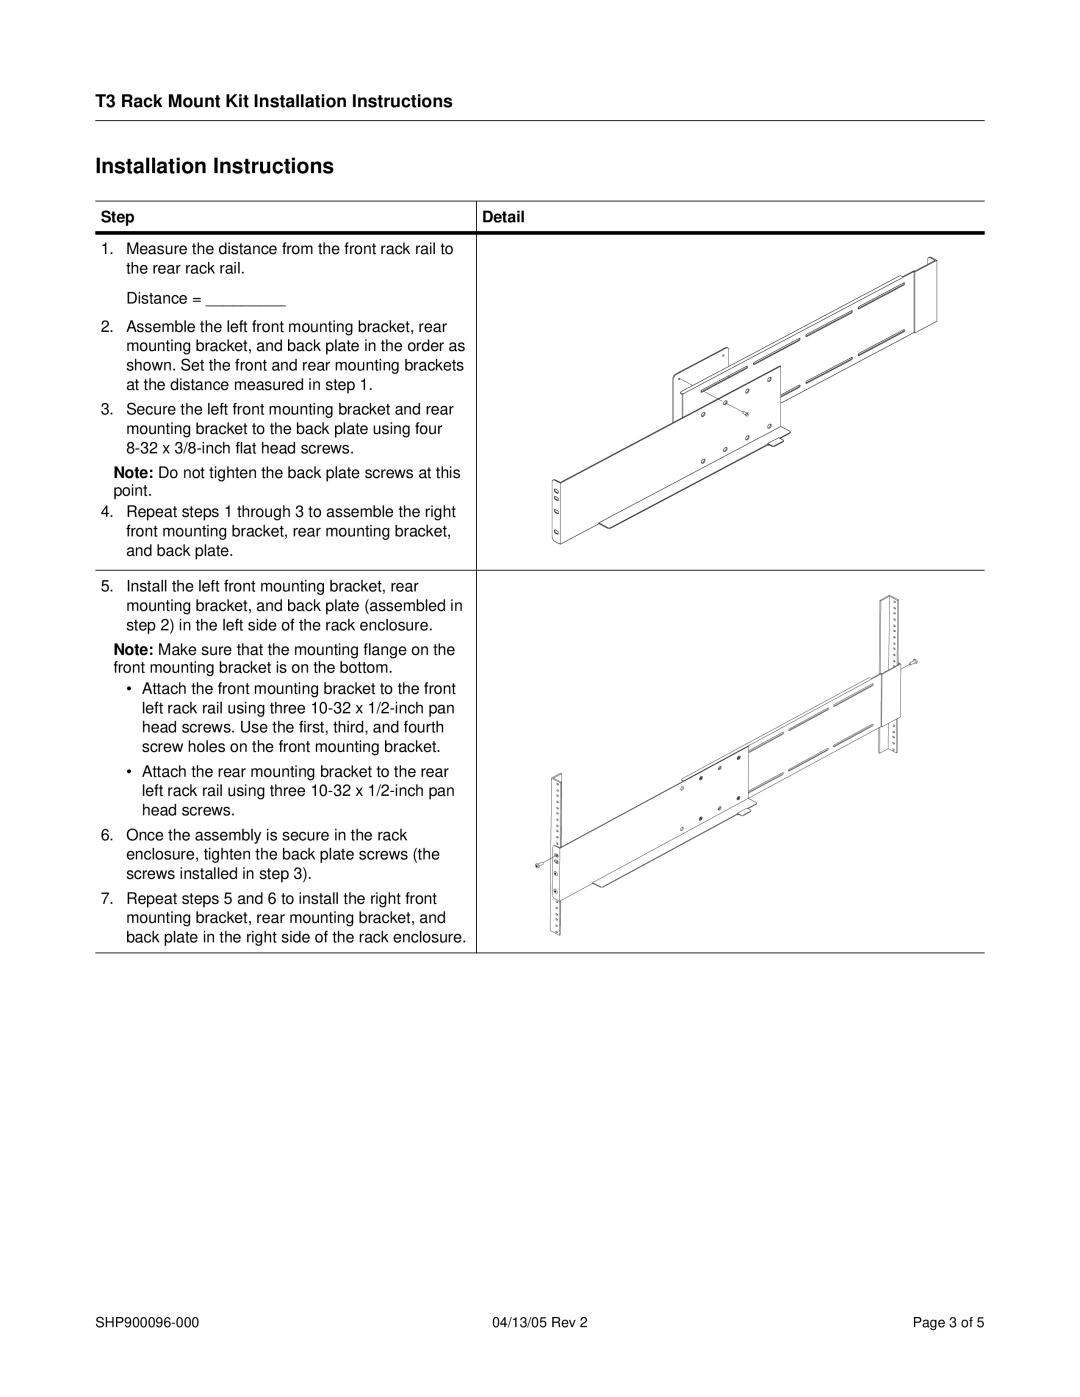
2.Assemble the left front mounting bracket, rear mounting bracket, and back plate in the order as shown. Set the front and rear mounting brackets at the distance measured in step 1.
3.Secure the left front mounting bracket and rear mounting bracket to the back plate using four
Note: Do not tighten the back plate screws at this point.
4.Repeat steps 1 through 3 to assemble the right front mounting bracket, rear mounting bracket, and back plate.
5.Install the left front mounting bracket, rear mounting bracket, and back plate (assembled in step 2) in the left side of the rack enclosure.
Note: Make sure that the mounting flange on the front mounting bracket is on the bottom.
•Attach the front mounting bracket to the front left rack rail using three
•Attach the rear mounting bracket to the rear left rack rail using three
6.Once the assembly is secure in the rack enclosure, tighten the back plate screws (the screws installed in step 3).
7.Repeat steps 5 and 6 to install the right front mounting bracket, rear mounting bracket, and back plate in the right side of the rack enclosure.
Detail
04/13/05 Rev 2 | Page 3 of 5 |