QUICK SETUP GUIDE
For detailed instructions
on setting up and using the
To open the guide,
1 |
Make sure you have the following items. If any are missing, contact your dealer or retailer.
Note: The shape of the line cord plug varies by country. An adapter (not shown) is provided in some countries.
Telephone line | Toner | Drum |
cord | cartridge | cartridge |
only) |
|
|
English
2 | Attach the trays. |
(Note: Acrobat Reader 5.05 or higher is required to view the manual.To install Version 5.05,
All company names and product names appearing in this setup guide are the trademarks of their respective owners.
|
| When the tray |
|
| stops, lift the |
|
| end slightly |
Output tray Document | Setup | and push in. |
feeder tray | Guide |
|
3 |
Important:
Pull the scanner release toward you to release the scanner lock.
Caution: Be sure to release the scanner lock before plugging in the power cord.
4 | Plug the power cord into a standard, earthed |
power outlet. | |
| Note: The power outlet must be installed |
| near the equipment and must be easily |
| accessible. |
Note: The
shape of the power plug varies by country
5 |
|
to the TEL. LINE jack and a wall jack. |
Italy: Use the provided adapter to connect the line cord to the wall socket.
Note: The |
| |
shape of the | TEL. | |
line cord plug | ||
LINE | ||
varies by | SET | |
country. | ||
|
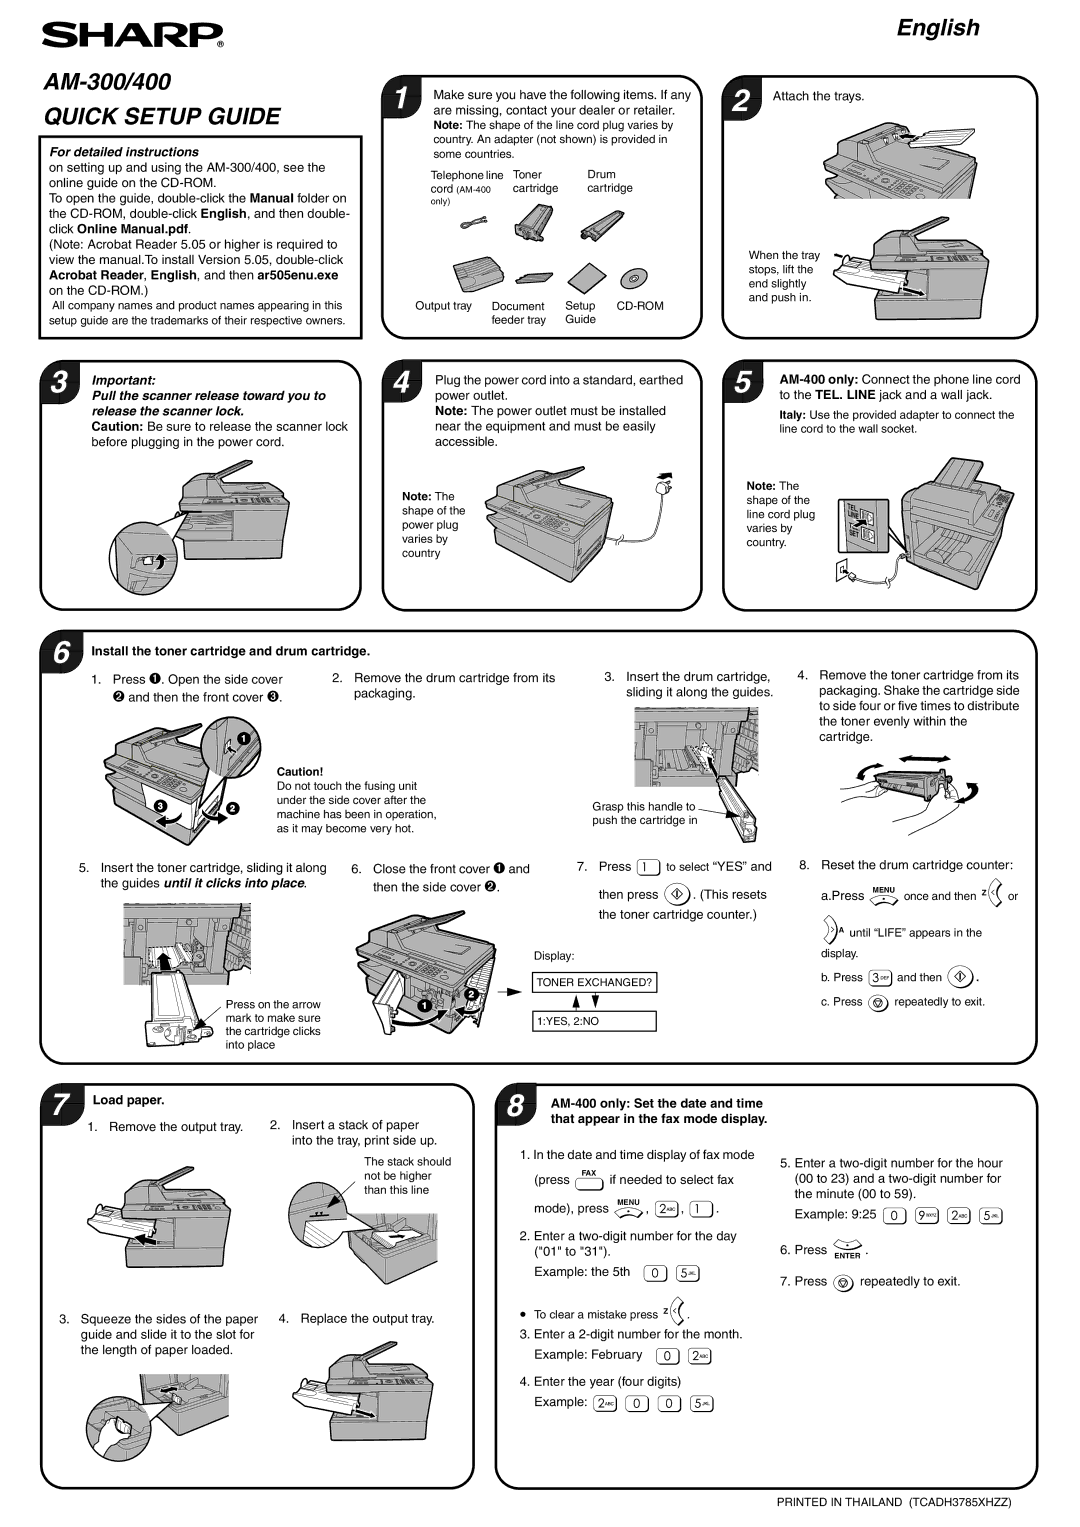
6 | Install the toner cartridge and drum cartridge. | 3. Insert the drum cartridge, | ||
| 1. | Press ➊. Open the side cover | 2. Remove the drum cartridge from its | |
|
| ➋ and then the front cover ➌. | packaging. | sliding it along the guides. |
|
|
|
| |
|
| 1 |
| |
|
| Caution! |
| |
|
| Do not touch the fusing unit |
| |
3 | 2 | under the side cover after the | Grasp this handle to | |
machine has been in operation, | ||||
|
| push the cartridge in | ||
|
| as it may become very hot. | ||
|
|
|
4.Remove the toner cartridge from its packaging. Shake the cartridge side to side four or five times to distribute the toner evenly within the cartridge.
5.Insert the toner cartridge, sliding it along the guides until it clicks into place.
Press on the arrow mark to make sure the cartridge clicks into place
6. Close the front cover ➊ and | 7. Press | to select “YES” and |
then the side cover ➋. | then press | . (This resets |
|
the toner cartridge counter.)
Display:
TONER EXCHANGED?
![]()
![]() 2
2 ![]() 1
1 ![]()
1:YES, 2:NO
8. Reset the drum cartridge counter:
a.Press | MENU once and then Z | or | |
A until “LIFE” appears in the |
| ||
display. |
|
|
|
b. Press | and then | . |
|
c. Press | repeatedly to exit. |
| |
7 | Load paper. | 2. Insert a stack of paper | |
| 1. | Remove the output tray. | |
|
|
| into the tray, print side up. |
|
|
| The stack should |
|
|
| not be higher |
|
|
| than this line |
3. Squeeze the sides of the paper 4. Replace the output tray. guide and slide it to the slot for
the length of paper loaded.
8 |
|
that appear in the fax mode display. |
1. In the date and time display of fax mode
(press FAX if needed to select fax
mode), press MENU , ![]() ,
, ![]() .
.
2.Enter a
Example: the 5th ![]()
![]()
•To clear a mistake press Z ![]() .
.
3.Enter a ![]()
![]()
4.Enter the year (four digits) Example: ![]()
![]()
![]()
![]()
5.Enter a
Example: 9:25 ![]()
![]()
![]()
![]()
6.Press ENTER .
7.Press ![]() repeatedly to exit.
repeatedly to exit.
PRINTED IN THAILAND (TCADH3785XHZZ)