Remote control

Battery installation

1Open the battery cover.

2Insert the supplied battery according to the terminal indicated in the battery compartment.

When inserting or removing the battery, push it towards the battery terminals.

3Close the battery cover.

Caution:

Remove the battery if the sound bar will not be used for a long period of time. This will prevent potential damage due to battery leakage.

Do not use rechargeable battery (nickel-cadmium battery, etc.).

Installing the battery incorrectly may cause the sound bar to malfunction.

Batteries (battery pack or batteries installed) shall not be exposed to excessive heat such as sunshine, fire or the like.

Notes concerning use:

Replace the battery if the operating distance is reduced or if the operation becomes erratic. Purchase a “AA” size battery (UM/SUM-3, R6, HP-7 or similar).

Periodically clean the transmitter on the remote control and the sensor on the sound bar with a soft cloth.

Exposing the sensor on the sound bar to strong light may interfere with operation. Change the lighting or the direction of the sound bar.

Keep the remote control away from moisture, heat, shock, and vibrations.

Test of the remote control

Point the remote control directly at the remote sensor on the sound bar.

The remote control can be used within the range shown below:

Remote sensor

0.2 m - 6 m

(8" - 20')

15° 15°

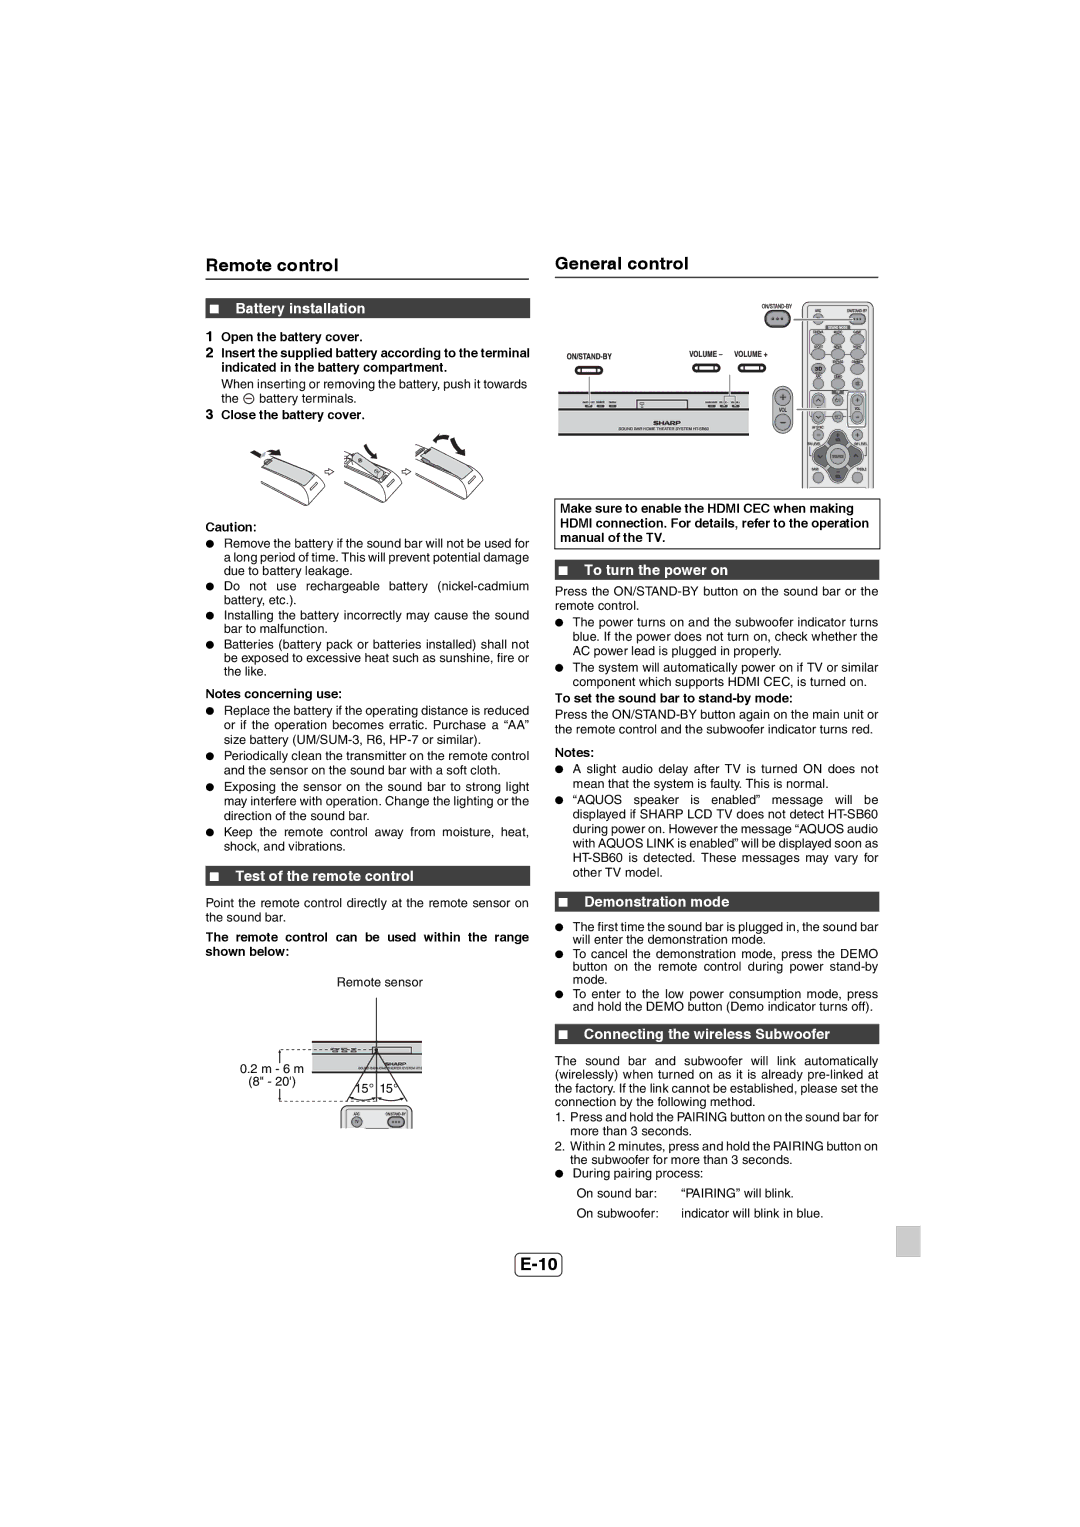
General control

AUDIO

Make sure to enable the HDMI CEC when making HDMI connection. For details, refer to the operation manual of the TV.

To turn the power on

Press the ON/STAND-BY button on the sound bar or the remote control.

The power turns on and the subwoofer indicator turns blue. If the power does not turn on, check whether the AC power lead is plugged in properly.

The system will automatically power on if TV or similar component which supports HDMI CEC, is turned on.

To set the sound bar to stand-by mode:

Press the ON/STAND-BY button again on the main unit or the remote control and the subwoofer indicator turns red.

Notes:

A slight audio delay after TV is turned ON does not mean that the system is faulty. This is normal.

“AQUOS speaker is enabled” message will be displayed if SHARP LCD TV does not detect HT-SB60 during power on. However the message “AQUOS audio with AQUOS LINK is enabled” will be displayed soon as HT-SB60 is detected. These messages may vary for other TV model.

Demonstration mode

The first time the sound bar is plugged in, the sound bar will enter the demonstration mode.

To cancel the demonstration mode, press the DEMO button on the remote control during power stand-by mode.

To enter to the low power consumption mode, press and hold the DEMO button (Demo indicator turns off).

Connecting the wireless Subwoofer

The sound bar and subwoofer will link automatically (wirelessly) when turned on as it is already pre-linked at the factory. If the link cannot be established, please set the connection by the following method.

1.Press and hold the PAIRING button on the sound bar for more than 3 seconds.

2.Within 2 minutes, press and hold the PAIRING button on the subwoofer for more than 3 seconds.

During pairing process:

On sound bar:

“PAIRING” will blink.

On subwoofer:

indicator will blink in blue.

E-10

Page 19
Image 19
Sharp HT-SB60 operation manual Remote control, General control

HT-SB60 specifications

The Sharp HT-SB60 is an impressive soundbar that brings an elevated audio experience to your home entertainment system. Designed for consumers who seek high-quality sound without the need for extensive speaker systems, the HT-SB60 combines sophisticated technology with user-friendly features to enhance your TV watching experience.

One of the standout features of the Sharp HT-SB60 is its sleek and compact design. This makes it an appealing addition to any living room setup while ensuring it does not take up much space. The soundbar can easily fit in front of most television models, blending seamlessly into home decor.

Equipped with advanced audio technologies, the HT-SB60 delivers rich and immersive sound quality. The soundbar utilizes a powerful 2.1 channel audio system, which includes a built-in subwoofer that enhances low-frequency sounds, providing a fuller and more dynamic audio experience. This feature allows users to enjoy booming bass effects during action scenes while still maintaining clear dialog, creating a balanced sound profile.

The HT-SB60 is designed with versatility in mind. It offers Bluetooth connectivity, allowing users to stream music directly from their smartphones or other devices with ease. This feature is perfect for those who want to enjoy their favorite playlists without the hassle of wires. Additionally, the soundbar includes multiple input options, such as optical, coaxial, and auxiliary ports, ensuring compatibility with various devices like Blu-ray players, gaming consoles, and more.

Another notable characteristic of the Sharp HT-SB60 is its user-friendly remote control, which simplifies operation. Users can easily switch between different input modes, adjust the volume, or toggle sound modes based on their viewing preferences. The soundbar also supports various sound modes, such as Movie, Music, and News, which adapt the audio output to different content types, enhancing the overall experience.

In terms of performance, the HT-SB60 is built to impress. It offers clear and well-defined sound with excellent spatial imaging, allowing users to feel as if they are part of the action. The integration of sophisticated sound technologies provides a cinematic experience right in the comfort of home.

Overall, the Sharp HT-SB60 stands out as a feature-rich soundbar that offers great audio performance, versatility, and easy connectivity. It is an excellent choice for anyone looking to upgrade their home audio system without the complexity of a full surround sound setup. With the HT-SB60, users can enjoy an enhanced auditory experience that brings their favorite movies, shows, and music to life.