Connecting a PC
Adjusting the PC image automatically
This function enables the screen to be automatically adjusted to its best possible condition when the analogue terminals of the TV and PC are connected with a commercially available DVI/RGB conversion cable, etc.
Setup
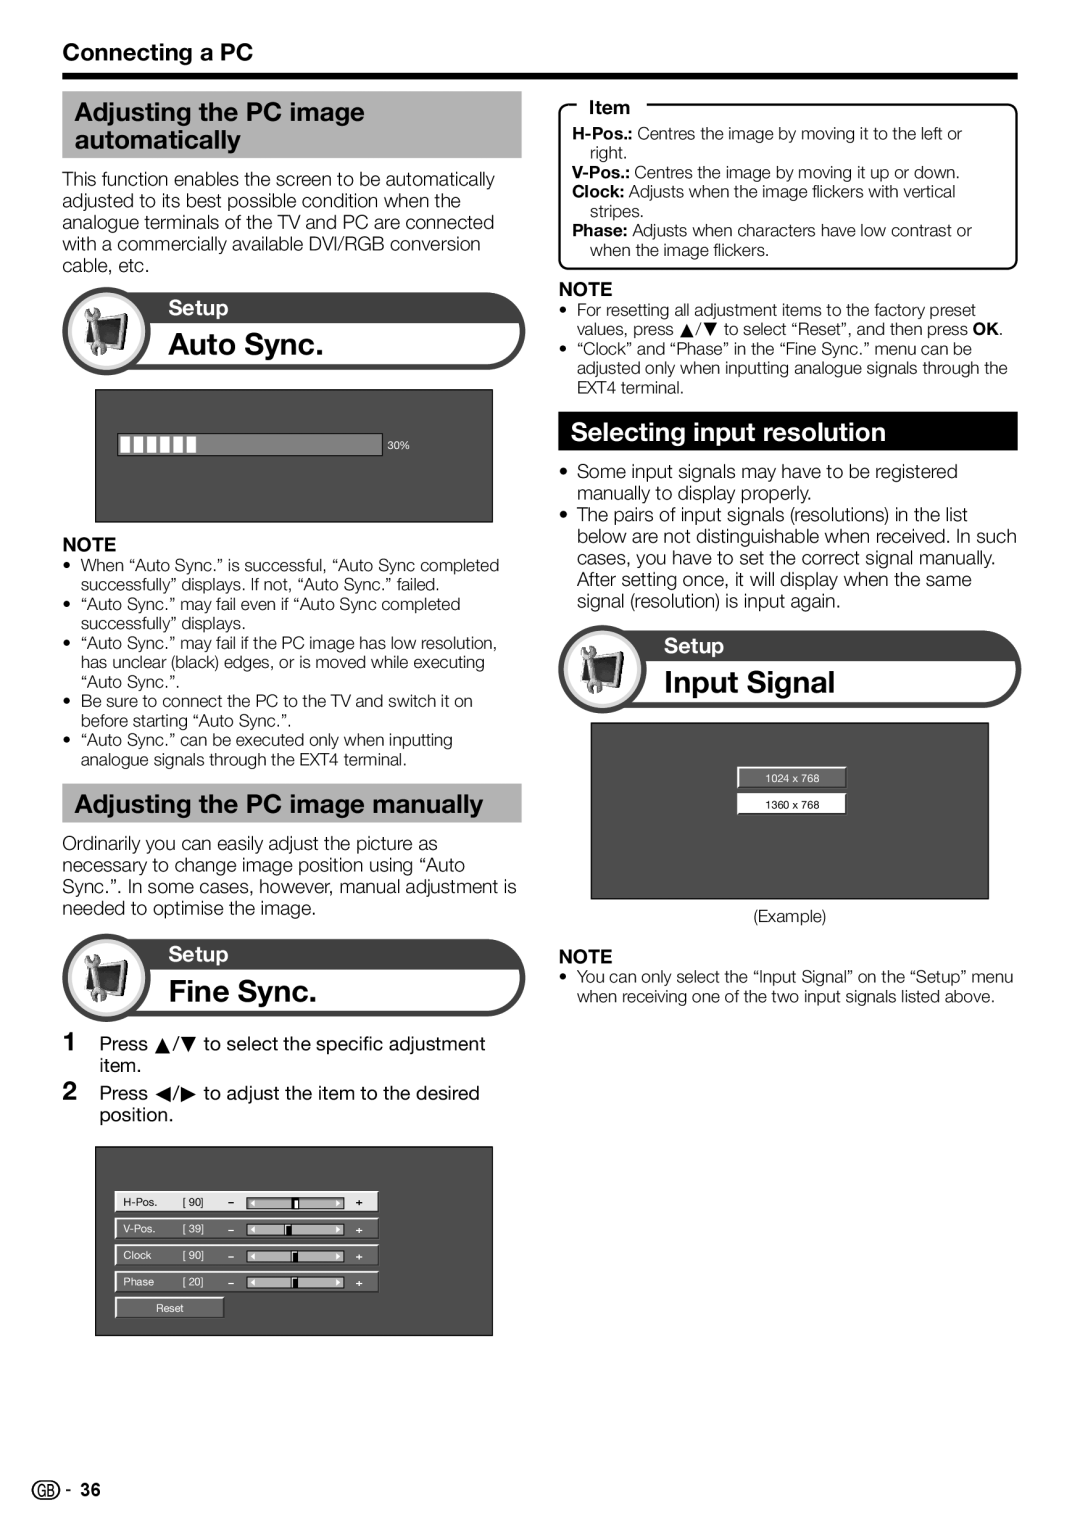
Auto Sync.
30%
NOTE
•When “Auto Sync.” is successful, “Auto Sync completed successfully” displays. If not, “Auto Sync.” failed.
•“Auto Sync.” may fail even if “Auto Sync completed successfully” displays.
•“Auto Sync.” may fail if the PC image has low resolution, has unclear (black) edges, or is moved while executing “Auto Sync.”.
•Be sure to connect the PC to the TV and switch it on before starting “Auto Sync.”.
•“Auto Sync.” can be executed only when inputting analogue signals through the EXT4 terminal.
Adjusting the PC image manually
Ordinarily you can easily adjust the picture as necessary to change image position using “Auto Sync.”. In some cases, however, manual adjustment is needed to optimise the image.
Setup
Fine Sync.
1Press a/b to select the specific adjustment item.
2Press c/d to adjust the item to the desired position.
[ 90] | a |
|
| b | |
|
|
|
|
|
|
|
|
|
|
|
|
[ 39] | a |
|
| b | |
|
|
|
|
|
|
|
|
|
|
|
|
Clock | [ 90] | a |
|
| b |
|
|
|
|
|
|
|
|
|
|
|
|
Phase | [ 20] | a |
|
| b |
|
|
|
|
|
|
Reset
Item
Clock: Adjusts when the image flickers with vertical stripes.
Phase: Adjusts when characters have low contrast or when the image flickers.
NOTE
•For resetting all adjustment items to the factory preset values, press a/b to select “Reset”, and then press OK.
•“Clock” and “Phase” in the “Fine Sync.” menu can be adjusted only when inputting analogue signals through the EXT4 terminal.
Selecting input resolution
•Some input signals may have to be registered manually to display properly.
•The pairs of input signals (resolutions) in the list below are not distinguishable when received. In such cases, you have to set the correct signal manually. After setting once, it will display when the same signal (resolution) is input again.
Setup
Input Signal
1024 x 768
1360 x 768
(Example)
NOTE
•You can only select the “Input Signal” on the “Setup” menu when receiving one of the two input signals listed above.
![]()
![]() 36
36