LC-40LE830U LC-46LE830U LC-52LE830U LC-60LE830U
Page
Model No
To aid reporting in case of loss or theft, please record
FCC Compliance Statement
Industry Canada Statement
Additional Safety Information
Dear Sharp Customer
Precautions when transporting the TV
Caring for the cabinet
Child Safety
Caring for the front panel
Contents
Supplied Accessories
Attaching the Stand
LC-40LE830U
Insert the stand into the openings on the rear of the TV
LC-46LE830U/LC-52LE830U
Insert the stand into the openings on the rear
LC-60LE830U
Stand into the openings on the rear
Using the Remote Control Unit
Insert the batteries into the remote control unit. See
Remote control sensor
AC outlet
Installing Batteries in the Remote Control Unit
Connecting Antenna Cable
Preparation
Antennas
TV Front
Part Names
TV Rear
Remote Control Unit
Part Names
Introduction to Connections
Experiencing HD Images
Types of Connection
Displaying an External Equipment Image
Connecting to External Equipment
When using Hdmi cable Hdmi 1, 2, 3 or
When using DVI-HDMI conversion cable Hdmi
Back panel vertical inputs
Connecting to External Equipment
When using Component cable Component
When using Composite cable Video 1 or
Back panel surface inputs
Connecting an Audio Amplifier
Connecting an AV Amplifier
Connecting a PC
When using analog RGB cable PC Back panel
Mm stereo minijack cable
Surface inputs
Turning On/Off the Power Initial Installation
Language Language setting
Watching TV
TV Location
Air/Cable Antenna setting
Watching TV Antenna & Cable/STB
CH Search Channel search
To watch TV via a set-top box
Examples of the settings confirmation screen
Watching TV Completed
Changing Volume
Sleep Timer
Direct Button Operation
Changing Channels
Press Power Saving
Example When the input source is TV, COMPONENT, Video 1 or
Direct Button Operation
Press Input
Closed Captions and Digital Closed Captions
Press CC
Examples
This will present the Closed Caption information display
Press View Mode
You can select the screen size
For HD programs
For 43 programs
Using the remote control
On-Screen Display Menu
On-Screen Display Menu Operation
Menu Operation Buttons
Menu Items
On-Screen Display Menu
Picture Settings
AV Mode Changing Pic.Quality
OPC Setting
Advanced Picture Settings
Color Temp Color Temperature
Fine tuning the color temperature
Gamma Adjustment
Film Mode 32 pull-down
Audio Settings
Auto Volume
Surround
Bass Enhancer
Power Control
Power Saving
No Signal Off
Audio Only
System Options
View Option
Input Terminal Setting
Menu Design
Icon Light Up Setting
Demo Mode
Caption Setup
Game Play Time
Initial Setup
EZ Setup
Broadcasting Setup
CH Setup
Reset
Wall Mount Audio Setup
Individual Setup
Language
When setting an individual content-based rating item
Chip
Chip is an electronic fi ltering device built into your
TV Parental Guidelines
How to temporarily release the V-CHIP Block
Canadian English Ratings
Canadian French Ratings
Reactivating the temporarily released V-CHIP Block
Software Update
Information
Identification
Digital Caption Info Digital Caption Information
Updating the Software via the Network
Call 1-800-BE-SHARP
Press Enter to start checking the data in the USB
Memory device Select Yes, and then press Enter
During the data checking, Checking blinks
After the screen shown below is displayed, press
Connecting a USB Memory Device/USB Hard Drive
Connecting a Home Network Dlna Server
Enjoying Photo/Music/Video Playback
Ethernet cable
When displaying the data with the Apps
Select the Files to Play Back
Enjoying Photo/Music/Video Playback
USB memory device
Photo Mode
Playing Back Files on a USB Memory Device
USB Menu
Select Slide Show Interval
Select Slide Show BGM
Buttons for slide show BGM select operation
Music Mode
Video Mode
Buttons for playing mode Buttons for music mode
Set/Reset All Auto Play
Using the operation panel
Menu for playing mode
USB Menu Menu for file selecting operations
Title/Chapter
DivX Setup
Press a/b to select DivX Setup, and then press Enter
USB Device Compatibility
DivX VOD registration DivX VOD deregistration
Playing Back Files on a Home Network Dlna Server
Home Network Dlna Menu
Buttons Description C/d
Yellow Display the Home Network Dlna Menu Screen
Buttons for playing mode
Home Network Dlna Server Compatibility
Presetting Remote Control Function
Presetting manufacturer codes
Other Viewing Options
Operating the Connected Equipment
Other Viewing Options Manufacturer codes
Using Aquos Link
Controlling Hdmi Equipment Using Aquos Link
Aquos Link Setup
Using Aquos Link
One Touch Playback
Link Operation Menu
One Touch Recording
Start/Stop Recording
Displaying the Link Operation Menu
Using the Device Operation Panel
Timer Recording
Playback of Titles Using Aquos Link
Manually Changing Aquos Audio Speaker System’s Sound Mode
Displaying a PC Image on the Screen
Using a PC
Stretch Dot by Dot
Adjusting the PC Image
Setting Audio Input
PC Compatibility Chart
Using a PC
Control of the TV
Using a PC Command table
Commands not indicated here are not guaranteed to operate
Using the Internet
Connecting to the Internet
Using an Ethernet cable
About the original home
Using the Internet
Using the wireless LAN
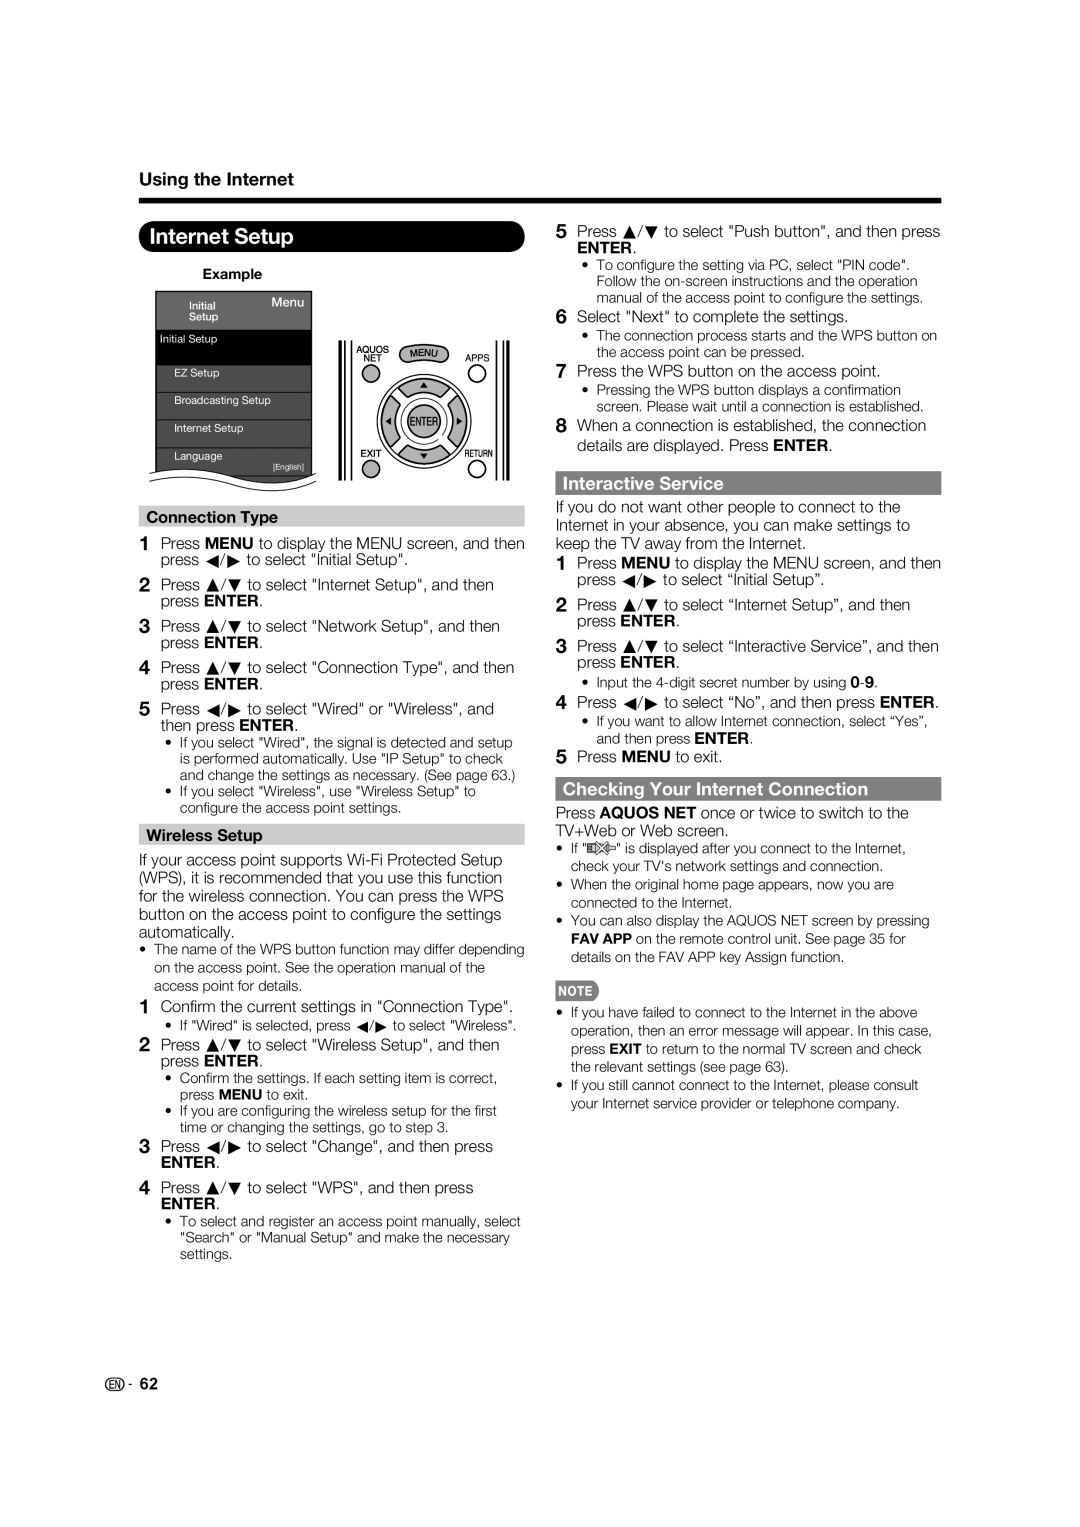
Internet Setup
Interactive Service
Wireless Setup
Checking Your Internet Connection
Displaying Updated Information and Support Service
Setting the Country
Setting the Zip Code
Original Home
Entering Text Software Keyboard
Featured Content
Using the Browser
About links
Using the Toolbar Using Tabs
Selected item
Selected item Description Select This
Close This Tab
Opening a Bookmarked
Saving the URL of the Current
Editing Bookmarks
Security Settings
Browser Settings
View Settings
Deactivating Netflix Function
Using Applications via the Internet
Deactivating the Vudu Function
Disclaimers
Appendix
Removing the Stand
Before detaching or attaching the stand, unplug the AC cord
LC-60LE830U Before attaching/detaching the stand
Setting the TV on the Wall
Optional Accessories
Appendix
Hanging on the wall
Pages 24
Troubleshooting
Pages 27
Troubleshooting Error Message
Error code Possible Solution Displayed on a screen
E202
E203
Initial Setup menu
Software Update Information menu
CH Setup Broadcasting Setup
Trademarks
Specifications
Model LC-40LE830U Model LC-46LE830U
Specifications
Model LC-52LE830U Model LC-60LE830U
Receiving Digital Terrestrial 69ch Function Channel
Digital cable*1
Wireless LAN
Specification
Information on the Software License for This Product
Software composition
Software developed by Sharp and open source software
Obtaining source code
Information on the Software License for This Product
Software Copyrights
Calling for Service
Limited Warranty
AN-37AG2 + AN-37P30
Dimensional Drawings
AN-52AG4
LC-52LE830U
Sharp Electronics Corporation